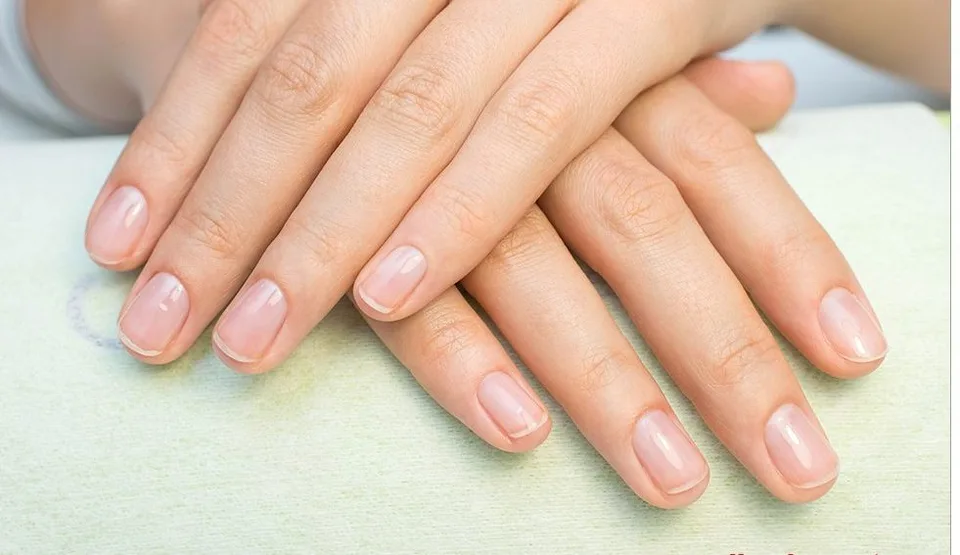
Due to the consequences of the war in Ukraine, many people are forced to adapt to new realities, including home nail care. If previously removing gel polish was simple – it was enough to make an appointment at the salon, now you need to master an independent process. The wrong approach can lead to damage to the nail plate, so it is important to strictly follow the recommendations, writes IZ.
Removing gel polish at home is a quite real task if you prepare all the necessary tools in advance. This will require special tools, such as gel remover or acetone solution, as well as some household materials.
What you need to remove gel polish at home

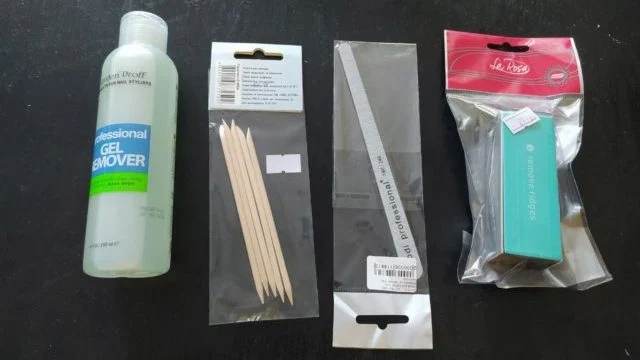
Before starting the procedure, make sure you have everything you need to safely remove the coating. This will help avoid stress during the process and preserve the quality of your nails. So, you will need:
• A hard nail file. A tool designed for artificial coatings is best suited.
• Gel remover or acetone. They help soften the gel polish, making it easier to remove. • Foil. This is needed to create an airtight environment that will speed up the process of dissolving the coating. • Sponges or cotton wool. They will come in handy for applying the solvent. • Orange sticks. This tool will help to gently remove the remaining coating. • Buff or soft nail file. For final smoothing of the nail surface.• Moisturizer. Will help prevent the skin around the nails from drying out after the procedure.
How to remove gel polish correctly: step-by-step instructions
The process of removing gel polish at home consists of several important stages, each of which requires attention to detail. Following these steps clearly will help maintain the health of your nails and skin.
The first stage is removing the top layer of the coating. To do this, use a hard nail file, carefully filing the top coat. This will allow the solvent to penetrate the gel layers better. It is worth acting slowly so as not to damage the nail plate.
Next, you need to prepare the solvent. If you have a gel remover, moisten a sponge or cotton wool with it. In the absence of a special product, you can use an acetone solution for removing varnish or acrylic liquid.
The third stage is fixing the solution on the nails.Place the soaked sponges on the nail plate, then wrap your fingers in foil. It is important that the foil fits tightly, without letting air through. Keep it for about 15 minutes. In case of severe burning, the time can be reduced.
After the time has elapsed, gel removal begins. Remove the foil gradually – one finger at a time. Immediately carefully remove the softened coating using an orange stick. Do this quickly to avoid drying out the solvent. If the gel polish is not completely removed, repeat the previous step.
At the final stage, use a buff or soft nail file to smooth the surface of the nail. After completing the procedure, apply a moisturizer to restore the skin around the nails.
If you do not have a special remover, it can be replaced with acetone liquid. The buff can also be replaced with a soft nail file. The main thing is to be careful to avoid damage.
Recall that we previously wrote about the technologies that help create 3D designs on nails

