

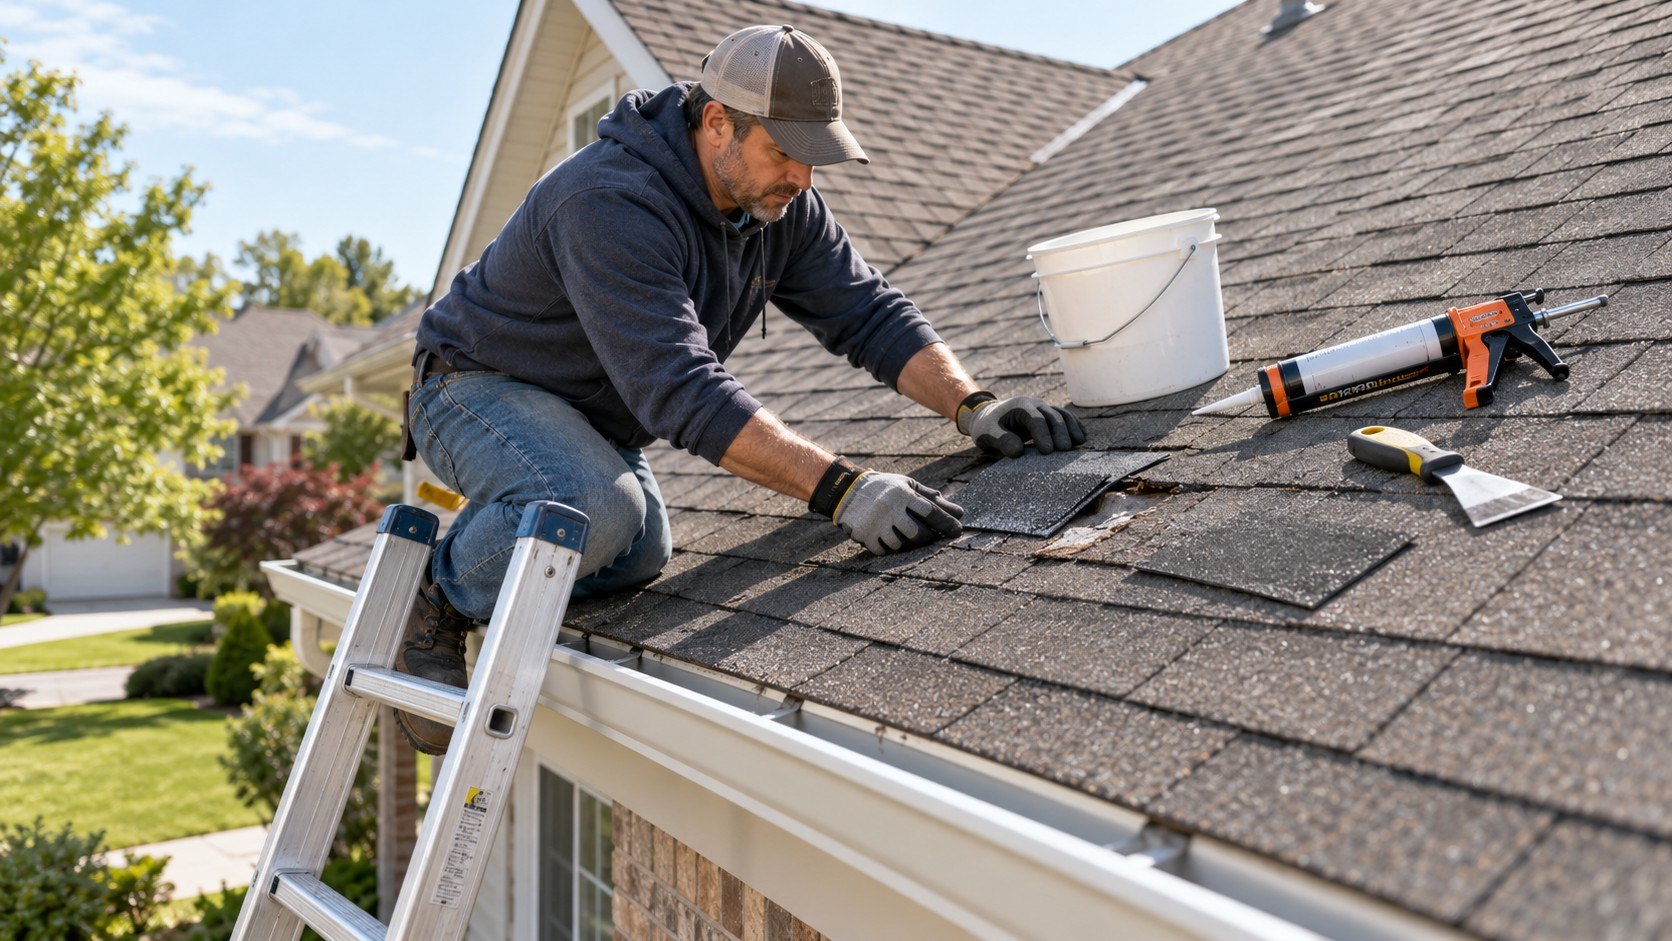
How to repair a small roof leak yourself usually comes down to finding the exact entry point, replacing one damaged shingle, repairing flashing, or sealing a small exposed gap. A straightforward repair on an accessible asphalt-shingle roof can often be diagnosed and completed in about 1–3 hours, provided the roof is dry and the damage is isolated, as noted by Baltimore Chronicle.
The fastest route is not covering every suspicious seam with sealant. First trace the water from the attic, then inspect the roof directly above and slightly uphill from that point. A cracked shingle, loose nail, failed pipe boot, or separated flashing is usually more important than the ceiling stain itself.
Key takeaways
- Trace the leak before buying materials because interior water stains may appear several feet from the actual roof opening.
- Replace physically damaged shingles or flashing rather than treating every problem with roofing cement or exterior caulk.
- Stay off wet, icy, steep, brittle, or high roofs and hire a roofer when safe access is uncertain.
A small repair may cost roughly $20–$100 in materials during 2026. The price depends on whether shingles, flashing, fasteners, or sealant are required. Matching architectural shingles can cost more when a full bundle must be purchased.
Location changes the calculation as well. Heat can age asphalt roofing quickly in Arizona and Texas, while freeze-thaw cycles matter in Minnesota and New York. Florida homeowners also need to consider wind damage and local roofing requirements.
Before committing to a patch, compare the damage with signs that a roof may need replacement. One failed vent boot is a repair problem. Widespread curling, soft decking, and repeated leaks are different.
What you need
A homeowner dealing with a basic asphalt-shingle repair does not need a contractor’s entire tool inventory. The correct materials depend on whether the defect involves a shingle, metal flashing, or an existing penetration.
- Extension ladder rated for the required load
- Work gloves and slip-resistant footwear
- Flashlight for attic inspection
- Flat pry bar
- Hammer
- Roofing nails compatible with the roofing system
- Replacement asphalt shingles that closely match the existing roof
- Roofing cement or manufacturer-approved roof sealant
- Caulk gun when using cartridge sealant
- Replacement pipe boot or flashing when the existing component has failed
Budget about $20–$60 for a simple sealant-and-fastener repair. A shingle repair may reach $40–$100 if a complete bundle must be purchased in 2026. Pipe boots and specialty flashing can raise the material total further.
Brand compatibility matters more than branding alone. GAF, Owens Corning, CertainTeed, and TAMKO all publish installation information for their roofing systems. Check the instructions for the shingles already installed whenever the product can be identified.
Do not assume roofing sealant is a substitute for damaged material. Sealant works best when the underlying roof component remains structurally sound.
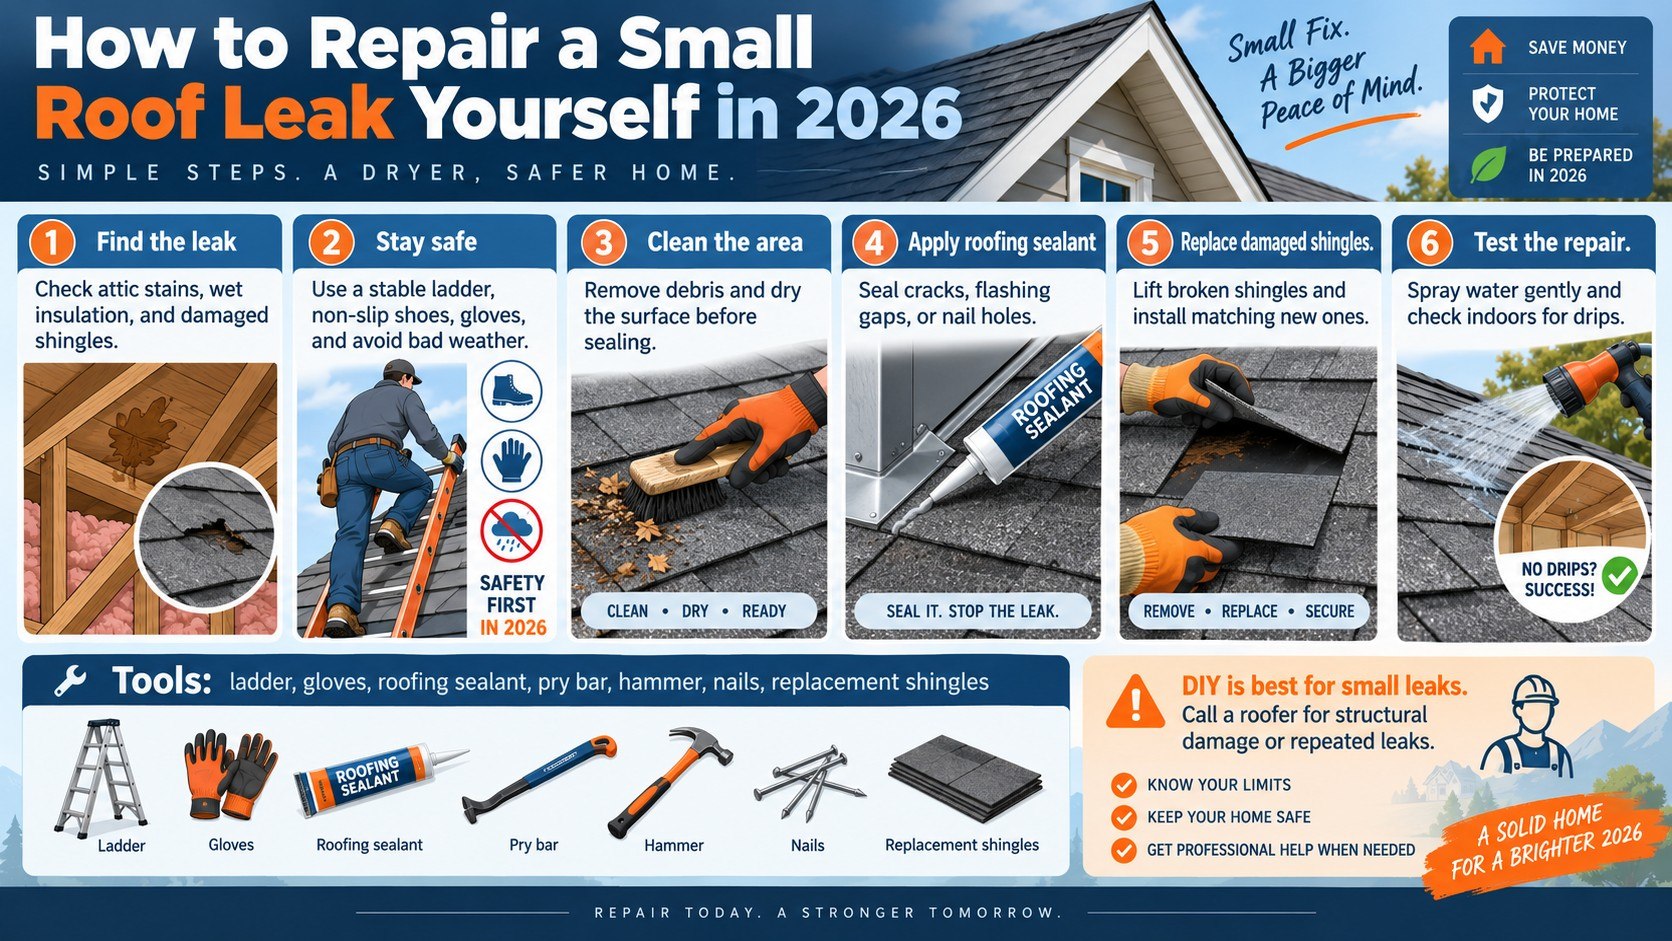
Step 1: Find where the water actually enters
Start inside the attic during daylight. Use a flashlight to look for wet decking, dark staining, rusted nail tips, damp insulation, or narrow water tracks along rafters.
Follow the stain uphill whenever possible. Water frequently travels along wood or roofing fasteners before dripping onto drywall, so the ceiling mark may not sit directly beneath the leak.
A common mistake is climbing outside and patching the roof directly above an indoor stain. That approach can miss the real opening completely.
GAF lists deteriorated shingles and damaged flashing around roof penetrations among common leak sources in its official roof-leak guidance.
Step 2: Decide whether the roof is safe for DIY work
Inspect from the ground first. Do not climb onto a roof during rain, frost, high winds, or when the surface remains wet after a storm.
Steep pitches, 2-story drops, deteriorated decking, slate, tile, and damaged metal roofing can turn a small leak into a dangerous project. Those conditions favor professional repair.
OSHA guidance for professional roofing work stresses proper access equipment and fall protection because roof falls can cause severe injuries. Its fall-prevention guidance is written for workplaces, but the hazards are also relevant to homeowners deciding whether to climb.
Safe access is the first repair decision. A $30 leak does not justify working from an unstable ladder or walking across a roof that cannot support secure footing.
Homeowners who also need to inspect clogged drainage can review the Baltimore Chronicle guide to cleaning gutters without climbing a ladder.
Step 3: Check shingles, flashing, and penetrations
Once the suspected area is identified, examine several feet around it. Look for lifted shingle corners, missing tabs, cracks, exposed nail heads, loose flashing, damaged vent boots, and gaps around skylights or chimneys.
These components fail in different ways, so the correct repair should match the defect.
| What you find | Likely repair | Typical DIY material range in 2026 |
|---|---|---|
| One cracked asphalt shingle | Replace the damaged shingle | $30–$100 |
| Small gap at sound flashing | Clean and reseal the joint | $10–$35 |
| Split pipe-boot collar | Replace boot or compatible flashing | $15–$75 |
| Exposed roofing nail | Correct fastener and seal as required | $10–$30 |
| Rusted or displaced flashing | Replace damaged metal section | $20–$100+ |
These are planning ranges rather than national fixed prices. Retail pricing changes by region, package size, brand, and roof type.
Maryland and Pennsylvania homeowners may find older roofs with multiple shingle layers. Florida houses may use roofing assemblies designed around higher wind exposure. In California, wildfire conditions can also affect material decisions.
A repair also becomes more complicated when water reaches the roof deck. Soft plywood, delamination, or rot means the visible surface defect is no longer the whole job.
When broader repairs require contractor estimates, Baltimore Chronicle’s guide to reading a construction estimate explains how to identify exclusions and hidden costs.
Document the original damage with photographs before removing anything. Those images can help if another leak appears in the same location.
Step 4: Replace a damaged asphalt shingle
For a single damaged shingle, gently lift the tabs in the rows immediately above it. A flat pry bar can release the roofing nails holding the damaged piece.
Slide the old shingle out without tearing neighboring shingles. Position the matching replacement in the same course and fasten it according to the manufacturer’s nailing pattern.
Why it matters: replacing the failed component restores the shingle system instead of hiding a crack beneath a surface patch.
The common mistake is forcing cold or brittle shingles upward. Asphalt becomes less flexible at low temperatures and may crack around the repair area.
A repair that damages 3 surrounding shingles while replacing 1 failed shingle has increased the problem rather than solved it.
Step 5: Repair flashing instead of burying it in sealant
Roof flashing repair deserves closer attention because leaks commonly form around chimneys, walls, skylights, valleys, and plumbing vents. Metal flashing directs water away from joints where roofing materials meet other surfaces.
If flashing is merely separated at a small joint but remains intact, clean the area and use a roofing product approved for that material. Remove dirt and loose previous sealant before applying anything new.
If the metal is rusted through, cracked, badly bent, or installed incorrectly, replace it. Spreading another thick layer of roof cement over failed metal usually creates only a temporary barrier.
The common mistake is sealing the bottom edge of flashing where water is designed to drain. Blocking the intended drainage path can push water under nearby roofing.
Step 6: Use roof sealant only where it belongs
Roof leak sealant is useful for small joints, certain exposed fasteners, and manufacturer-approved repairs. It should adhere to a clean surface and remain compatible with both the roofing material and existing coating.
Apply enough material to close the defect without creating a large mound. Thick layers can crack, trap moisture, or make the next permanent repair harder.
Why it matters: a controlled bead follows the joint being repaired and makes future inspection possible.
A frequent mistake is grabbing ordinary interior or bathroom caulk. Roofing products face ultraviolet exposure, large temperature swings, and standing water that household sealants may not tolerate.
Step 7: Test the repair carefully
After the repair cures according to the product instructions, check the attic again. Look for fresh moisture before assuming the problem has disappeared.
If conditions permit, one person can observe the attic while another applies a limited amount of water to the repaired roof area. Start low and move gradually uphill rather than flooding the entire roof.
This method can isolate one repair zone at a time. It also prevents water from several roof features from entering simultaneously and confusing the diagnosis.
The common mistake is spraying water upward beneath shingle laps. Rain normally moves down the roof, so an unrealistic test can produce a leak that ordinary weather would not.
Step 8: Check the attic after the next rainfall
A successful DIY roof leak repair should survive real weather, not merely look dry immediately after the work. Inspect the attic during or shortly after the next normal rainfall.
Check insulation, rafters, sheathing, and the original ceiling-stain location. Marking the old stain with a pencil can make new moisture easier to identify.
If the same location becomes wet again, stop adding layers of sealant. The original diagnosis was probably incomplete, or water is entering from another point.
A recurring leak is diagnostic information. Repeated patches in the same area usually mean the source has not been corrected.
Troubleshooting a small roof leak
Some leaks refuse to match the obvious defect. These scenarios help separate a straightforward patch from a problem that needs deeper inspection.
- Leak appears only during wind-driven rain: inspect wall flashing, vents, ridge details, and siding intersections rather than shingles alone.
- Water appears around a plumbing vent: inspect the rubber boot and flashing base for splits or separation.
- Ceiling drips but attic decking looks dry: check plumbing, HVAC condensation, and bathroom exhaust ducts before opening the roof.
- Leak returns after several successful storms: seasonal movement or a small flashing defect may be reopening.
- Several rooms show stains: the problem may involve aging roofing, valleys, decking, or widespread installation failure.
Condensation can imitate a roof leak, particularly in colder climates. Warm indoor air entering a poorly ventilated attic may condense on cold sheathing or roofing nails.
Ice dams create another pattern in northern states. Water can back up beneath shingles near eaves even when the roofing surface appears intact.
Leaks near chimneys may originate in counterflashing or masonry instead of the surrounding shingles. Skylights introduce similar ambiguity because seals, frames, flashing, and condensation all deserve inspection.
If water damage continues after a localized repair, professional diagnosis is usually cheaper than repeatedly buying patch products. Persistent moisture can affect insulation, drywall, framing, and interior finishes.
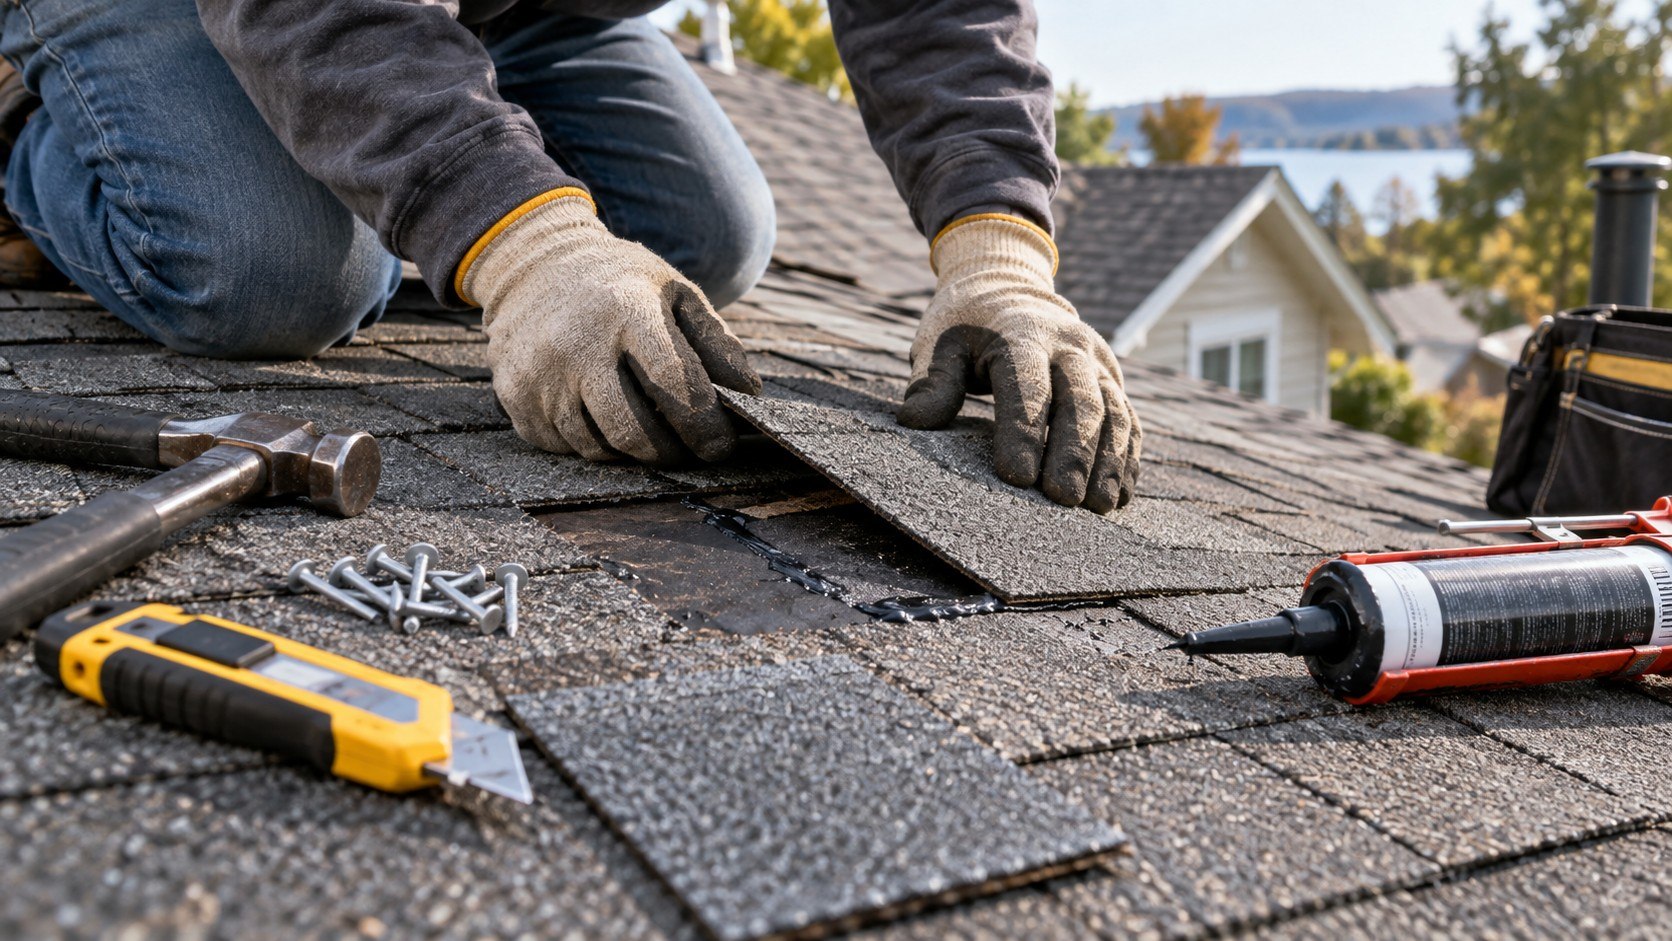
When to call a professional roofer
Small roof leak repair is a reasonable DIY project only when the defect is limited and access is safe. A homeowner should stop when the repair expands beyond one clearly identifiable component.
- Call a roofer if the roof deck feels soft, sagged, or visibly deteriorated.
- Use professional help for steep, high, slate, tile, or complex metal roofs.
- Get an inspection when leaks repeatedly return after localized repairs.
- Seek professional evaluation after major hail, falling branches, or widespread wind damage.
- Check warranty requirements before modifying a newer roofing system yourself.
- Contact the landlord or property manager first if the home is rented.
A contractor can also determine whether the visible opening is only one part of a larger failure. That distinction becomes important on roofs approaching the end of their service life.
Get the scope in writing. A useful estimate should identify the damaged area, materials, flashing work, underlayment or decking work, disposal, and warranty terms.
Do not accept “seal roof leak” as the entire description of a significant repair. The document should specify what component is being corrected.
For storm-related damage, photograph affected areas before temporary repairs. Insurance procedures vary by policy and state, so review the policy before committing to major replacement work.
One isolated leak does not automatically justify replacing an entire roof. Multiple failures across aging roof sections may.
FAQ
Can you fix a small roof leak from inside the attic?
An interior patch may slow water temporarily, but it usually does not correct the exterior entry point. Permanent repairs normally require fixing the failed roofing component outside.
What is the best sealant for a small roof leak?
Use a roofing sealant approved for the specific roof material and application. Asphalt roofing cement, polyurethane products, and silicone products are not interchangeable in every roofing system.
Can I put roof sealant over a cracked shingle?
A very small crack may sometimes be treated according to manufacturer guidance. A badly split, loose, or deteriorated shingle should generally be replaced instead.
How much does a DIY roof leak repair cost in 2026?
Simple materials often fall around $20–$100 in 2026. Costs rise when a full shingle bundle, specialty flashing, pipe boot, ladder, or safety equipment is needed.
How do I know whether the leak is coming from flashing?
Leaks near chimneys, skylights, roof-to-wall joints, vents, and plumbing pipes deserve close flashing inspection. Look for separation, corrosion, cracks, displaced metal, or failed seals.
When should a leaking roof be replaced instead of repaired?
Replacement becomes more likely when leaks are widespread, shingles are deteriorating across several sections, decking is damaged, or repairs keep failing in different areas.
Earlier we wrote about How to Add an ADU to Your House 2026: Permits, Costs and 6 Steps