

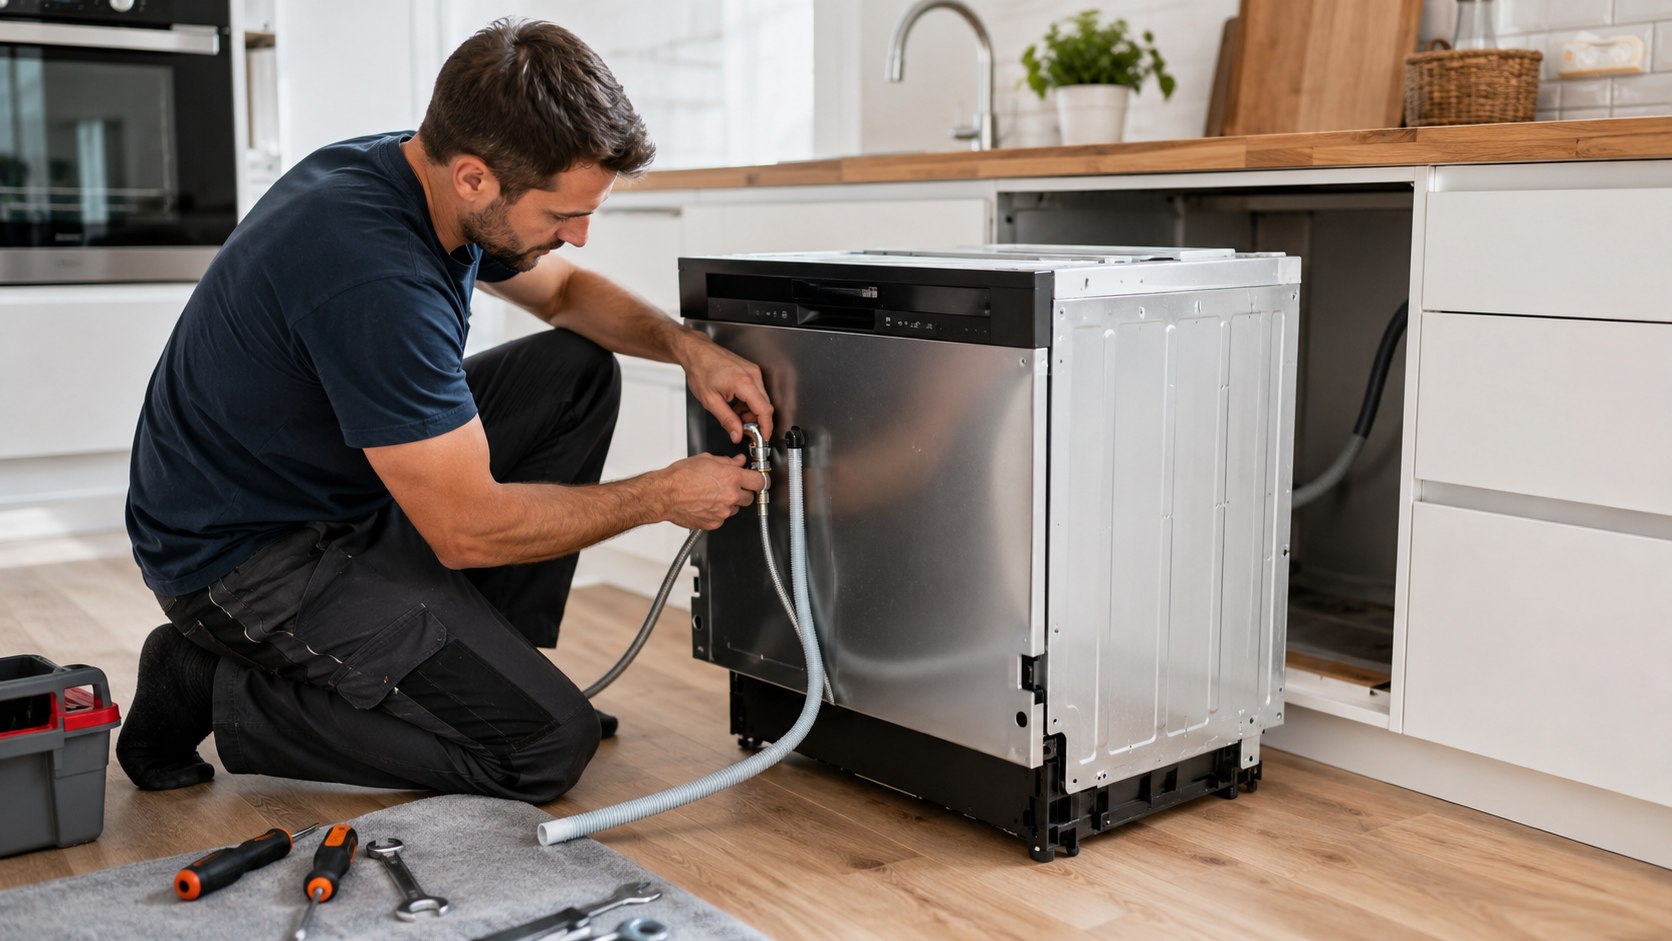
How to install a dishwasher yourself comes down to 3 secure connections: the hot-water supply, the drain hose, and the electrical circuit. A straightforward replacement usually takes 2–4 hours when the cabinet opening and existing hookups are ready, as noted by the Baltimore Chronicle editorial team.
Turn off the breaker and water valve before removing the old machine. Connect the new dishwasher according to its model-specific manual, create the required drain loop, level the appliance, and run a controlled leak test. Stop and hire a licensed professional when you find damaged wiring, corroded valves, missing grounding, or plumbing that must be relocated.
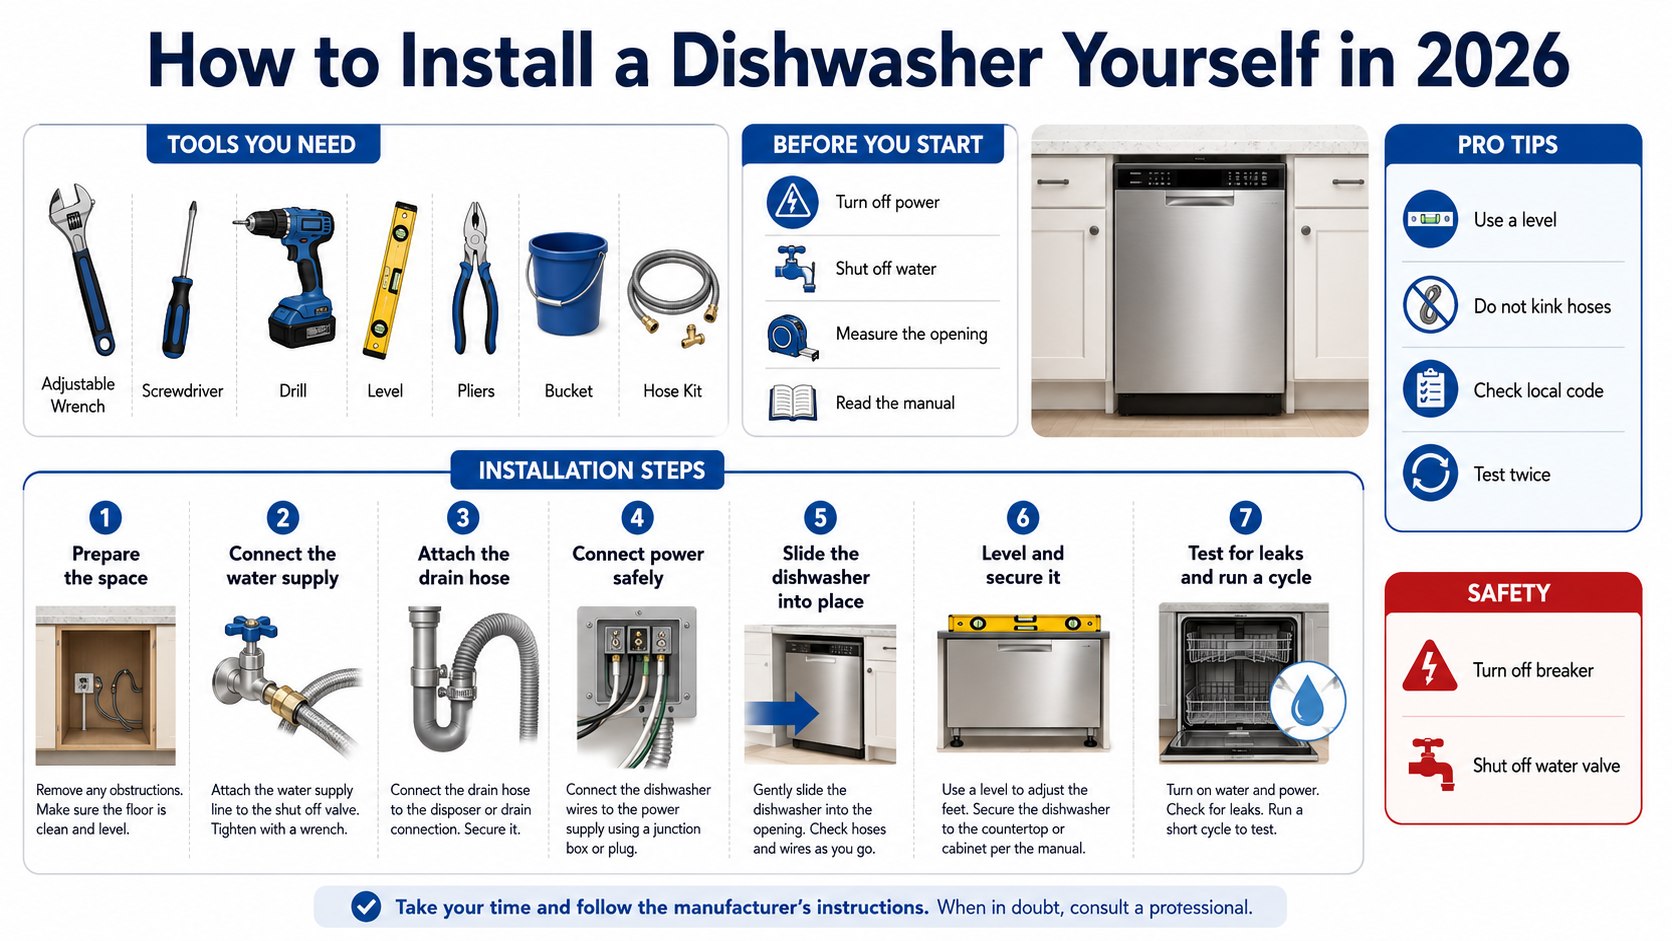
Key takeaways
- Reuse the existing location when possible because moving plumbing or electrical lines sharply increases cost and complexity.
- A high drain loop or approved air gap prevents dirty sink water from flowing back into the dishwasher.
- Verify local electrical and plumbing rules because permit and GFCI requirements differ among states and municipalities.
What You Need Before Installing a Dishwasher
Gather every part before pulling the old appliance from the cabinet. Leaving the opening exposed while searching for an adapter creates avoidable water, wiring, and flooring risks.
You will need:
- dishwasher installation manual and model number;
- adjustable wrench, channel-lock pliers, and screwdrivers;
- nut driver, drill, tape measure, and 24-inch level;
- flashlight, towels, shallow pan, and work gloves;
- new braided water-supply line approved for dishwashers;
- new drain hose or manufacturer-approved extension;
- hose clamps, thread sealant, and appropriate fittings;
- power cord kit or junction-box components specified by the manufacturer;
- 2–4 hours for a direct replacement;
- about $30–$120 for common installation materials in 2026.
Do not assume the new machine includes every required connector. Bosch, Whirlpool, GE, KitchenAid, LG, Samsung, and Maytag package accessories differently.
Check whether the dishwasher is cord-connected or hardwired. The manual determines which method is approved for that model. Never improvise with an extension cord or an undersized appliance cord.
Renters should obtain written permission before disconnecting plumbing or wiring. The landlord may require installation by an insured contractor, even when the physical work appears simple.
Photograph the original hose routing, wire connections, shutoff valve, and cabinet brackets before removing anything. Those images provide a reliable reference during reassembly.
Dishwasher Installation Costs and Conditions in 2026
A same-location replacement is the cheapest scenario. Costs rise when the shutoff valve leaks, the cabinet opening requires modification, or a new electrical circuit is needed.
| Installation item | Typical DIY cost in 2026 | Typical professional cost in 2026 | Main concern |
|---|---|---|---|
| Water-supply line and fittings | $15–$45 | $100–$250 | Leaks and incompatible threads |
| Drain hose and clamps | $15–$60 | $120–$300 | Kinks, backflow, and disposal plug |
| Power cord or junction-box kit | $15–$45 | $125–$350 | Grounding and circuit protection |
| Direct replacement labor | $0 | $200–$500 | Access and existing hookup condition |
| New dedicated circuit | Not recommended for most owners | $300–$900 or more | Permit, breaker, cable, and panel access |
| New plumbing location | Varies widely | $500–$1,500 or more | Wall, cabinet, and drain modifications |
These are national planning ranges rather than guaranteed quotes. Labor may cost more in California, New York, Massachusetts, Maryland, Washington, and Hawaii.
A replacement becomes more expensive when the installer must correct earlier work. Common examples include an inaccessible valve, an ungrounded circuit, and a drain connection below the trap.
Keeping the dishwasher beside the sink generally reduces modifications. Moving it across the kitchen may require new water, drain, electrical, cabinet, and flooring work.
For broader budgeting, compare the related guide to kitchen remodeling costs in the USA. The article explains how appliance relocation changes renovation expenses.
Ask contractors to separate labor, materials, permits, disposal, and travel charges. A low installation price may exclude the power cord, supply line, haul-away service, or necessary code corrections.
Step 1: Measure the Opening and Inspect the Connections
Measure the cabinet opening at the top, middle, and floor. Most full-size built-in dishwashers are designed for a nominal 24-inch opening, but actual model dimensions vary.
Confirm that the floor is continuous and reasonably level. A raised tile edge or unfinished cavity can prevent removal later.
This step matters because a machine that barely enters the opening may pinch the water line or drain hose. The common mistake is measuring only the old dishwasher’s front panel.
Step 2: Shut Off Water and Electrical Power
Turn off the dishwasher breaker at the service panel. Test the appliance controls and verify that no lights or sounds remain.
Close the dishwasher shutoff valve, usually located beneath the kitchen sink. GE notes that this valve is commonly installed on the supply line passing from the sink cabinet toward the appliance.
This prevents shock and uncontrolled water discharge. Do not rely on the dishwasher’s control button because internal components may remain energized.
“Requires a 120 volt, individual, properly grounded branch circuit.”
GE Appliances, dishwasher electrical requirements guidance, describing the standard supply arrangement for supported GE and Hotpoint models.
Step 3: Remove the Old Dishwasher Carefully
Remove the lower access panel. Place towels and a shallow pan beneath the water connection before loosening the supply line.
Disconnect the drain hose under the sink. Then remove the mounting screws securing the appliance to the countertop or cabinet sides.
Lower the leveling feet before pulling the unit forward. This protects the counter edge and prevents the brackets from tearing cabinet material.
The main mistake is dragging the machine across finished flooring. Place thin hardboard or a protective appliance mat beneath the feet.
Step 4: Prepare the Water-Supply Connection
Route a new braided supply line from the hot-water shutoff valve into the dishwasher opening. Keep it away from sharp cabinet edges and moving parts.
Attach the manufacturer-specified elbow or inlet fitting to the dishwasher valve. Use thread sealant only where the instructions permit it.
Dishwasher water line installation matters because a slow connection leak may remain hidden beneath the machine for months. Avoid overtightening plastic or brass inlet components.
GE advises connecting supported dishwashers to the hot-water supply. Its current guidance identifies 120°F as the minimum entering temperature for proper performance on applicable models. Verify the required range in your own manual.
Step 5: Connect and Route the Drain Hose
Attach the drain hose to the appliance outlet and secure the supplied clamp. Route the hose without twists, crushed sections, or tight bends.
Raise the hose beneath the countertop before connecting it to the garbage disposal or sink drain tailpiece. Whirlpool guidance describes this dishwasher drain hose high loop as protection against siphoning and wastewater backflow.
This connection matters because a low hose can return dirty sink water to the tub. A common mistake is leaving the hose loose on the cabinet floor.
If the garbage disposal is new, confirm that its dishwasher-inlet knockout plug has been removed. An unopened plug is a frequent cause of a newly installed dishwasher that will not drain.
Some jurisdictions require a visible air gap rather than only a high loop. Check the local plumbing rules in states such as California before changing an existing approved arrangement.
Step 6: Make the Electrical Connection
Follow the model instructions for either a listed power cord or a hardwired junction box. Connect hot, neutral, and grounding conductors exactly as labeled.
GE specifies a 120-volt grounded branch circuit protected by a 15- or 20-amp breaker for its supported models. Other manufacturers may impose additional requirements.
Dishwasher electrical wiring is not an appropriate DIY task when the cable is damaged, grounding is missing, or a new circuit is required. The National Electrical Code is the national benchmark, but states adopt different editions and amendments.
Modern residential dishwasher installations generally require GFCI protection under adopted NEC provisions. Confirm the current rule with the local authority having jurisdiction before work begins.
Readers facing a dead circuit can review Baltimore Chronicle’s home technology and appliance guides. Repeated breaker tripping requires diagnosis rather than repeated resets.
Stop immediately when you find burned insulation, aluminum branch wiring, moisture inside the junction box, or an ungrounded cable. Those conditions require a qualified electrician.
Step 7: Slide, Level, and Secure the Dishwasher
Feed the water line, drain hose, and power cable through the cabinet while another person slowly slides the machine inward. Watch each connection continuously.
Adjust the front and rear leveling feet until the tub is level from side to side. Check front-to-back alignment according to the manufacturer’s instructions.
Leveling matters because the door may swing, racks may roll, and water may collect incorrectly. Do not use mounting screws to pull a crooked dishwasher into position.
Secure the brackets to the countertop or cabinet sides. Use side-mounting hardware for stone counters when drilling into the countertop is prohibited.
Step 8: Restore Water, Test for Leaks, and Run a Cycle
Open the shutoff valve slowly. Inspect the valve, supply hose, inlet fitting, drain connection, and nearby cabinet floor with a flashlight.
Restore power and run the shortest available rinse cycle. Watch beneath the sink and below the access panel during filling, washing, and draining.
This controlled test exposes connection problems before the appliance is fully enclosed. The common mistake is walking away during the first complete cycle.
After testing, install the lower access panel without pinching insulation or wiring. Recheck the floor after several hours because a small drop may appear only after pressure remains on the connection.
Troubleshooting a New Dishwasher Installation
Installation faults often produce recognizable symptoms. Begin with the newest connection rather than assuming that a major component has failed.
- The dishwasher does not fill: open the shutoff valve fully and inspect the supply hose for kinks.
- Water remains after draining: check the high loop, air gap, hose routing, filter, and disposal inlet.
- Water leaks near the front: level the cabinet and inspect the door gasket, spray arms, and excess detergent.
- The breaker trips: disconnect power and call an electrician or authorized service technician.
- The machine rocks or the door moves: readjust the leveling feet and tighten the mounting brackets.
A humming drain pump often indicates restricted water flow. Switch off power before checking the filter, sump, air gap, or hose.
Standing dirty water suggests backflow or a blocked drainage path. A small amount of clean water deep below the filter may be normal for some models.
Do not pour chemical drain cleaner into the dishwasher. It can damage seals and create a splash hazard when the hose is disconnected.
Follow the Baltimore Chronicle guide when a dishwasher does not drain after installation. It covers the filter, pump area, disposal connection, and drain hose.
Persistent leaks require immediate action. Close the water valve, switch off the breaker, dry the cabinet, and identify the source before another test.
When DIY Installation Is the Wrong Choice
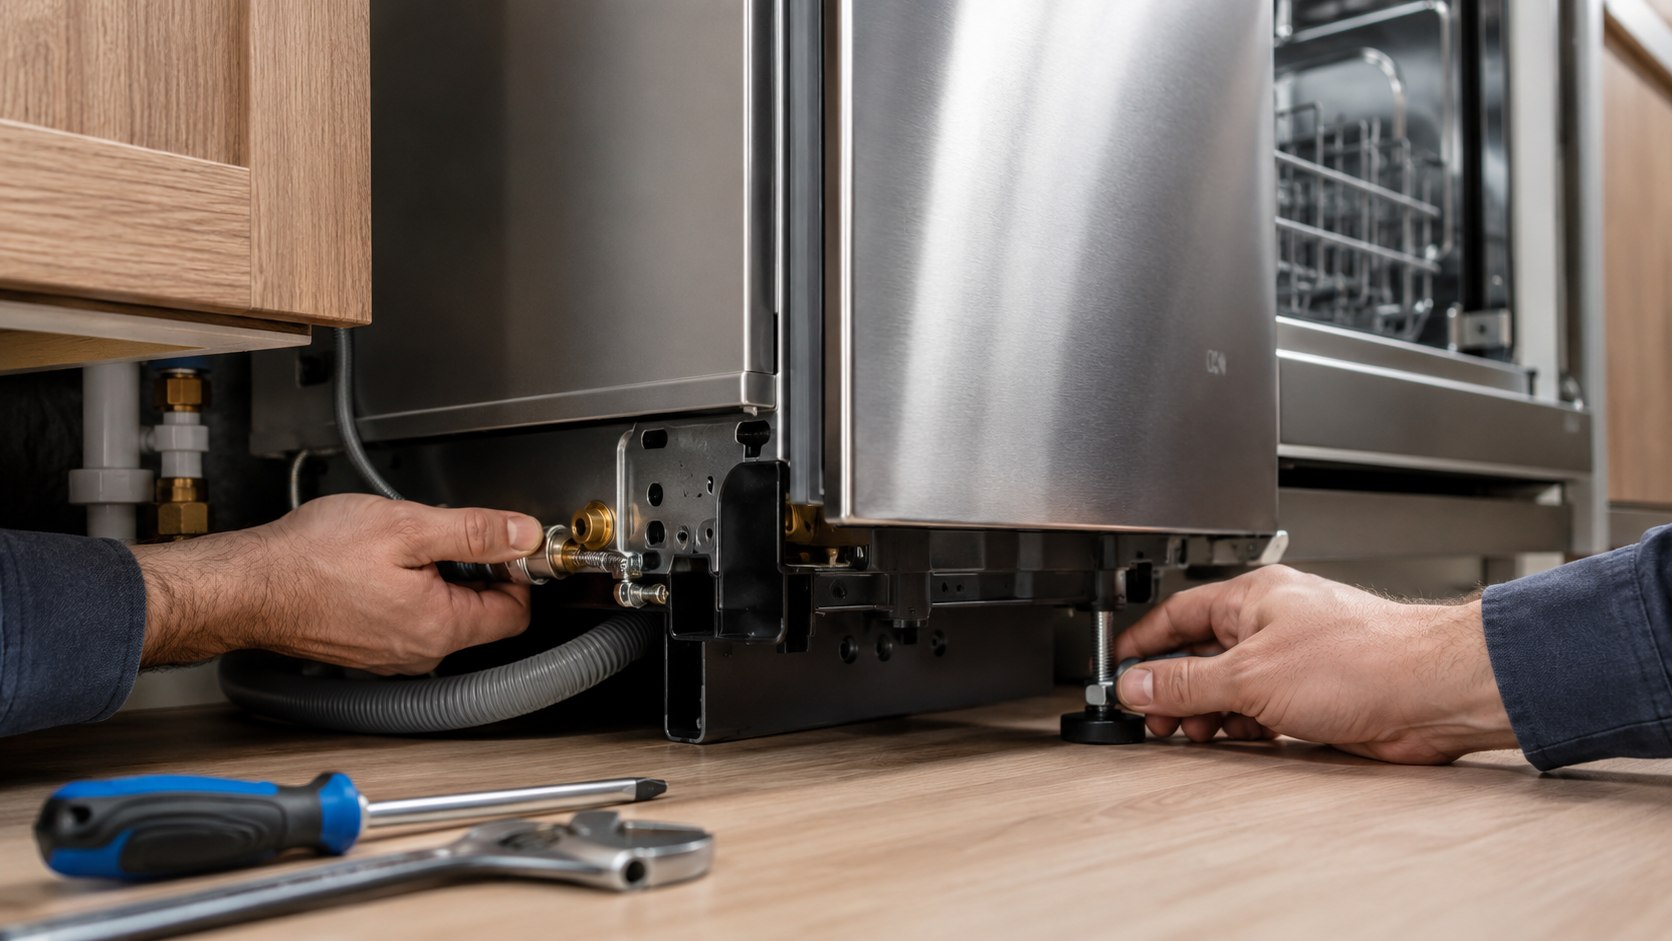
Hire a licensed plumber when no dishwasher connection exists, the shutoff valve is corroded, or the drain must be relocated. Cabinet and floor damage can turn a simple replacement into a remodeling project.
Use a licensed electrician when a new circuit, breaker, receptacle, grounding conductor, or GFCI protection must be installed. Permit requirements vary by city and state.
Professional installation is also sensible for panel-ready units, custom cabinetry, inaccessible hookups, and premium models with specialized mounting systems. Bosch, Miele, and other manufacturers may require particular accessories or authorized service for certain warranty claims.
A direct DIY replacement saves money only when the existing installation is safe and compatible. Correcting hidden water damage or unsafe wiring usually costs more than hiring the right trade initially.
FAQ
Can I install a dishwasher myself?
Yes, when you are replacing an existing unit with compatible plumbing and electrical connections. Hire professionals when lines, drains, circuits, or cabinets require modification.
How long does dishwasher installation take?
A prepared same-location replacement usually takes 2–4 hours. Corroded valves, difficult flooring, wiring corrections, and cabinet work can extend the job.
Does a dishwasher need a dedicated circuit?
Many manufacturers specify an individual 120-volt grounded branch circuit with a 15- or 20-amp breaker. Check the manual and locally adopted electrical code.
Should a dishwasher connect to hot or cold water?
Most standard US built-in dishwashers connect to the hot-water supply. Verify the required temperature and connection method in the model instructions.
Does a dishwasher need an air gap?
Requirements depend on the local plumbing code and installation design. Some jurisdictions require an air gap, while others permit an approved high loop.
How do I know whether the installation is leaking?
Inspect every connection during filling and draining. Check again after several hours for moisture, swollen cabinet material, or water beneath the access panel.
Earlier we wrote about Repairs Before Selling a House in 2026: Costs, Priorities and Mistakes