

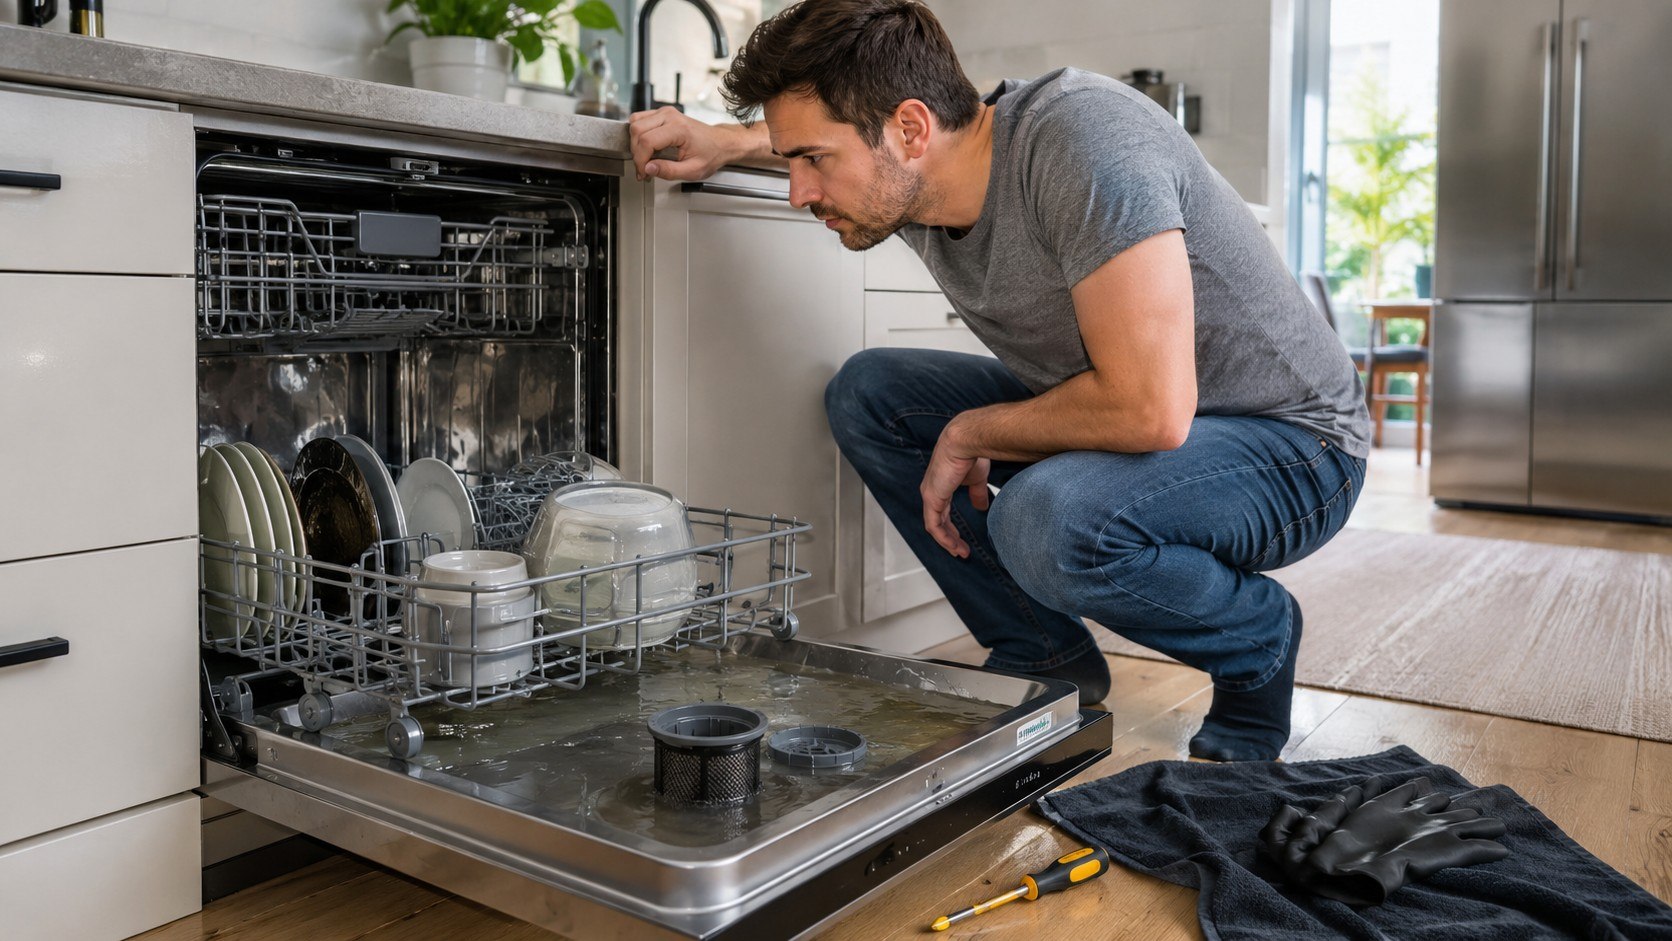
How to fix a dishwasher not draining starts with 3 checks: clean the filter, inspect the drain hose, and test the drain connection. Most homeowners can complete these checks within 30–60 minutes without removing the appliance, as the Baltimore Chronicle editorial team notes.
Turn off electrical power before reaching beneath the filter or opening any access panel. Remove standing water, clean visible debris, and run a short drain test. Stop if you find damaged wiring, leaking seals, broken glass, or a pump that smells burned.
Key takeaways
- A dirty filter or blocked sump is the simplest and most common place to begin troubleshooting.
- A kinked hose, clogged air gap, or blocked disposal connection can stop an otherwise working pump.
- Persistent humming, electrical odors, leaks, or repeated error codes usually require professional diagnosis.
What You Need Before Checking the Dishwasher
Gather the basic tools before touching the appliance. Keeping towels and a shallow container nearby prevents dirty water from spreading beneath cabinets.
- Owner’s manual or the manufacturer’s online model guide
- Flashlight
- Rubber gloves and safety glasses
- Old towels or absorbent pads
- Shallow bowl, cup, or wet-dry vacuum
- Phillips and flat-head screwdrivers
- Pliers or a nut driver for hose clamps
- Soft brush and warm water
- 30–60 minutes for basic inspection
- $0–$40 for simple cleaning supplies or a replacement hose
Find the model number before ordering anything. It may appear along the door edge, frame, or side of the tub.
Renters should report the problem before disconnecting plumbing. A lease may prohibit appliance repairs, even when the fix appears simple. Photograph the standing water and any displayed error code. Those records can help the landlord or technician understand the failure.
Homeowners comparing repair against replacement can review the dishwasher lifespan guide for 2026. Age, corrosion, parts availability, and earlier repairs all affect that decision.
Do not work on a connected dishwasher. Switching off the control panel does not necessarily disconnect power from the appliance.
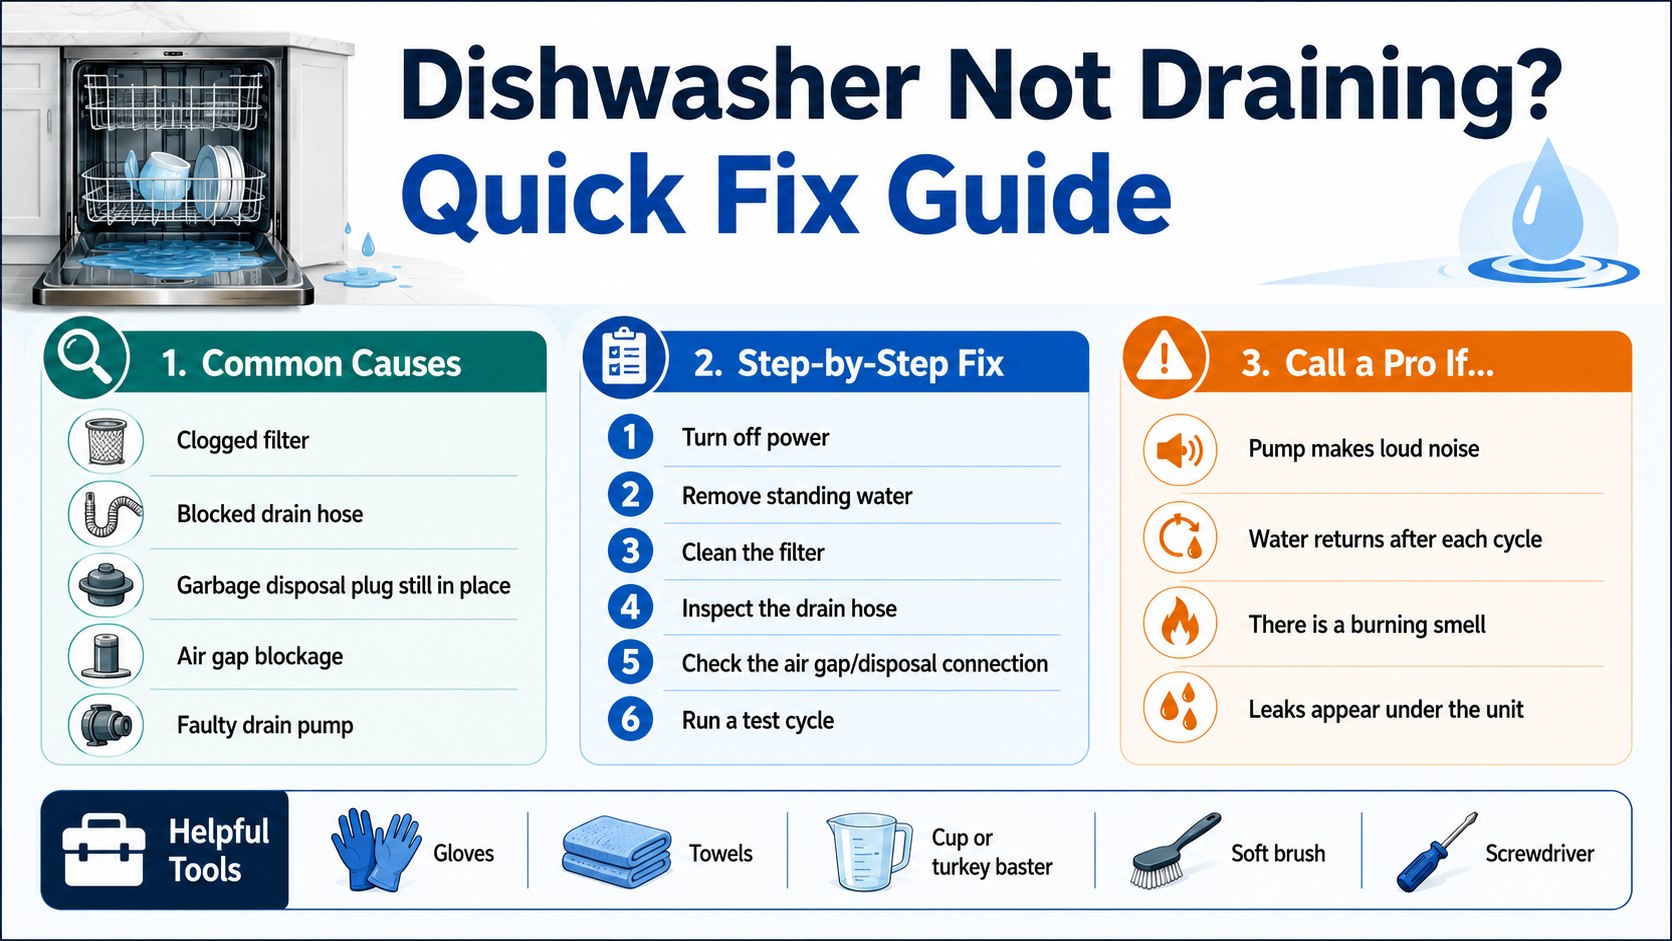
Step 1: Shut Off Power and Remove Standing Water
Switch off the dishwasher’s circuit breaker. Confirm that its display and interior lights remain off when the door opens.
Remove the lower rack. Scoop standing water into a bowl, or use a wet-dry vacuum. Towels can absorb the final shallow layer.
This step exposes the filter and prevents contaminated water from spilling during inspection. It also reduces contact with broken glass or food debris.
A common mistake is relying only on the dishwasher’s power button. The appliance may still have live electrical components beneath the tub.
Step 2: Clean the Dishwasher Filter and Sump
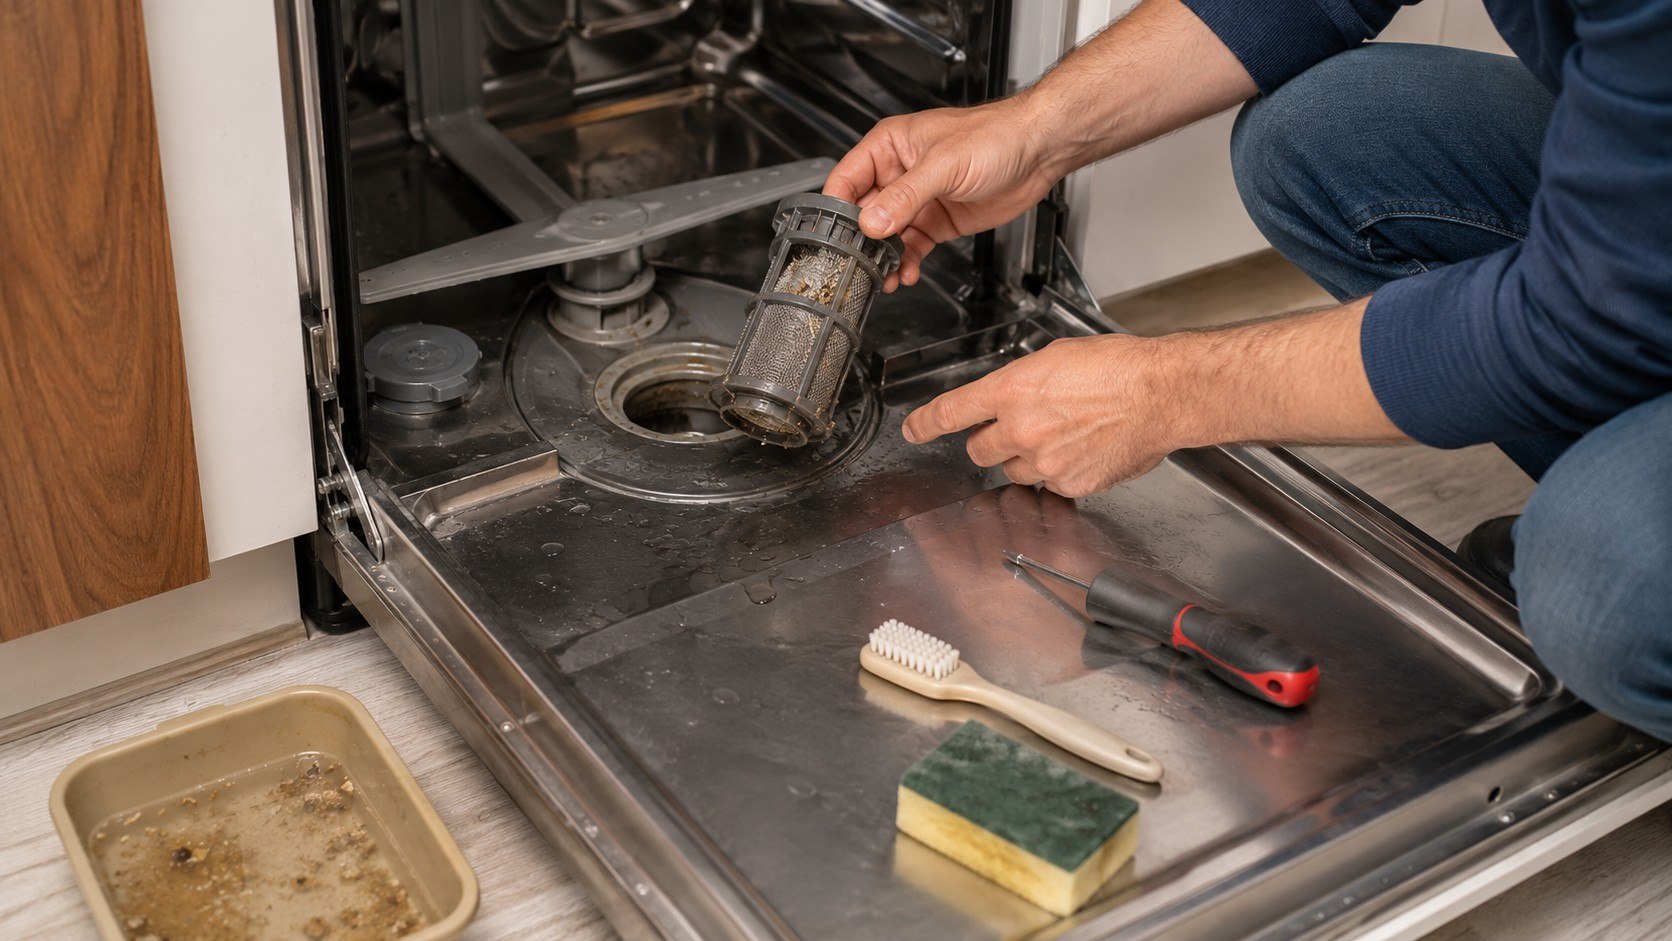
Unlock and lift out the cylindrical filter, following the model instructions. Remove the flat screen when the design permits it.
Rinse both parts under warm water. Use a soft brush on grease, paper labels, seeds, pasta, and hardened food particles.
Inspect the sump beneath the filter with a flashlight. Wear gloves because glass fragments can remain nearly invisible in cloudy water.
A clogged dishwasher filter restricts water flow toward the pump. The pump may run normally yet fail to remove enough water.
The usual mistake is reinstalling the filter without locking it. A loose filter can allow debris into the sump and create another blockage.
Manufacturer guidance supports beginning with the filter, pump area, and drain hose. Whirlpool lists debris, hose restrictions, disposal connections, and pump problems among common causes of failed drainage. Its official dishwasher drainage guidance provides additional model-specific checks.
Step 3: Inspect the Pump Area and Impeller
Look inside the sump after removing the filter. Some models include a removable pump cover secured by clips or screws.
Remove only the parts identified in the owner’s manual. Check for glass, bones, twist ties, fruit pits, plastic film, or broken dish fragments.
If the impeller is visible, confirm that debris is not locking it. Do not force the blades or insert metal tools into the motor housing.
This matters because a jammed dishwasher drain pump may hum without moving water. Continued operation can overheat the motor.
The common mistake is opening a sealed pump assembly without service instructions. That can damage clips, seals, wiring, or warranty coverage.
Official Bosch troubleshooting recommends checking the filter unit, pump area, and drain hose before arranging service.
Source: Bosch customer-support guidance for dishwashers that do not drain.
Drivers and busy households may need the appliance restored quickly. However, repeatedly restarting a blocked pump rarely solves the problem. It can convert a removable obstruction into a motor failure.
Step 4: Check the Garbage Disposal Connection
Run the garbage disposal with cold water for several seconds. Then switch it off and inspect the dishwasher hose connection beneath the sink.
A newly installed disposal has a knockout plug inside the dishwasher inlet. The plug must be removed before the hose can discharge water.
This connection matters because many US dishwashers drain directly into the disposal. Food buildup or an unopened inlet blocks the entire route.
The frequent mistake is pushing a tool into the inlet while power remains connected. Switch off the disposal circuit before inspecting that opening.
Homes without a disposal usually connect the hose to a sink drain tailpiece. Check that fitting for grease, sludge, and crushed food deposits.
Step 5: Clean the Sink Air Gap
Some kitchens have a small chrome or plastic cylinder beside the faucet. This is the dishwasher air gap.
Remove its outer cap and internal cover. Clear visible debris with a brush, then rinse the components before reinstalling them.
The air gap prevents wastewater from siphoning back into the appliance. A blockage can leave dirty water inside the tub or release water near the sink.
A common mistake is ignoring the air gap because the sink drains normally. The dishwasher uses a separate, narrower drainage path.
Air-gap requirements vary with local plumbing codes and installation methods. California homes commonly use visible air gaps, while other states may permit approved high-loop arrangements. Verify local requirements before changing the installation.
Step 6: Inspect the Drain Hose for Kinks and Clogs
Trace the hose from the dishwasher toward the sink cabinet. Straighten sharp bends, compressed sections, and areas pinched behind stored items.
Place towels below the connection. Release the clamp, disconnect the hose, and drain its contents into a shallow container.
Flush a removable hose with warm water when the manufacturer allows it. Replace a cracked, hardened, swollen, or permanently crushed hose.
A blocked dishwasher drain hose prevents water from reaching the disposal or drain tailpiece. Even a partial grease restriction can slow drainage.
Do not use harsh chemical drain cleaners inside the hose. Residue may damage seals, splash during disconnection, or remain inside the dishwasher.
The hose should also rise beneath the countertop before reaching the drain connection. That high loop helps prevent sink wastewater from returning.
Readers planning broader plumbing work can compare national labor ranges in the 2026 plumber hourly rate guide. Local service-call minimums can matter more than the repair itself.
Step 7: Check the Drain Valve or Check Valve
Some dishwasher designs use a drain valve, solenoid, check valve, or flapper. The exact component depends on brand and model year.
Inspect accessible rubber flaps for food deposits and deformation. A flap should open for discharge and close against wastewater returning.
This component matters when water leaves initially but flows back afterward. A damaged valve can create recurring standing water despite a clean hose.
The common mistake is ordering a universal valve. Bosch, GE, KitchenAid, LG, Samsung, Maytag, and Whirlpool use different assemblies and part numbers.
Use the complete model number when checking parts. A single letter or production suffix can identify a different pump, hose, seal, or control system.
Step 8: Restore Power and Run a Controlled Test
Reinstall the pump cover, filter, rack, hose, clamps, and air-gap components. Confirm that every connection is secure before restoring power.
Run a short rinse or cancel-drain cycle. Watch the sink connection and floor for leaks while listening to the pump.
A healthy drain cycle should produce a steady discharge sound. Weak pulses, prolonged humming, or silence may indicate a failed pump or electrical issue.
The common mistake is running a complete wash immediately. A short test limits flooding and reveals loose fittings faster.
Stop the cycle if water appears beneath the machine. Shut off power and the dishwasher supply valve before investigating any leak.
Repair Costs and Likely Causes in 2026
Prices differ across states, brands, and service markets. Labor in California, New York, Maryland, Massachusetts, and Hawaii may exceed charges in smaller Southern or Midwestern cities.
| Problem | Typical DIY cost in 2026 | Typical professional range in 2026 | Likely action |
|---|---|---|---|
| Dirty filter or sump | $0–$15 | $75–$200 | Clean debris and test drainage |
| Blocked air gap or disposal inlet | $0–$20 | $100–$250 | Clear the connection |
| Kinked or damaged drain hose | $15–$60 | $120–$300 | Reposition or replace hose |
| Failed check valve or drain valve | $20–$120 | $150–$350 | Replace the model-specific component |
| Failed drain pump | $40–$180 for parts | $150–$400 or more | Diagnose wiring and replace pump |
| Control or wiring failure | Not recommended for most owners | $200–$600 or more | Professional electrical diagnosis |
These figures are planning ranges, not guaranteed quotes. A diagnostic visit alone may cost about $75–$200 in 2026.
Travel charges can raise prices in Alaska, rural Texas, mountain states, and remote parts of Maine. Premium brands may require authorized technicians or special-order parts.
A dishwasher drain pump replacement often becomes questionable on an older machine with corrosion or repeated failures. Compare the quote against the appliance’s installed replacement cost.
Homeowners choosing between Bosch, Miele, and KitchenAid can consult the 2026 dishwasher brand comparison. The article covers pricing, service access, noise, cleaning, and repair considerations.
Ask whether the diagnostic fee applies toward the completed repair. Also request separate prices for parts, labor, travel, and disposal.
Troubleshooting: What the Symptoms Usually Mean
The sound, timing, and appearance of the remaining water can narrow the diagnosis. Use these scenarios after completing the basic filter and hose checks.
- The pump hums, but water remains: inspect the sump, impeller, hose, and disposal inlet for an obstruction.
- The pump makes no sound: the latch, wiring, control, drain solenoid, or pump motor may have failed.
- Water drains and returns: check the high loop, air gap, sink drain, and dishwasher check valve.
- The dishwasher stops with an error code: record the exact code and consult the manufacturer’s model-specific guide.
- Water appears beneath the appliance: stop testing and inspect the hose, pump seal, clamps, and tub connections.
Dirty water suggests a restriction or backflow problem. A small amount of clean water deep in the sump may be normal for some models.
Heavy suds can also imitate a drainage failure. Use only automatic dishwasher detergent and follow the product quantity guidance.
Do not combine household cleaners inside the machine. Chlorine products mixed with acids or ammonia can produce dangerous gases.
Repeated error codes after a successful drain may indicate a sensor, control, or wiring problem. That diagnosis usually requires a service manual and electrical testing.
Call a qualified technician when the pump smells burned, wiring looks damaged, or water reaches electrical components. Those conditions exceed routine homeowner maintenance.
FAQ
Why is there water in the bottom of my dishwasher?
A shallow amount inside the sump may be normal. Dirty water covering the tub floor usually indicates a clogged filter, blocked hose, disposal restriction, or pump problem.
Can I use a plunger on a dishwasher drain?
No. Pressure can damage seals, force debris deeper, or push dirty water into the appliance. Disconnect and inspect accessible hoses instead.
Can vinegar fix a dishwasher that will not drain?
Vinegar may loosen light mineral residue, but it cannot remove glass, plastic, bones, or a failed pump. Mechanical inspection remains necessary.
How often should I clean the dishwasher filter?
Check the manufacturer’s instructions. Busy households may need frequent cleaning, especially when dishes enter the machine with substantial food residue.
Should I repair or replace an old dishwasher?
Repair is reasonable when the tub remains sound and the failure involves one accessible component. Replacement becomes stronger after multiple costly failures.
Who should repair a dishwasher drainage problem?
An appliance technician handles pumps, controls, sensors, and internal wiring. A plumber is appropriate when the sink drain, disposal, or household piping is blocked.
Earlier we wrote about Hard Water vs Soft Water: Effects on Plumbing, Appliances, Skin and Laundry