

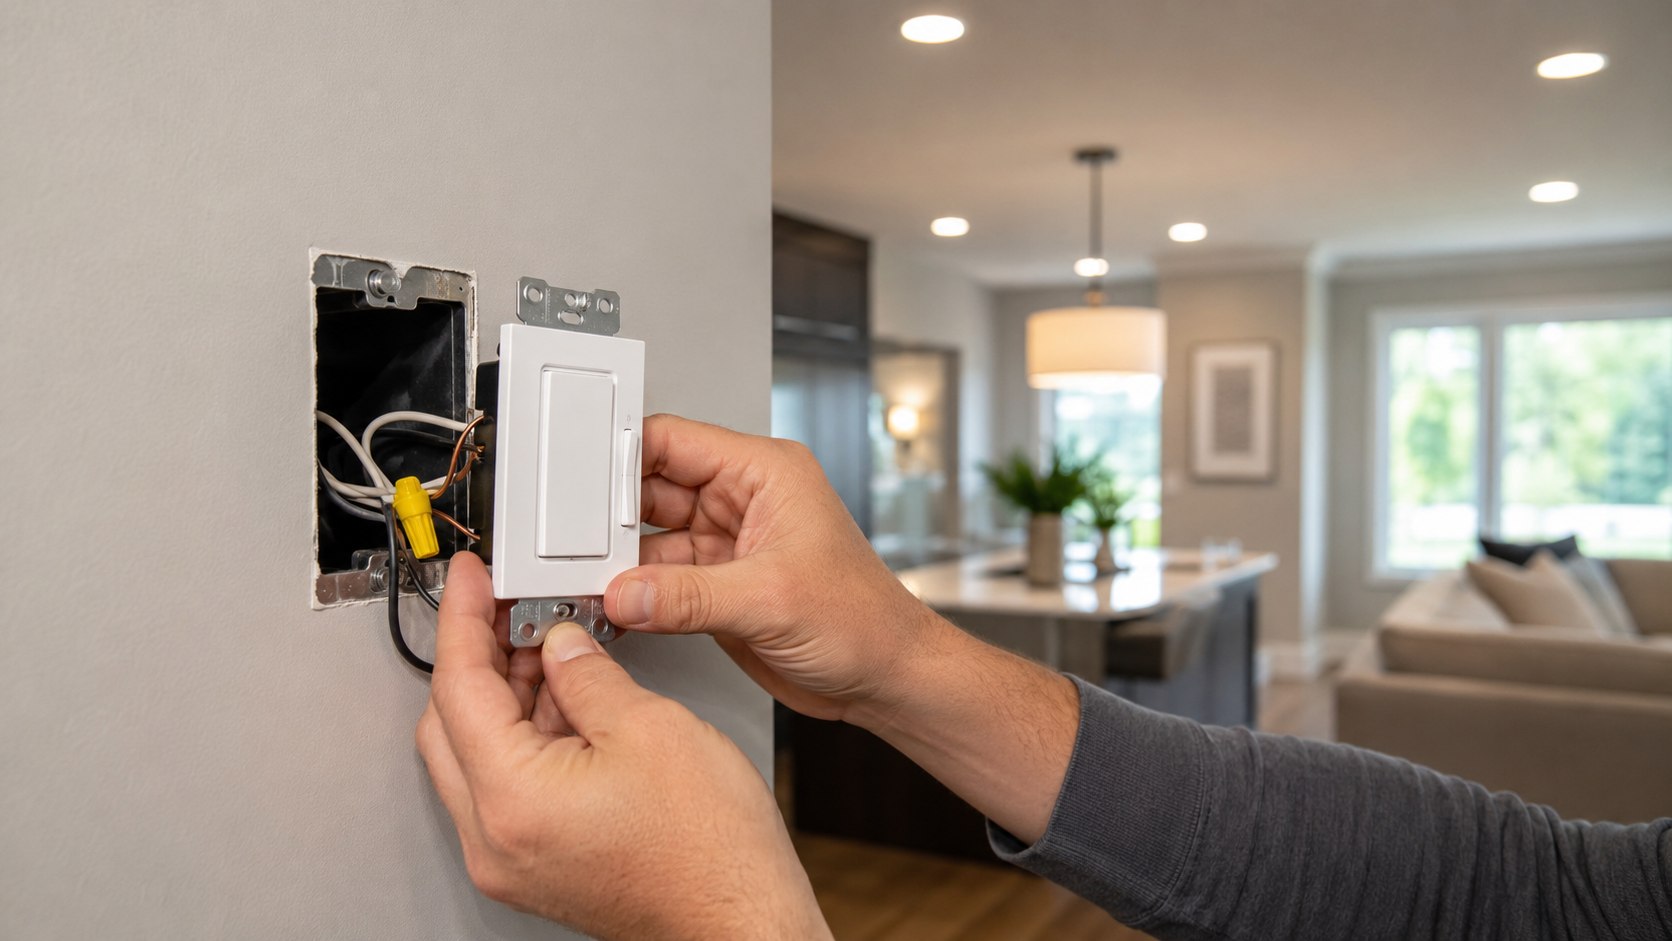
How to replace a light switch with dimmer safely begins with choosing a dimmer that matches the bulbs, circuit type, and wiring inside the wall box. A straightforward single-pole replacement usually takes 30–60 minutes, but stop and call an electrician when wiring is damaged, unidentified, aluminum, or unexpectedly complex, as noted by Baltimore Chronicle.
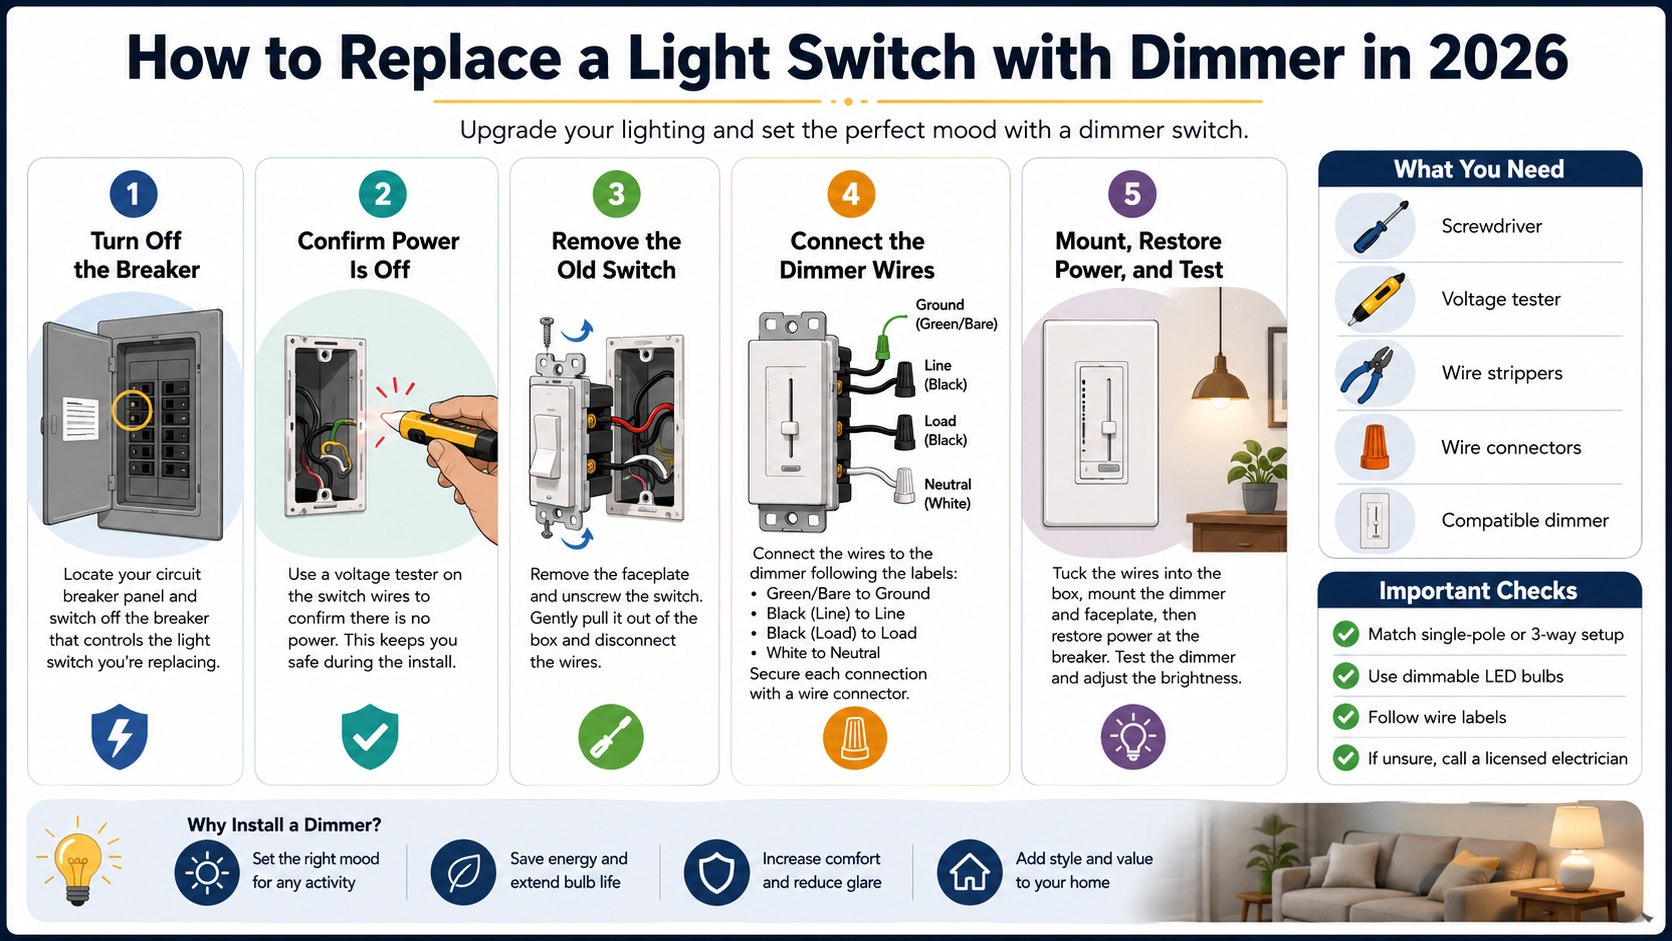
The practical sequence is simple: shut off the breaker, verify that the wires are dead, label the existing connections, install the compatible dimmer, and test the full brightness range. The difficult part is not turning screws. It is identifying whether the circuit is single-pole or 3-way and whether the selected dimmer needs a neutral wire.
Key takeaways
- Use only dimmable LED bulbs and confirm that the exact bulb and dimmer models are compatible.
- Never trust the switch position alone; turn off the breaker and test every conductor before touching it.
- A basic dimmer may cost $15–$35 in 2026, while smart models often cost $35–$80.
What you need
Gather everything before opening the wall box. Once the breaker is off, you do not want to search through another room for a screwdriver or connector.
- LED-compatible single-pole or 3-way dimmer
- Dimmable LED bulbs
- Non-contact voltage tester
- Phillips and flat-head screwdrivers
- Wire stripper or combination pliers
- UL-listed wire connectors supplied or approved by the manufacturer
- Electrical tape and wire labels
- Flashlight or battery-powered work light
- About 30–60 minutes
- Approximately $15–$80 for the dimmer in 2026
A standard manual dimmer is enough for most bedrooms, dining rooms, and living rooms. Smart dimmers add schedules, remote control, scenes, and integration with systems such as Amazon Alexa, Apple Home, or Google Home. Those features can require a neutral wire, Wi-Fi connection, bridge, companion switch, or specific app.
Check the switch rating before buying. The package should name the supported load, such as dimmable LED, incandescent, halogen, electronic low-voltage, or magnetic low-voltage. A dimmer designed only for incandescent bulbs may cause LED flicker, buzzing, unstable low settings, or premature shutoff.
The safest purchase is not simply the dimmer with the highest wattage. It is the model explicitly tested with your bulb or fixture.
Homeowners planning several electrical upgrades can also review Baltimore Chronicle’s guide to reading a construction estimate. Larger renovation budgets are discussed in its breakdown of 2026 bathroom remodeling costs.
Step 1: Choose a Compatible LED Dimmer
Read the bulb or fixture label before removing the old switch. It must state “dimmable,” and the dimmer must support that lighting technology and total connected load.
This matters because an LED bulb contains an electronic driver. That driver must interact correctly with the dimmer’s control waveform. LED performance can vary with the exact lamp, dimmer, circuit, and connected load.
Avoid assuming that every LED bulb works with every LED dimmer. Check the manufacturer’s compatibility database, such as the Lutron LED Compatibility Tool, using the bulb or fixture model number. Brands including Lutron, Leviton, Feit Electric, Philips, GE Lighting, and LEDVANCE publish tested combinations.
| Dimmer category | Typical 2026 price | Best use | Important requirement |
|---|---|---|---|
| Basic rotary dimmer | $12–$25 | Simple single-pole rooms | Must be rated for dimmable LEDs |
| Paddle and slide dimmer | $18–$35 | Most residential rooms | Check single-pole or 3-way rating |
| Advanced universal dimmer | $30–$60 | Mixed or low-voltage fixtures | Match the transformer and load type |
| Smart Wi-Fi dimmer | $35–$65 | App and voice control | Often requires a neutral wire |
| Hub-based smart dimmer | $45–$80 per control | Reliable whole-home automation | May require a separate bridge |
Prices vary by finish, retailer, wireless platform, and multi-location accessories. A Lutron Diva LED+ or Leviton SureSlide usually costs less than a connected model. Smart products such as Lutron Caséta, Leviton Decora Smart, or Kasa may require extra hardware.
Do not calculate LED capacity from incandescent ratings alone. A device marked 600 watts incandescent may carry a much lower LED rating. Also account for derating when several controls share one multi-gang wall box and their side sections must be removed.
The common mistake is buying by wall-plate style rather than electrical specification. Two dimmers can look identical while supporting different loads and wiring arrangements.
Step 2: Identify Single-Pole, 3-Way, and Neutral Wiring
Turn the light on and determine how many wall switches control it. One control location normally indicates a single-pole dimmer installation. Two locations indicate a 3-way circuit, while 3 or more locations involve 4-way switching.
This distinction controls which product and wiring diagram you need. A single-pole dimmer cannot automatically replace one device in every multi-location circuit.
- Single-pole: one switch controls the light from one location.
- 3-way: two switches control the same light from different locations.
- 4-way: three or more switches control the same light.
- Neutral: commonly a group of white wires joined behind the switch.
- Ground: bare copper, green insulation, or a bonded metal box.
Wire color offers clues, not proof. White may be used as a hot conductor in older or reidentified switch loops. Red commonly serves as a traveler, but local practices and past repairs vary.
Many traditional LED dimmers do not require a neutral. Numerous smart dimmers do because their electronics need continuous power even when the light is off. Some newer 2-wire smart products avoid that requirement, but they may impose bulb, wattage, or hub restrictions.
In older homes across Maryland, Pennsylvania, New York, Illinois, and California, the switch box may contain no neutral. That does not automatically indicate defective wiring. It means the cable arrangement predates widespread smart-control requirements.
The common mistake is separating a bundle of white neutral conductors without confirming that the new device needs them. Leave existing bundles intact unless the manufacturer’s diagram specifically requires a connection.
Step 3: Shut Off the Breaker and Verify Zero Voltage
Turn on the light, locate the correct breaker, and switch it off. Confirm that the light goes dark, then place a note on the panel so another person does not restore power.
Remove the faceplate without touching the switch terminals. Test the switch, terminal screws, grounding conductor, metal box, and nearby wires with a working non-contact voltage tester.
Do not proceed when the tester indicates voltage, the breaker cannot be identified, or unrelated circuits appear inside the same box.
CPSC safety guidance; residential branch-circuit context.
Verify the tester on a known live outlet before and after checking the switch. This confirms that the tester did not fail or lose battery power during the procedure.
The common mistake is assuming that a dark light proves the circuit is dead. A failed bulb, switched neutral, shared box, or mislabeled breaker can create that illusion.
Step 4: Photograph, Label, and Remove the Existing Switch
After confirming zero voltage, remove the mounting screws and pull the switch forward gently. Do not disconnect anything until you photograph the wiring from several angles.
Label the wire connected to the dark or differently colored “common” terminal on a 3-way switch. On a basic single-pole switch, label the line and load when they can be identified safely.
- Photograph every terminal and wire bundle.
- Mark the common conductor on a 3-way switch.
- Note whether the grounding wire connects to the device or metal box.
- Check for cracked insulation, scorch marks, corrosion, or loose splices.
- Release wires without cutting them unnecessarily short.
Preserving conductor length makes the new connection easier and safer. Most dimmers need enough wire to fold behind a deeper electronic body. A cramped box may require careful rearrangement rather than force.
Backstabbed wires may release through a small slot, while side-wired terminals loosen with a screwdriver. Do not repeatedly bend old solid copper conductors at the same point because they can weaken or break.
Stop when you find aluminum branch-circuit wiring, melted insulation, brittle cloth covering, excessive heat damage, or an ungrounded metal box. These conditions require a licensed electrician rather than a routine switch replacement.
The common mistake is removing all wires first and planning to identify them later. Once disconnected, several black conductors may look identical.
Step 5: Connect the Ground, Line, Load, and Travelers
Follow the diagram supplied with the exact dimmer model. Connect the grounding conductor first, followed by neutral when required, then line, load, and traveler conductors via radargracza.pl.
On many single-pole products, line supplies incoming power and load carries switched power to the fixture. Some basic dimmers use interchangeable black leads, while electronic models may require precise line and load placement.
For a 3-way installation, connect the labeled common conductor to the manufacturer-designated common terminal or lead. Attach the travelers only as shown in that model’s diagram. Some smart systems require a matching companion rather than a standard mechanical 3-way switch.
Never connect wires solely by matching insulation colors on the old and new devices. Match each conductor by function and terminal designation.
Twist approved connectors firmly until no bare copper remains exposed below them. Tug each conductor separately. Keep grounding wires away from energized terminals when folding everything into the box.
The common mistake is treating every green screw, black lead, red lead, and white lead as universal. Terminal assignments vary among Lutron, Leviton, Eaton, GE, Kasa, and other product lines.
Step 6: Mount, Restore Power, and Adjust the Dimming Range
Fold the conductors into the box in broad bends. Align the dimmer vertically, tighten the mounting screws evenly, and install a compatible wall plate without trapping wires.
Restore the breaker and test the control at full brightness, medium brightness, and its lowest stable setting. Leave the lights operating for several minutes and check for flicker, buzzing, delayed startup, overheating, or unexpected shutoff.
Many modern dimmers include a low-end trim adjustment. Raise that setting when the bulbs flicker, drop out, or fail to restart at minimum brightness. Some models also provide high-end trim to limit excessive output or stabilize certain fixtures.
A dimmer can feel slightly warm during normal operation. It should not produce a burning smell, discoloration, crackling, repeated breaker trips, or painful heat. Switch off the breaker immediately when those signs appear.
The common mistake is testing only the on-and-off function. LED problems often appear at the lowest setting or after the lights have warmed up.
Troubleshooting a New LED Dimmer
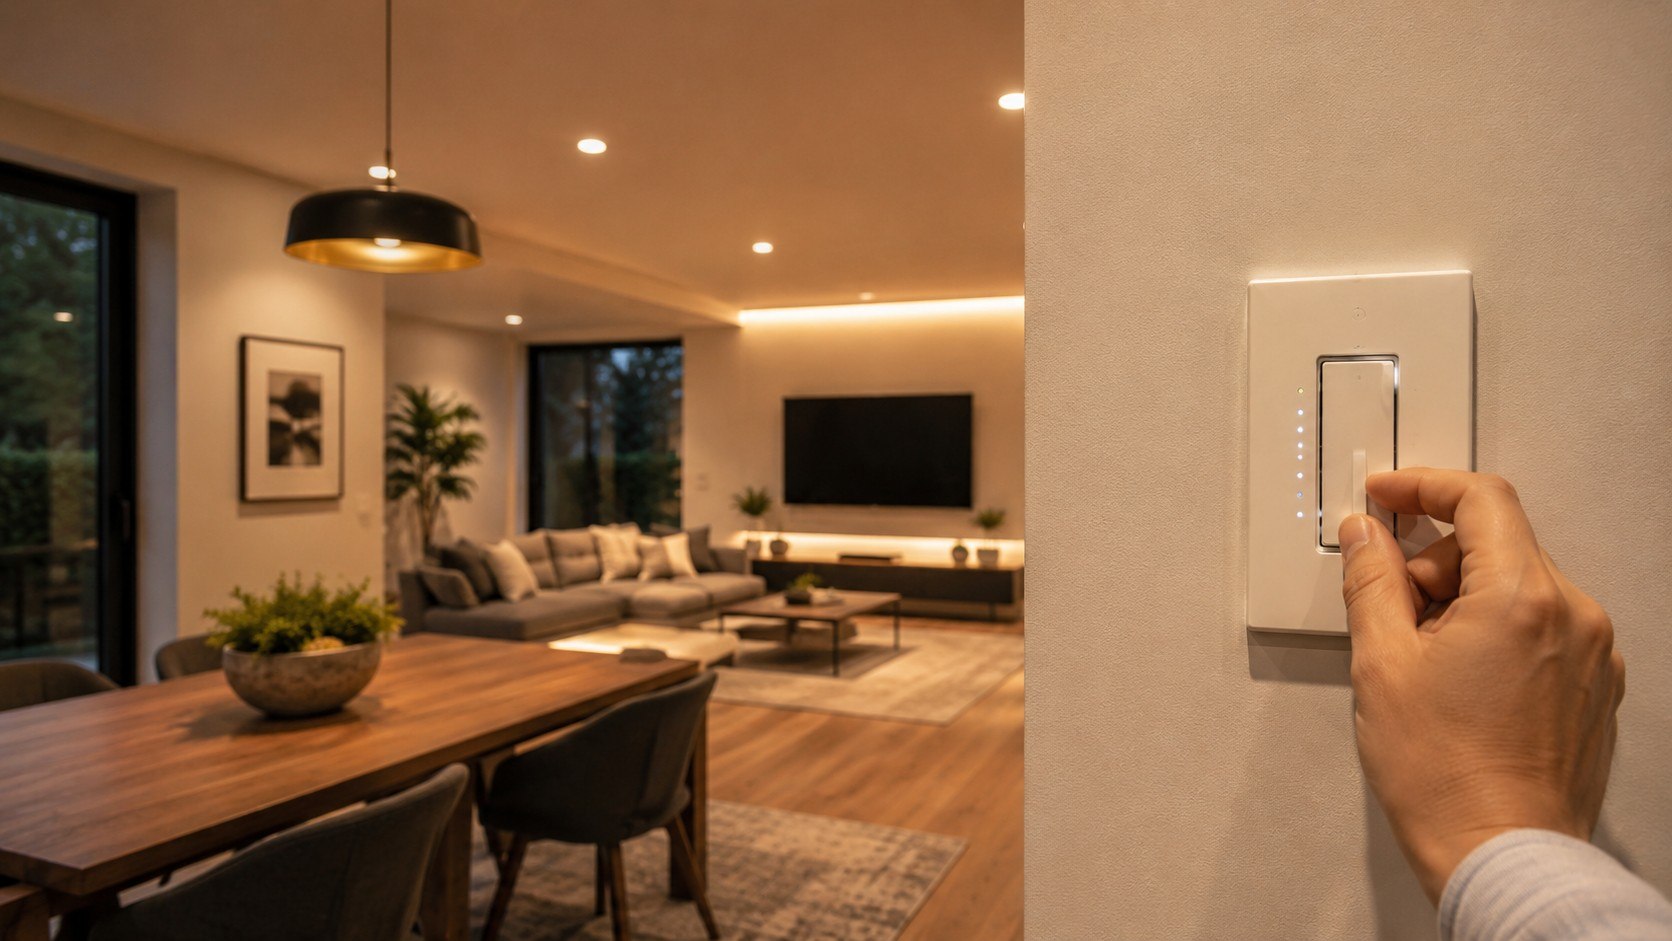
Most post-installation problems come from incompatible bulbs, an incorrect dimmer type, a loose connection, or a low-end setting below the LED driver’s stable range. Work through the likely causes without repeatedly resetting a tripping breaker.
- LED bulbs flicker: raise the low-end trim, tighten connections, and verify the exact bulb-dimmer pairing.
- Lights buzz: test compatible bulbs from another product line and confirm the dimmer supports that load.
- Bulbs will not turn fully off: verify minimum-load requirements, neutral wiring, and smart-dimmer specifications.
- 3-way control works incorrectly: recheck the tagged common wire, travelers, and companion-switch requirements.
- Breaker trips: leave it off and call an electrician; do not continue resetting it.
Mixed bulb models on one dimmer can behave differently even when every bulb is labeled dimmable. For consistent performance, use matching bulbs with identical model numbers and manufacturing specifications.
Low-voltage fixtures require more investigation. Electronic and magnetic transformers often need different dimmer technologies. Integrated LED fixtures may list approved controls in their installation manual rather than on the fixture label.
Renters should obtain written permission before changing a hardwired device. Lease rules and state laws differ, while landlords may require work by a licensed contractor. Keep the original switch and photograph the completed installation.
Professional installation commonly costs about $100–$300 in 2026 for a straightforward replacement, depending on local labor rates and service minimums. Costs can be higher in Baltimore, New York City, San Francisco, Boston, and other expensive markets.
Call an electrician when the box lacks a ground required by the device, contains aluminum wiring, has damaged insulation, or does not match the wiring diagram. Professional help is also appropriate for fan controls, low-voltage lighting, overloaded boxes, and multi-location smart systems.
FAQ
Can I replace a regular light switch with a dimmer?
Yes, when the lighting load is dimmable and the new control matches the circuit. Confirm whether the existing switch is single-pole, 3-way, or part of a larger multi-location system.
Do I need special LED bulbs for a dimmer switch?
Yes. The bulbs or integrated fixture must be labeled dimmable. For better results, verify the exact model through the dimmer or bulb manufacturer’s compatibility tool.
Does a dimmer switch need a neutral wire?
Some do and some do not. Many basic manual dimmers operate without a neutral, while numerous smart dimmers require one for continuous electronic power.
Why do my LED lights flicker after installing a dimmer?
The most common causes are an incompatible bulb, incorrect load type, loose wiring, or a minimum setting below the driver’s stable range. Adjust the low-end trim and verify compatibility.
Can I install a dimmer on a 3-way circuit?
Yes, but the dimmer must support 3-way operation. Follow its specific diagram and identify the common conductor before removing the old switch.
When should I hire an electrician?
Hire one when conductors cannot be identified, the circuit remains energized, wiring is damaged, aluminum wiring is present, or the breaker trips after installation.
Earlier we wrote about US Cement Market in 2026: Buyers Face Wide Price Gaps Between Coastal and Inland Regions