

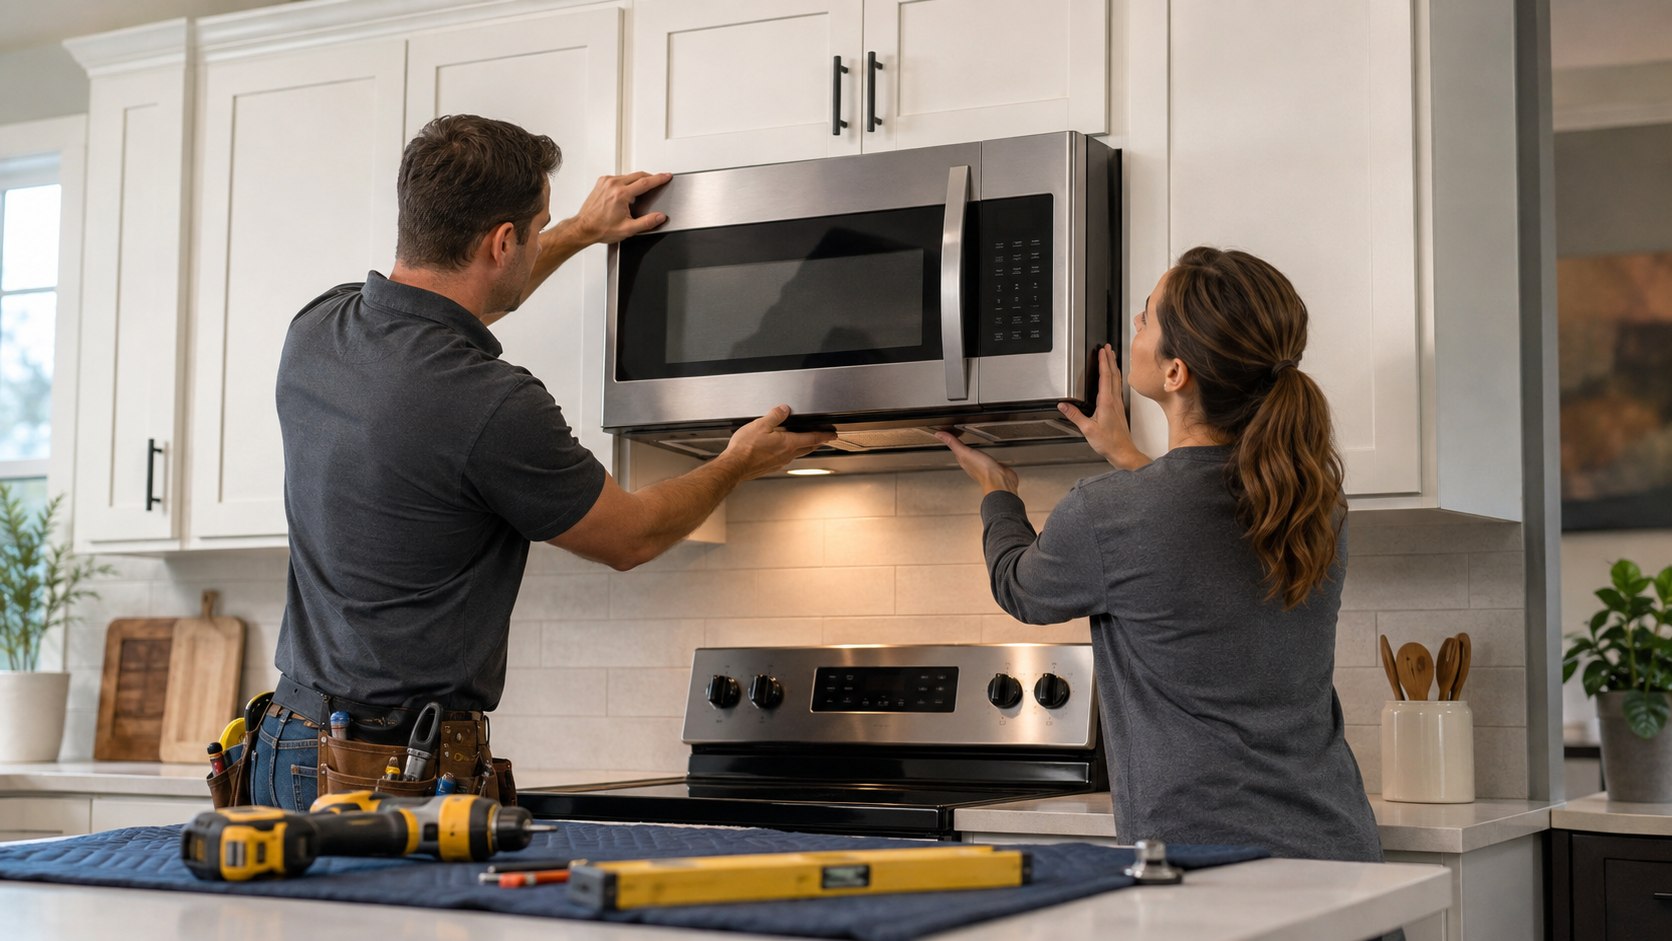
How to install an over the range microwave correctly comes down to 3 things: solid mounting, correct vent direction, and safe electrical access. A straightforward replacement usually takes about 2 hours with 2 adults. A new installation takes longer when ductwork or cabinetry needs modification, as noted by the Baltimore Chronicle editorial team.
The practical sequence is simple. Confirm the opening, find the studs, configure the blower, mount the wall plate, then lift and bolt the microwave. Never assume an old mounting plate fits a new model. GE, Whirlpool, Samsung, LG, Frigidaire, and KitchenAid use model-specific brackets and templates.
Key takeaways
- Use the mounting plate and hardware specified for your exact microwave instead of automatically reusing the old bracket.
- Choose outside venting or recirculation before lifting the microwave because changing blower orientation afterward can require removing it.
- Use 2 adults for the final lift because an over-the-range microwave is awkward to position while aligning upper bolts.
Mounting deserves as much attention as electrical and ventilation work. The appliance hangs above a hot cooking surface, not inside a supporting shelf. Incorrect fasteners can loosen under repeated door movement. Poor vent alignment can also reduce airflow. Cabinet damage becomes harder to repair after the microwave is installed.
What you need
Read the installation instructions supplied with your exact model before drilling. Templates, bracket holes, cabinet clearances, and blower positions differ between products.
- Stud finder and pencil
- Tape measure and 24-inch or longer level
- Drill/driver with suitable drill bits
- Phillips screwdriver and socket or nut-driver set
- Manufacturer mounting plate, bolts, toggles, washers, and exhaust adapter
- Non-contact voltage tester
- Painter’s tape and cardboard for protecting the range
- Stable step stool
- Safety glasses and work gloves
- 1 capable adult helper
Allow at least 2 hours for a clean replacement installation. New ductwork can turn the job into a half-day project. Electrical changes may require a licensed electrician. Renters should obtain approval before drilling cabinets or changing ventilation. If an old microwave must come down first, Baltimore Chronicle has a separate guide on removing a built-in microwave safely.
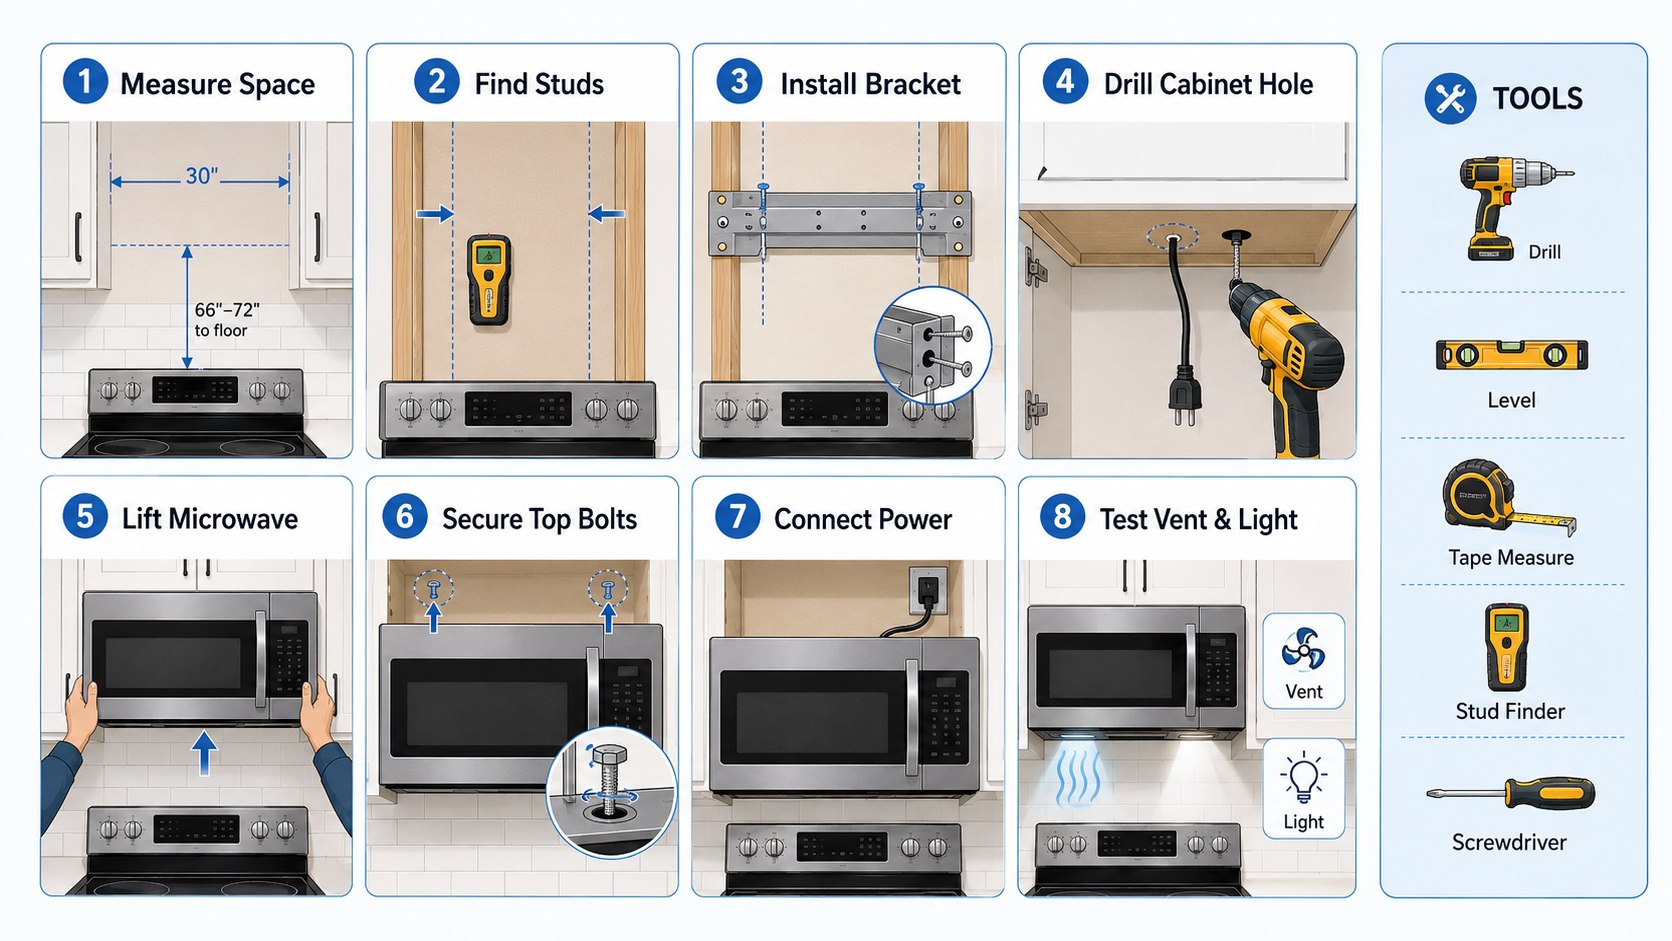
Step 1: Plan how to install an over the range microwave
Measure the cabinet opening before unpacking everything. Most conventional OTR microwaves target a roughly 30-inch-wide range location, but the manufacturer’s dimensions control. Check cabinet depth, installation height, door swing, outlet location, and the required distance above the cooking surface.
Over-the-range microwave installation becomes risky when measurements are copied from the old appliance. Two 30-inch models can use different brackets and upper bolt positions. Deep cabinets can also interfere with the door or ventilation outlet.
If the upper cabinet is loose, bowed, or poorly attached, correct that problem first. Baltimore Chronicle’s guide to installing kitchen cabinets explains wall attachment, stud locations, shimming, and cabinet alignment.
A microwave that fits between the cabinets is not automatically compatible with the existing holes, bracket, duct, or electrical layout.
Why it matters: accurate measurements prevent discovering a blocked vent or misaligned bolt hole during the final lift. The common mistake is treating the old microwave as an installation template for the new one.
Step 2: Decide between outside venting and recirculation
Determine the ventilation path before mounting anything. Many OTR microwaves support roof venting, rear wall venting, or ductless recirculation. The blower assembly may need rotation for the selected configuration.
Outside venting sends cooking air through metal ductwork. Recirculating systems pull air through grease and charcoal filters before returning it to the kitchen. Over-the-range microwave venting is therefore part of the installation, not an optional adjustment after mounting.
| Vent configuration | Best suited to | Main installation issue |
|---|---|---|
| Roof vent | Existing vertical duct above cabinet | Aligning exhaust adapter with upper duct |
| Rear wall vent | Existing duct directly behind microwave | Accurate wall opening and damper alignment |
| Recirculating | Kitchens without outside ductwork | Correct charcoal filter and blower position |
Exterior venting generally handles heat, steam, and odors better than recirculation. However, cutting a new exterior duct can make DIY installation significantly harder. Never exhaust cooking air into an attic or closed cabinet. Use the duct dimensions required by the manufacturer. GE, for example, provides specifications for 3-1/4-by-10-inch rectangular and 6-inch round rigid duct configurations.
“All Over-the-Range Microwaves can be vented to the outside.”
GE Appliances, official over-the-range microwave ducting guidance.
Extra elbows and restrictive transitions can reduce effective airflow. Keep the route short and direct where practical. Check that an exterior damper opens freely. Seal duct joints using materials approved for the installation. Do not use a generic flexible dryer hose as a substitute for specified microwave ductwork.
Step 3: Find the studs and mount the wall plate
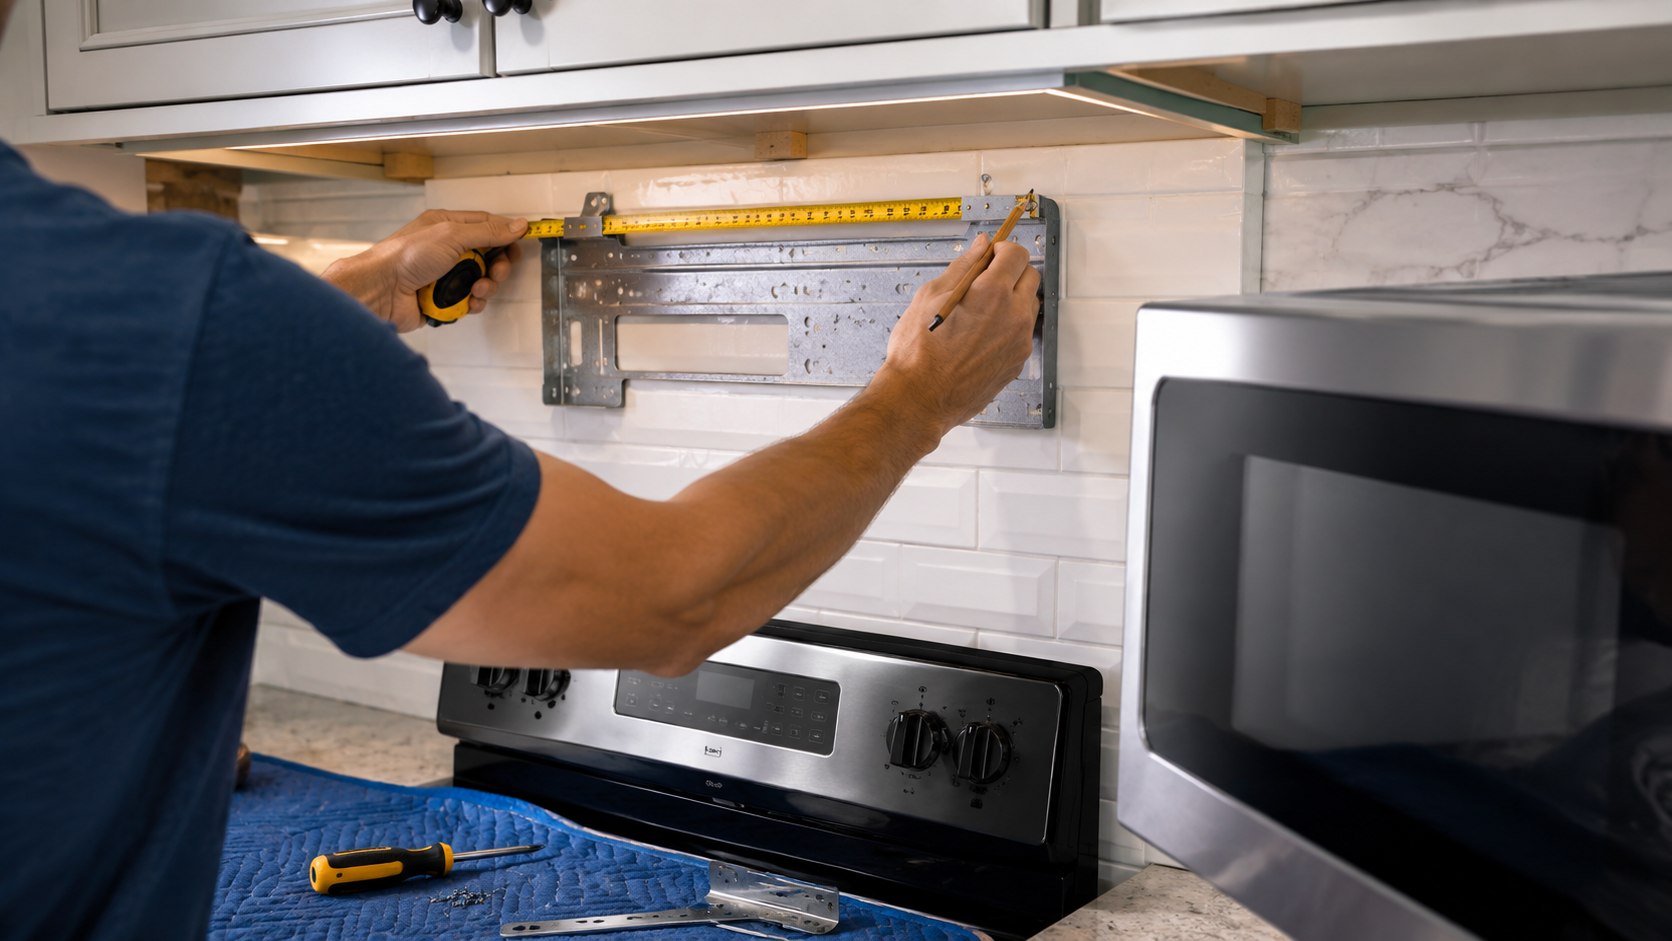
Locate the wall studs behind the range and mark their centerlines. Position the supplied rear template or mounting plate exactly as the manufacturer’s instructions show. Confirm it is level before drilling.
The microwave mounting bracket carries much of the appliance’s load. At least part of the mounting system normally needs structural attachment. Follow the model instructions for stud screws and approved toggle fasteners.
Why it matters: the appliance is repeatedly loaded when its door opens and closes. A slightly loose plate can become a visibly sagging microwave later. The common mistake is relying on ordinary plastic drywall anchors.
If an existing backsplash changes the wall plane, check bracket alignment carefully. A thick tile installation can affect how the microwave sits against the wall. Readers remodeling the area can also review the Baltimore Chronicle guide to installing a kitchen backsplash.
Step 4: Drill the upper cabinet and prepare the power connection
Tape the supplied upper-cabinet template into position. Mark the bolt holes, power-cord opening, and vent opening when required. Drill straight through the cabinet bottom without enlarging the holes unnecessarily.
Inspect the receptacle before lifting the microwave. The plug should remain accessible through the cabinet specified by the manufacturer. Stop if you find scorched plastic, a loose receptacle, damaged wiring, or an improvised extension cord.
Why it matters: upper bolts support the front of the appliance while the wall bracket supports the rear. Misplaced holes can pull the microwave sideways. The common mistake is estimating bolt locations instead of using the supplied template.
Do not add a new circuit, alter permanent wiring, or convert a hardwired connection unless you are qualified to perform that work.
Step 5: Configure the blower, lift the microwave, and secure it
Set the blower for roof, rear, or recirculating operation before lifting. Install the correct exhaust adapter where required. Feed the power cord through the cabinet opening so it cannot become trapped behind the appliance.
Use 2 adults for the lift. Tilt the microwave into the lower hooks on the wall plate, then rotate its front upward. One person should hold the appliance while the second starts the upper bolts.
“For optimal installation and handling of the appliance, it is recommended to complete this task with two people.”
Whirlpool, official over-the-range microwave installation guide.
Why it matters: the unit must engage the rear bracket before the upper bolts carry the front. Start both bolts before fully tightening either side. Tighten gradually so the cabinet bottom is not crushed. Do not lift the appliance using its door handle. The common mistake is forcing a misaligned bolt while another person struggles to hold the full weight.
Step 6: Connect the vent, test the fan, and inspect the mounting
Connect the duct and confirm the damper moves freely before replacing cabinet contents. Plug in the microwave, restore power, and test the cooktop light, fan speeds, controls, door, and heating function.
Stand back and inspect the cabinet gaps. The microwave should look level and remain firmly seated against its wall plate. Open the door several times and watch for movement.
For perspective on 2026 appliance costs, manufacturer listings show substantial price differences even among basic models. Prices change with finish, capacity, promotions, and ZIP code.
| Example model | Listed 2026 price checked | Capacity |
|---|---|---|
| Whirlpool WMMS3130RB | $248.99 | 1.7 cu. ft. |
| GE JVM3160DFCC | $279 | 1.6 cu. ft. |
| GE JVM3160EFES | $319 | 1.6 cu. ft. |
These were manufacturer-listed prices observed in August 2026, not permanent national prices. Installation usually costs extra when professional labor is selected. Duct modifications can increase the bill further. Electrical repairs and cabinet reinforcement are separate projects. California, New York, Maryland, Massachusetts, and Washington can also produce higher labor quotes than lower-cost markets.
Troubleshooting common over-the-range microwave installation problems
Most installation problems appear during the final 20 minutes. Stop rather than forcing the appliance into position.
- Microwave will not hook onto the wall plate: check bracket orientation and confirm both lower slots align with the hooks.
- Upper bolts will not start: lower the microwave and recheck template placement instead of drilling larger holes blindly.
- Fan runs but airflow is weak: verify blower direction, damper movement, filter position, and duct alignment.
- Microwave tilts forward: inspect upper bolt seating, cabinet bottom condition, bracket engagement, and required spacers.
- Door hits the neighboring cabinet: check cabinet depth, hinge clearance, and any manufacturer-approved bump-out requirement.
A microwave should not move when the door is opened normally. Buzzing sheet metal often indicates a loose adapter or duct connection. Weak ventilation can indicate an incorrectly rotated blower. A crushed cabinet bottom suggests excessive bolt tightening or missing spacers. If the bracket pulls from the wall, remove the load before attempting repairs.
FAQ
Can I install an over-the-range microwave myself?
Yes, if the electrical outlet, cabinetry, and ventilation route are already suitable. Use 2 adults and follow the exact model instructions. New electrical circuits or complicated exterior ductwork may require professionals.
How long does it take to install an over-the-range microwave?
A straightforward replacement can take around 2 hours. New duct openings, cabinet modifications, damaged walls, or electrical changes can extend the project considerably.
Do over-the-range microwaves have to vent outside?
No. Many models support recirculating operation with a charcoal filter. Exterior venting usually removes cooking contaminants more effectively, but compatibility depends on the model.
Can I reuse my old microwave mounting bracket?
Only when the new manufacturer’s documentation specifically permits it. Similar width or matching brand does not prove the old bracket is compatible.
How high should an over-the-range microwave be installed?
Use the clearance in the installation instructions for your microwave and cooking appliance. Do not rely on a universal measurement copied from another model.
What is the hardest part of mounting an over-the-range microwave?
For most DIY installations, it is the final lift. The rear hooks, power cord, duct adapter, and upper bolts must align at nearly the same time.
A careful installation should finish with 3 checks: the appliance stays rigid, the exhaust follows the intended path, and the electrical connection remains accessible. If any of those conditions fail, correct the installation before regular cooking begins.
Earlier we wrote about How to Dispute a Security Deposit Deduction in 2026: Letter Template and Small Claims Steps