

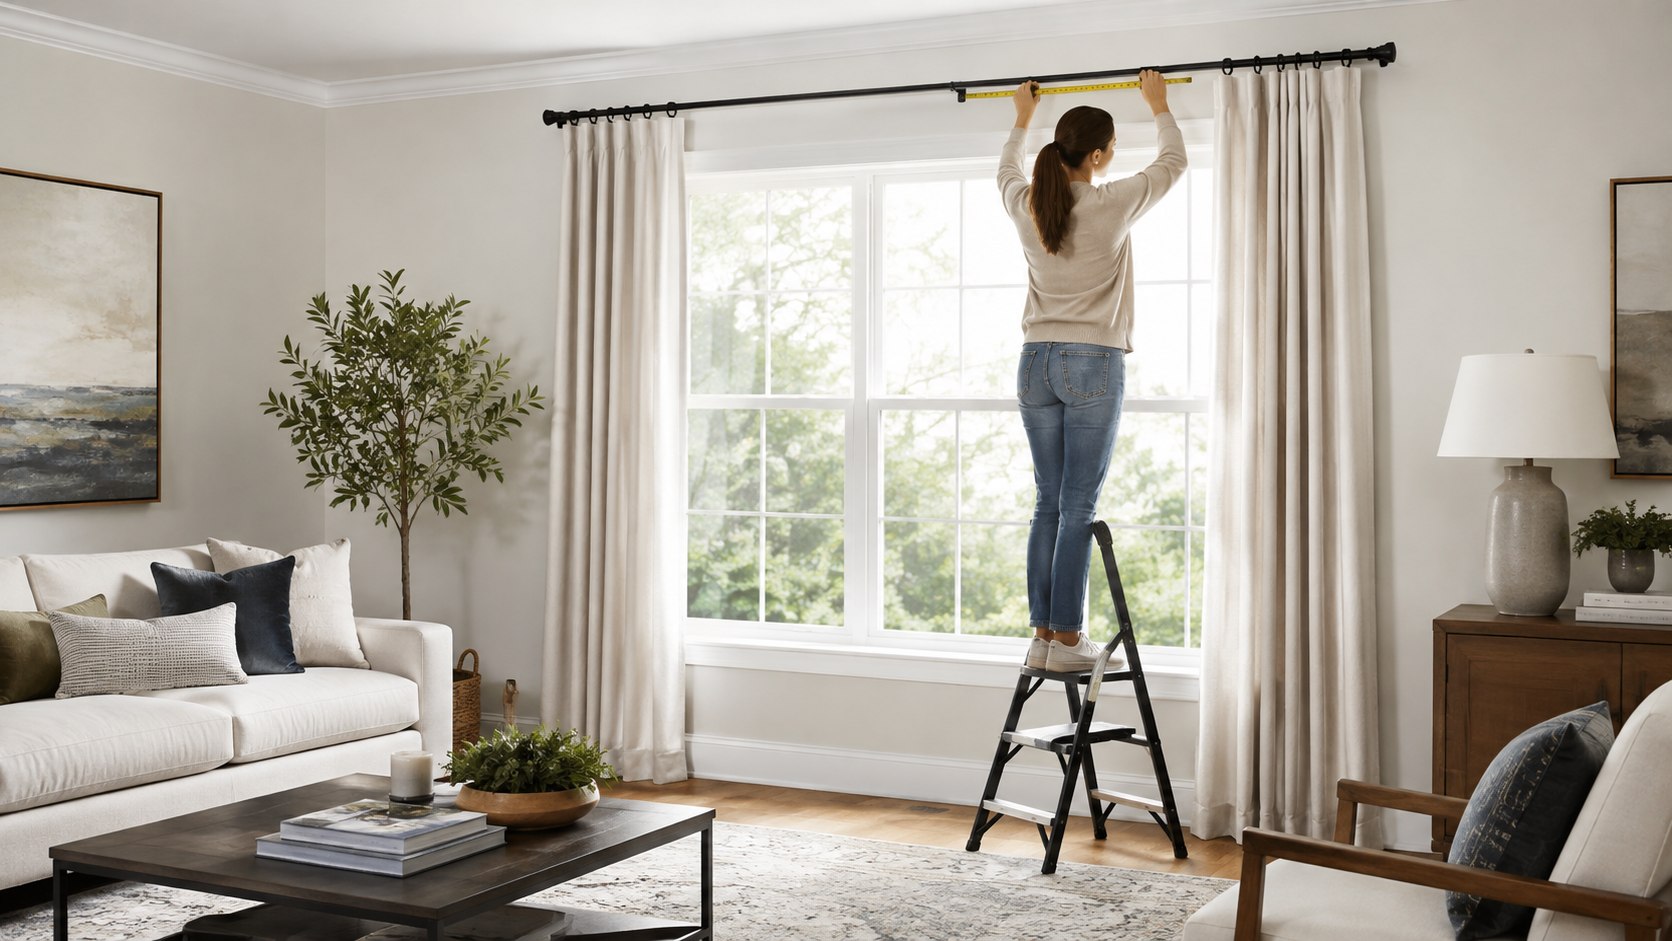
How to hang curtains the right way starts with 3 measurements: height, width, and finished curtain length. Mount most rods about 4–6 inches above the window frame, extend them beyond both sides, and size the panels for enough fullness. A typical single-window installation takes about 30–60 minutes once the measurements are settled, as noted by Baltimore Chronicle.
The biggest mistake happens before anyone picks up a drill. A rod mounted too low can make the window look compressed. A rod that barely matches the frame width blocks daylight when curtains open. Panels that stop several inches above the floor often look accidentally short rather than deliberately tailored.
Key takeaways
- Mount the rod about 4–6 inches above the frame unless architecture or ceiling height calls for another position.
- Extend the rod beyond the window so open panels can stack beside the glass instead of covering it.
- Choose panel width for fullness and measure length from the actual rod position, not from the window frame.
Those proportions work in apartments, suburban homes, Baltimore rowhouses, and newer construction from Maryland to California. They also make inexpensive curtains look far more intentional.
Once curtains are installed, their color becomes part of the room’s lighting strategy. Readers working with a compact bedroom can compare Baltimore Chronicle’s paint colors for small rooms before choosing white, beige, gray, or colored panels. Furniture dimensions matter too, particularly when curtains must clear a sofa or console placed below the window.
What you need before hanging curtains
You do not need professional equipment for a standard drywall installation. You do need accurate measuring tools and hardware appropriate for the wall.
- Steel tape measure
- Pencil
- Level, preferably 24 inches or longer
- Drill and suitable drill bits
- Screwdriver
- Stud finder
- Wall anchors when brackets cannot enter studs
- Curtain rod, brackets, and finials
- Curtain panels
- Step ladder
- About 30–60 minutes for a straightforward window
Do not assume the screws packaged with a rod are correct for every wall. Drywall, wood framing, plaster, brick, and concrete require different fasteners. Heavy blackout curtains also place more load on brackets than lightweight sheers.
Hardware prices vary widely in 2026. IKEA US lists RÄCKA adjustable rods from about $4 for a 28–47-inch rod, while longer configurations cost more. Complete decorative rods at Home Depot can run from roughly $15 into the $50-plus range, depending on length, diameter, finish, and hardware.
That makes measurement more important than price. Buying a cheap rod twice because the first one is too short saves nothing. Readers making larger wall repairs can also see Baltimore Chronicle’s guide to drywall costs in 2026.
Measure the room before shopping for curtains. The window frame alone does not determine the correct rod width or finished panel length.
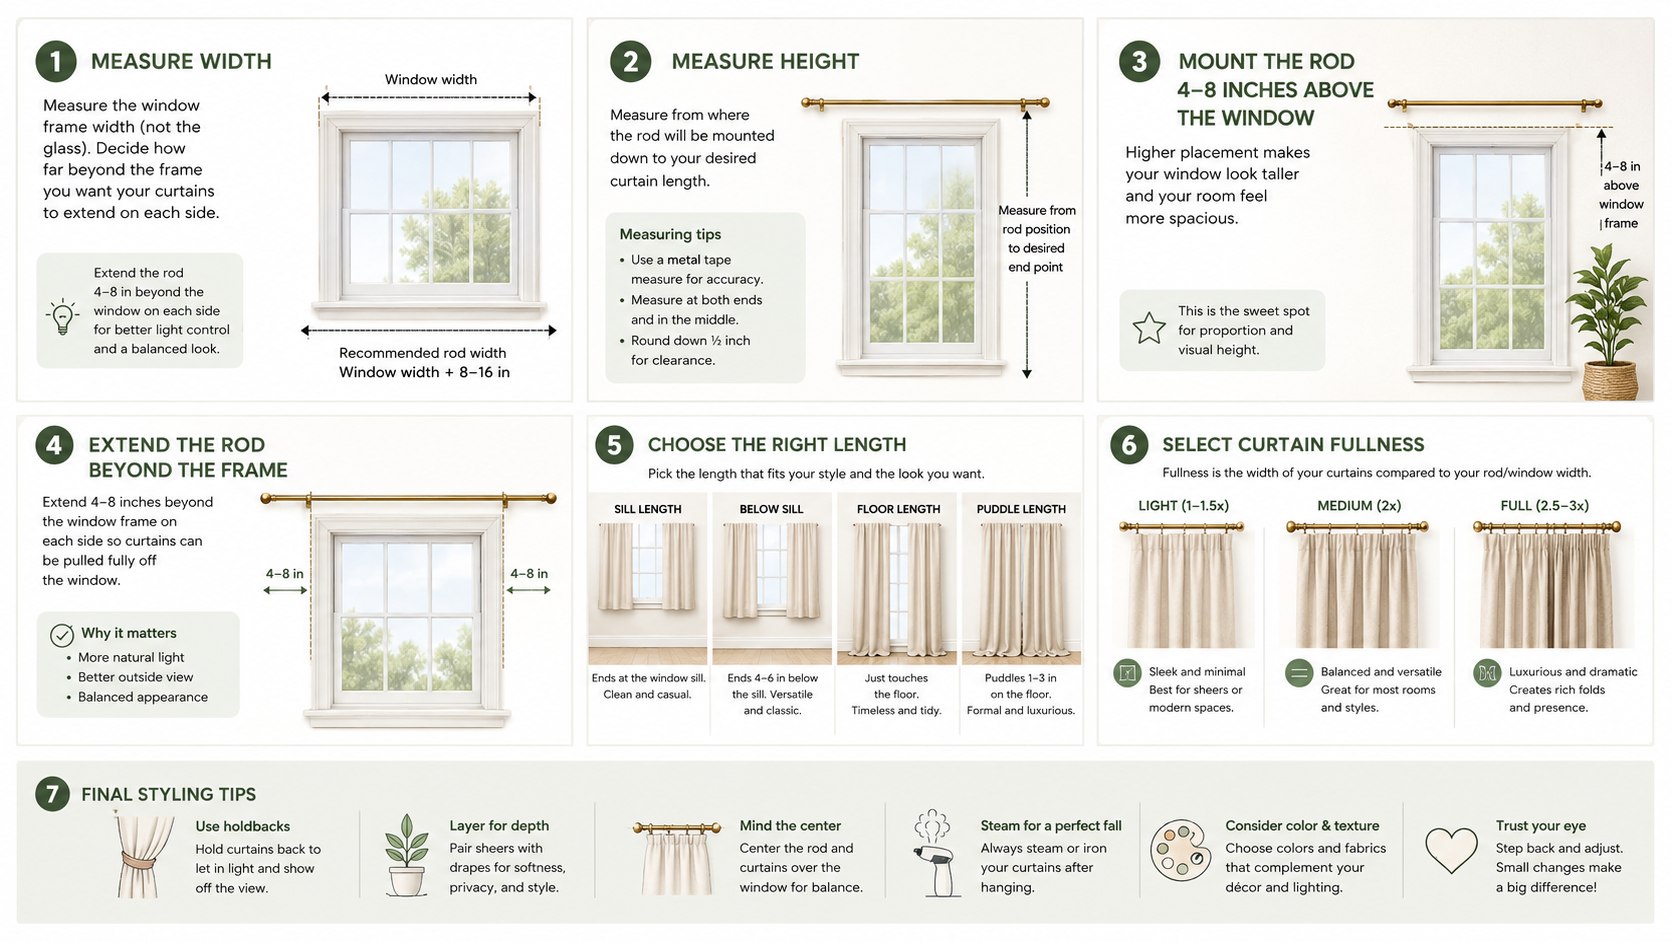
Step 1: Measure the window width before buying the rod
Measure from the outside edge of one window frame to the outside edge of the other. Then decide how far the rod should extend beyond those edges.
For many installations, adding at least 4–6 inches on each side gives the curtains room to stack away from the glass. IKEA’s US guidance recommends going at least 4 inches beyond each side, while its planning material for some curtain systems allows about 6 inches.
This extra width matters because it preserves daylight and makes the opening look broader. A 48-inch-wide window could therefore work with a rod spanning roughly 56–60 inches or more.
Common mistake: buying a 48-inch rod for a 48-inch window. That leaves little room for brackets, finials, or curtain stacking.
Step 2: Set the curtain rod height
Mark the rod around 4–6 inches above the top of the frame for a conventional outside mount. Home Depot uses this range in its curtain-hanging guidance.
Higher placement draws the eye upward. It can make an ordinary 8-foot wall appear taller because the textile occupies more vertical space.
Do not automatically push the brackets against the ceiling. Crown molding, vents, transom windows, sloped ceilings, and unusually tall trim can change the correct position.
Common mistake: mounting the rod directly on the upper trim simply because that is the easiest reference point.
Step 3: Calculate the correct curtain width
Curtain width is not the same as window width. The fabric needs extra material so the curtains retain folds when closed.
A useful target for ordinary panels is roughly 1.5–2 times the rod width in combined fabric width. Sheers can use more fullness, while some structured pleated curtains follow manufacturer-specific calculations.
| Rod width | Combined panel width | Result |
|---|---|---|
| 48 inches | 72–96 inches | Light to standard fullness |
| 60 inches | 90–120 inches | Balanced residential look |
| 72 inches | 108–144 inches | Fuller folds when closed |
| 96 inches | 144–192 inches | Suitable for wider openings |
These figures are planning ranges, not mandatory specifications. Header construction changes how fabric gathers. Grommet curtains behave differently from pinch pleats, rings, back tabs, and rod pockets.
Also check the manufacturer’s listed panel width. A pair of 52-inch panels provides 104 inches of total fabric, for example. That pair can work comfortably across many rods around 60 inches wide.
Do not forget that some product listings show the dimensions of 1 panel rather than the pair. Check package quantity before ordering.
More width generally produces deeper folds. Too little fabric creates a nearly flat sheet across the window.
Common mistake: matching total curtain width exactly to rod width.
Step 4: Choose the right curtain length
The most versatile look is usually floor length. Measure from the planned rod or hanging point down to the floor after establishing the bracket height.
Standard ready-made panels often appear in lengths such as 63, 84, 95 or 96, 108, and 120 inches. Brand selections vary, so verify the actual product before designing around a nominal size.
| Finish | Where fabric ends | Best use | Main concern |
|---|---|---|---|
| Float | About ½ inch above floor | High-traffic rooms | Needs accurate measuring |
| Kiss | Barely touches floor | Living and dining rooms | Uneven floors become visible |
| Break | Slight fabric break at floor | Relaxed interiors | Can collect dust |
| Puddle | Several extra inches on floor | Formal decorative rooms | Less practical with pets |
| Sill length | Near window sill | Kitchens and utility spaces | Less suited to formal rooms |
A floor-kissing panel is unforgiving because floors are not always level. Measure at the left, center, and right sides of the opening before hemming expensive curtains.
For homes with pets, robot vacuums, radiators, or baseboard heaters, a slight float is often easier to maintain. Kitchens may require shorter treatments where fabric could contact counters or sinks.
Bedrooms need another calculation. Blackout panels should cover enough wall around the opening to control light leakage at the top and sides.
Do not select length before deciding where the rod will sit. Raising the rod after buying an 84-inch panel can suddenly leave that panel several inches above the floor.
Common mistake: measuring from the top of the window instead of from the actual curtain hanging point.
Step 5: Mark both brackets and check level
Mark the first bracket position using your height and side-extension measurements. Transfer that position to the other side and verify it with a level.
Do not trust the ceiling or window trim as a level reference. Older houses in Maryland, Pennsylvania, New York, and New England often contain surfaces that have shifted slightly over decades.
A laser level makes wide installations easier, but a standard bubble level works for most windows. Measure twice before drilling.
For taller-looking windows, Home Depot’s installation guidance recommends marking the rod 4–6 inches above the window frame.
Source: The Home Depot, “How to Hang Curtains,” installation guidance.
That recommendation is a starting point rather than a structural requirement. Your brackets still need a secure mounting surface.
Common mistake: measuring each bracket independently from an uneven ceiling.
Step 6: Find studs or install the correct anchors
Use a stud finder around each bracket position. Screwing directly into wood framing generally provides the strongest mounting point.
If no stud is available, select anchors rated for your wall type and the combined load. Do not treat every plastic anchor as interchangeable.
Heavy velvet, thermal, or blackout panels create greater loads. Long rods may also need a center support to prevent bowing.
Renters should check their lease before drilling numerous holes. A tension rod can work inside some window openings for lightweight curtains, although it does not create the same high-and-wide effect.
Common mistake: hanging heavy curtains from small generic drywall plugs without checking their load rating.
Step 7: Install the rod, hang the panels, and make final adjustments
Fasten the brackets, assemble the rod, and place the curtains on the rod using their intended header system. Tighten adjustable screws before setting the rod into its supports.
Stand back several feet before making permanent adjustments. Check whether the fabric reaches the floor evenly and whether both panel stacks appear balanced.
Steam or iron curtains according to the care label. Packaging creases can make even correctly measured panels look uneven during the first inspection.
The final test is simple: when the curtains open, they should frame the glass rather than hide it. When closed, they should still show intentional folds.
Room proportions matter beyond the window. Anyone replacing nearby furniture can use Baltimore Chronicle’s 2026 guide to furniture stores in the USA to compare sizing and buying considerations.
Common mistake: drilling, hanging, and immediately hemming without first checking the panels after wrinkles have relaxed.
How to hang curtains the right way: height, width, and length checklist
Before calling the job finished, walk through these measurements once more. They catch most installation errors without requiring another trip to the hardware store.
- Measure the outside width of the window frame.
- Add roughly 4–6 inches or more beyond each side where space permits.
- Place the rod around 4–6 inches above the frame as a practical starting point.
- Calculate enough combined panel width for visible folds when closed.
- Measure curtain length from the actual hanging point to the intended endpoint.
- Check both bracket marks with a level.
- Locate studs or choose anchors suitable for the wall and curtain weight.
- Add center support when required by the rod span or manufacturer.
The exact numbers can shift when molding, ceilings, furniture, heaters, or window architecture interfere. That is normal. The goal is not to obey a single formula at every window.
Height should make the opening feel taller without crowding the ceiling. Width should expose most of the glass when curtains are open. Length should look deliberate rather than accidental.
Those 3 decisions control most of the visual result. Fabric color and rod finish come later.
For a 60-inch window, for example, a rod around 68–72 inches or wider is often a practical starting point. The final choice still depends on available wall space.
Measure adjacent furniture as well. A wide curtain stack can collide with a tall bookcase that seemed unrelated to the window project.
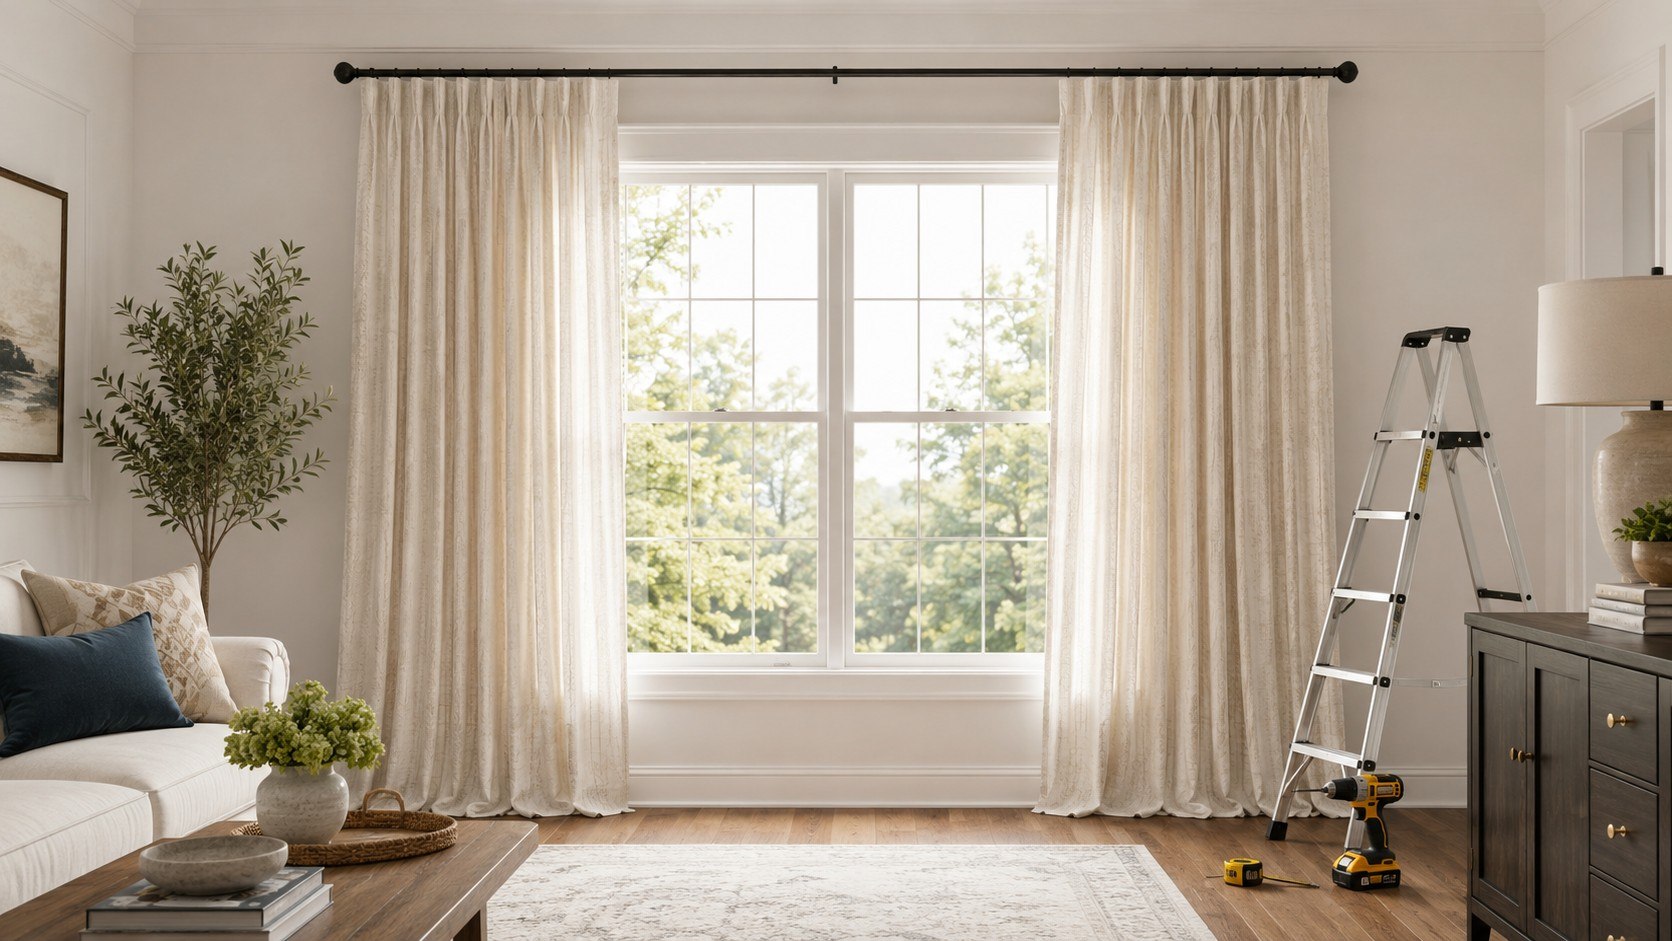
Troubleshooting common curtain problems
Most problems after installation come from proportions or mounting strength rather than the curtains themselves. Check the symptom before buying new hardware.
- Curtains look too short: lower the rod slightly, use rings that add drop, or re-hem longer panels.
- Window still looks narrow: extend the rod farther beyond the frame and move panel stacks outward.
- Rod sags in the center: add the manufacturer’s center bracket or upgrade the rod diameter.
- Light leaks around blackout curtains: increase side overlap and consider a wraparound rod.
- Brackets pull from drywall: stop using the rod until suitable anchors or stud mounting are installed.
Do not keep tightening a screw into damaged drywall. Once the hole has enlarged, the original anchor may no longer grip properly.
A sagging rod is also a structural clue. Heavy curtains and wide spans can exceed the capacity of thin telescoping hardware.
Light leakage has a different solution. The rod may need greater side projection or a wraparound design rather than simply darker fabric.
Short curtains are usually a planning problem. Moving the rod downward can work only when the new position still looks proportionate to the window.
If every dimension seems correct but the room still feels cramped, examine furniture placement and wall color. Curtains are only one element of the sightline.
FAQ
How high should curtain rods be above a window?
About 4–6 inches above the frame is a strong starting point for many US homes. Adjust for crown molding, ceiling height, transoms, and architectural details.
How far should a curtain rod extend past the window?
Allow at least about 4 inches on each side when space permits. Extending 6 inches or more can provide additional stacking room for wider panels.
Should curtains touch the floor?
They can barely touch or float roughly ½ inch above it. A slight float is often more practical for frequently used rooms, pets, and robot vacuums.
How wide should curtains be compared with the window?
A useful planning range is approximately 1.5–2 times the rod width in combined fabric. Pleated or sheer treatments may require different fullness.
Are 84-inch curtains too short?
They can be if the rod is mounted high above a standard window. Determine the rod position first, then measure from that point to the floor.
Can renters hang curtains without drilling?
Yes. Tension rods and some removable systems can support lightweight treatments. Check product weight limits and the lease before using permanent hardware.
Earlier we wrote about Breaking a Lease Without Penalty in 2026: US Tenant Rights, Notices and Landlord Negotiation