

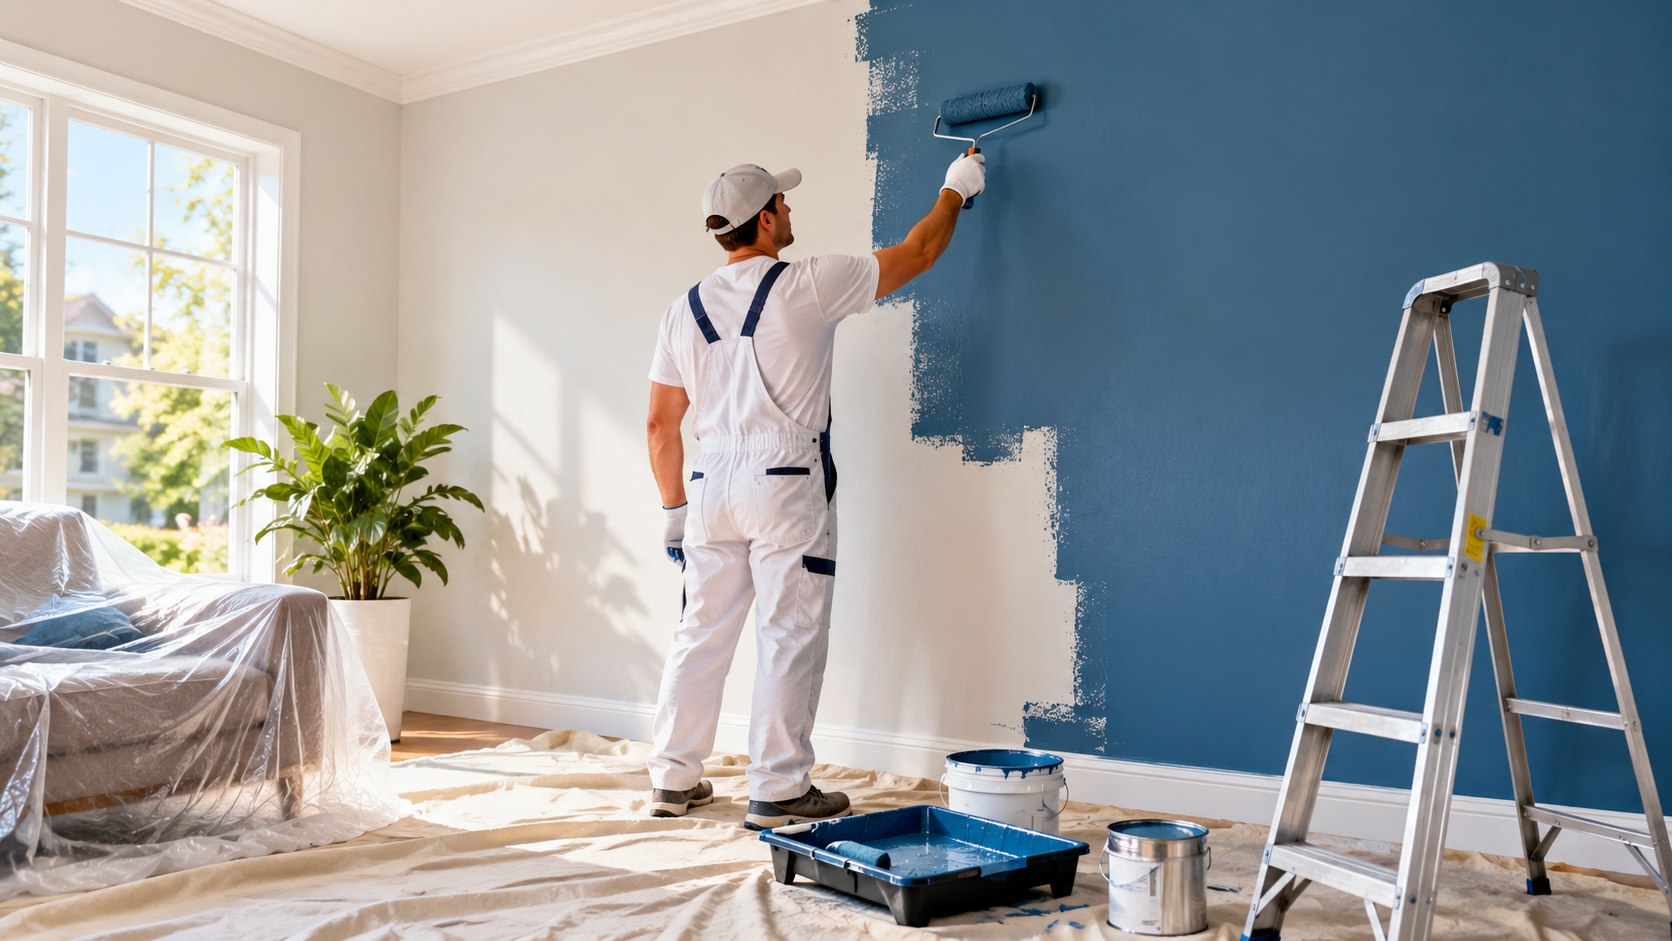
How to paint a room like a professional comes down to preparation, controlled edging, and consistent roller work. For a typical bedroom, reserve one full working day plus drying time between coats. The finish improves dramatically when wall repairs happen before the paint can opens, as noted by Baltimore Chronicle.
A professional-looking result does not require contractor equipment. It requires clean walls, enough paint, a quality brush, the correct roller cover, and a repeatable technique. Most visible DIY problems begin with rushed preparation or uneven pressure while rolling.
Key takeaways
- Spend more time preparing walls than taping them. Dents, dust, grease, and raised patches remain visible beneath fresh paint.
- Cut in manageable sections, then roll while those edges remain wet. This helps reduce visible borders around ceilings and trim.
- Keep the roller consistently loaded. Finish each section with light parallel passes instead of repeatedly working drying paint.
Plan the project around drying time rather than the minutes spent holding a roller. Emptying the room and repairing walls can take several hours. Painting becomes considerably faster once the surfaces are ready.
A second coat often produces the uniform color people associate with professional work. Dark color changes may need primer or additional coverage.
Homeowners planning broader projects can compare the process with Baltimore Chronicle’s guide to preparing walls for wallpaper. Both jobs punish shortcuts in surface preparation.
What you need
For one average bedroom, the basic kit is compact. Better brushes and roller covers usually matter more than specialized gadgets.
- Interior wall paint in the chosen sheen
- 2-inch or 2.5-inch angled sash brush
- 9-inch roller frame and appropriate roller covers
- Paint tray or 5-gallon bucket with roller grid
- Extension pole for the roller
- Drop cloths or floor protection
- Painter’s tape
- Putty knife, patching compound, and sanding sponge
- Clean rags, mild cleaner, and vacuum
- Primer when repairs, stains, bare drywall, or major color changes require it
A roller extension pole is one of the simplest upgrades for smoother work. It allows longer passes and reduces pressure changes caused by reaching. Canvas drop cloths stay flatter than lightweight plastic underfoot.
Plastic remains useful for furniture and fixtures. Keep a damp rag nearby for fresh splatters. Dried paint takes considerably more work to remove.
Good paintwork starts when the wall is still bare, dusty, patched, and visually unimpressive.
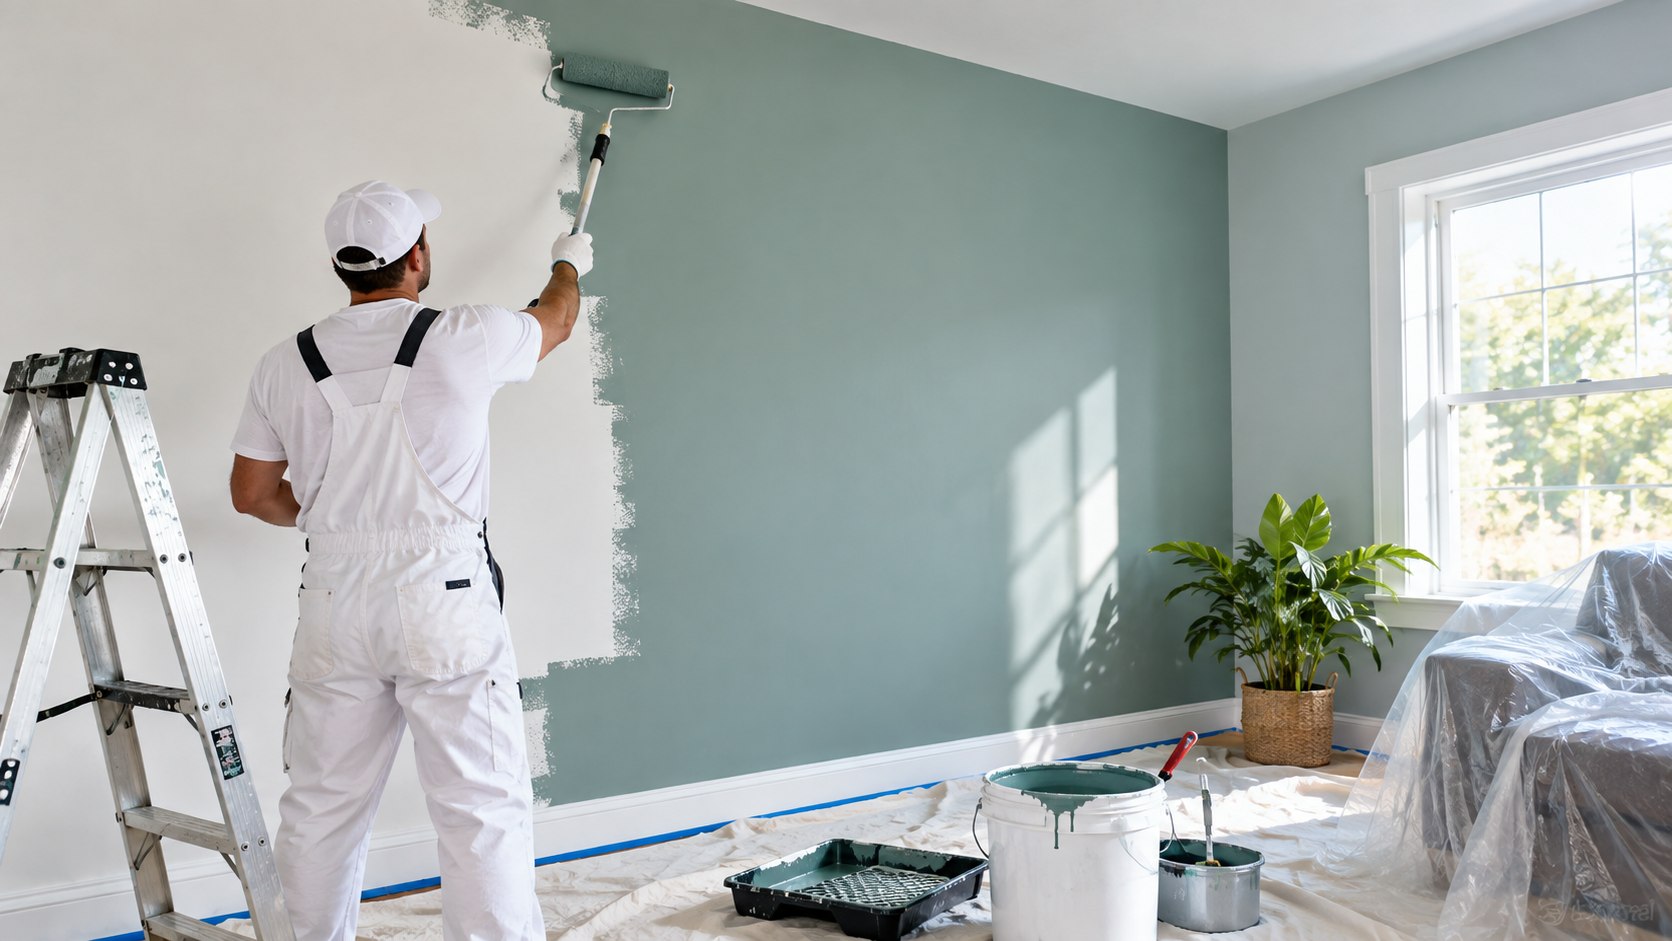
Step 1: Measure the room and buy enough paint
Measure the wall area before shopping, then subtract large doors and windows if necessary. Sherwin-Williams says a gallon typically covers about 350–400 sq ft, although texture and application affect actual coverage.
“A gallon of paint typically covers about 350-400 square feet.”
Sherwin-Williams, Paint Calculator FAQ, manufacturer guidance on estimating paint requirements.
For 2 coats, calculate both coats rather than assuming 1 gallon will finish an entire room. Buying too little can interrupt the job and create slight color differences between batches.
Paint prices vary by finish, base, store, and location. As of 2026, a 1-gallon Behr Premium Plus flat interior paint listing was around $35 at Home Depot. Valspar Signature examples at Lowe’s commonly ranged from roughly $43 to $55 depending on sheen and local pricing.
| 2026 retail example | Finish | Approximate 1-gallon price | Best fit |
|---|---|---|---|
| Behr Premium Plus | Flat | $35 | Bedrooms and low-traffic living areas |
| Valspar Signature | Flat | $43 | Walls where low sheen is preferred |
| Valspar Signature | Eggshell | $47 | General living spaces |
| Valspar Signature | Satin | $51 | Higher-use rooms |
| Valspar Signature | Semi-gloss | $55 | Trim and surfaces needing easier cleaning |
These are reference prices, not fixed national prices. Tint, promotions, regional inventory, and package size can change the final amount. A bedroom may also require separate ceiling and trim products.
Primer adds another purchase when the substrate needs sealing. Brushes, rollers, patching materials, and protection can add roughly $30–$80 to a basic setup. Check current local pricing before setting the project budget.
Common mistake: buying exactly the theoretical amount. Keep enough paint for the planned coats and later touch-ups.
Step 2: Empty the room and protect what stays
Move small furniture completely out. Pull larger pieces toward the center and cover them before sanding or painting.
Remove switch plates, outlet covers, curtain hardware, and anything else that creates awkward edges. Vacuum baseboards and floor edges before laying protection. Dust under a drop cloth eventually finds its way onto wet tools.
If the property predates 1978, preparation needs another layer of caution. The EPA warns that disturbing old painted surfaces can create hazardous lead dust. Its lead-safe guidance recommends special precautions for renovation work in older housing.
“Any renovation, repair, or painting project in a pre-1978 home can easily create dangerous lead dust.”
U.S. Environmental Protection Agency, Lead-Safe Renovations for DIYers.
Review the EPA lead-safe renovation guidance before sanding questionable coatings.
Common mistake: dry-sanding old paint without establishing whether lead could be present.
Step 3: Patch, sand, clean, and prime the walls
Professional wall preparation means fixing defects before color hides their outlines but not their texture. Fill nail holes and dents with appropriate patching compound. Let repairs dry fully before sanding them flush.
Run a hand across repaired areas after sanding. Fingers often detect ridges that overhead lighting misses. Vacuum sanding dust, then wipe dirty or greasy areas with a suitable cleaner.
Primer is useful over bare drywall, porous repairs, stubborn stains, and some dramatic color changes. It is not automatically required over every clean, previously painted wall. Follow the paint manufacturer’s instructions for the exact product and substrate.
People already refinishing trim or furniture can use the same principle described in Baltimore Chronicle’s guide to refinishing wood furniture. Coatings cannot compensate for uneven preparation.
The smoother the repaired wall feels before painting, the less the final coat has to hide.
Common mistake: painting over patching dust. The new coating can drag particles into the roller texture and weaken adhesion around the repair.
Step 4: Mask selectively and organize the working edge
Interior painting preparation does not mean covering every boundary with tape. Use painter’s tape where it genuinely protects finished surfaces, hardware, or difficult transitions.
Press tape firmly along its working edge without stretching it. Tape stretched during application can lift or pull away as it relaxes.
Set the paint, brush, roller, rags, and extension pole within easy reach before starting. Work around the room systematically instead of jumping between unrelated walls.
If ceilings are included, paint them before the walls.
Common mistake: relying on tape to create every straight line. A controlled angled brush usually produces cleaner results than paint forced heavily against tape.
Step 5: How to paint a room like a professional when edging
Cutting in paint means brushing the narrow areas a roller cannot safely reach. These include ceiling lines, inside corners, baseboards, door casings, and window trim.
Load only the lower portion of an angled brush, then remove obvious excess without wiping it dry. Establish the line slightly away from the edge first. Gradually move the bristles toward the boundary as the paint begins flowing evenly.
Work in sections instead of edging the entire room hours before rolling. Rolling while the brushed area remains reasonably fresh helps the textures blend together.
Avoid repeatedly brushing paint that has started setting. That can leave heavy ridges or obvious brush marks.
Common mistake: using too little paint because precision feels safer with a nearly dry brush. The result is usually rough coverage that needs extra passes.
Step 6: Roll the walls, apply the second coat, and clean up
Rolling walls evenly requires a saturated roller that is not dripping. Load it across the full cover rather than wetting only one side.
Start several inches from the freshly cut edge. Spread the paint over a manageable section using overlapping passes. Finish with light strokes in the same direction while the coating remains wet.
- Load the roller evenly.
- Place paint near the center of the working section.
- Spread it upward and downward without excessive pressure.
- Overlap the previous section before its edge dries.
- Finish with light parallel passes.
- Stop working the area once the paint begins setting.
The roller should sound consistent rather than dry and scratchy. Excess pressure does not squeeze useful extra coverage from an empty cover. It creates uneven texture instead.
Maintain a wet working edge as the wall progresses. Allow the first coat to dry according to the product label. Then inspect the surface under normal room lighting before applying another coat.
Homeowners combining painting with a larger renovation can compare scheduling with Baltimore Chronicle’s 2026 bathroom remodeling timeline. Painting belongs late enough to avoid damage from heavy construction work.
Remove tape according to the paint and tape manufacturers’ instructions. Do not aggressively peel dried material across a fragile new edge.
Common mistake: returning to a partially drying wall to fix tiny imperfections. Save isolated corrections for the next coat.
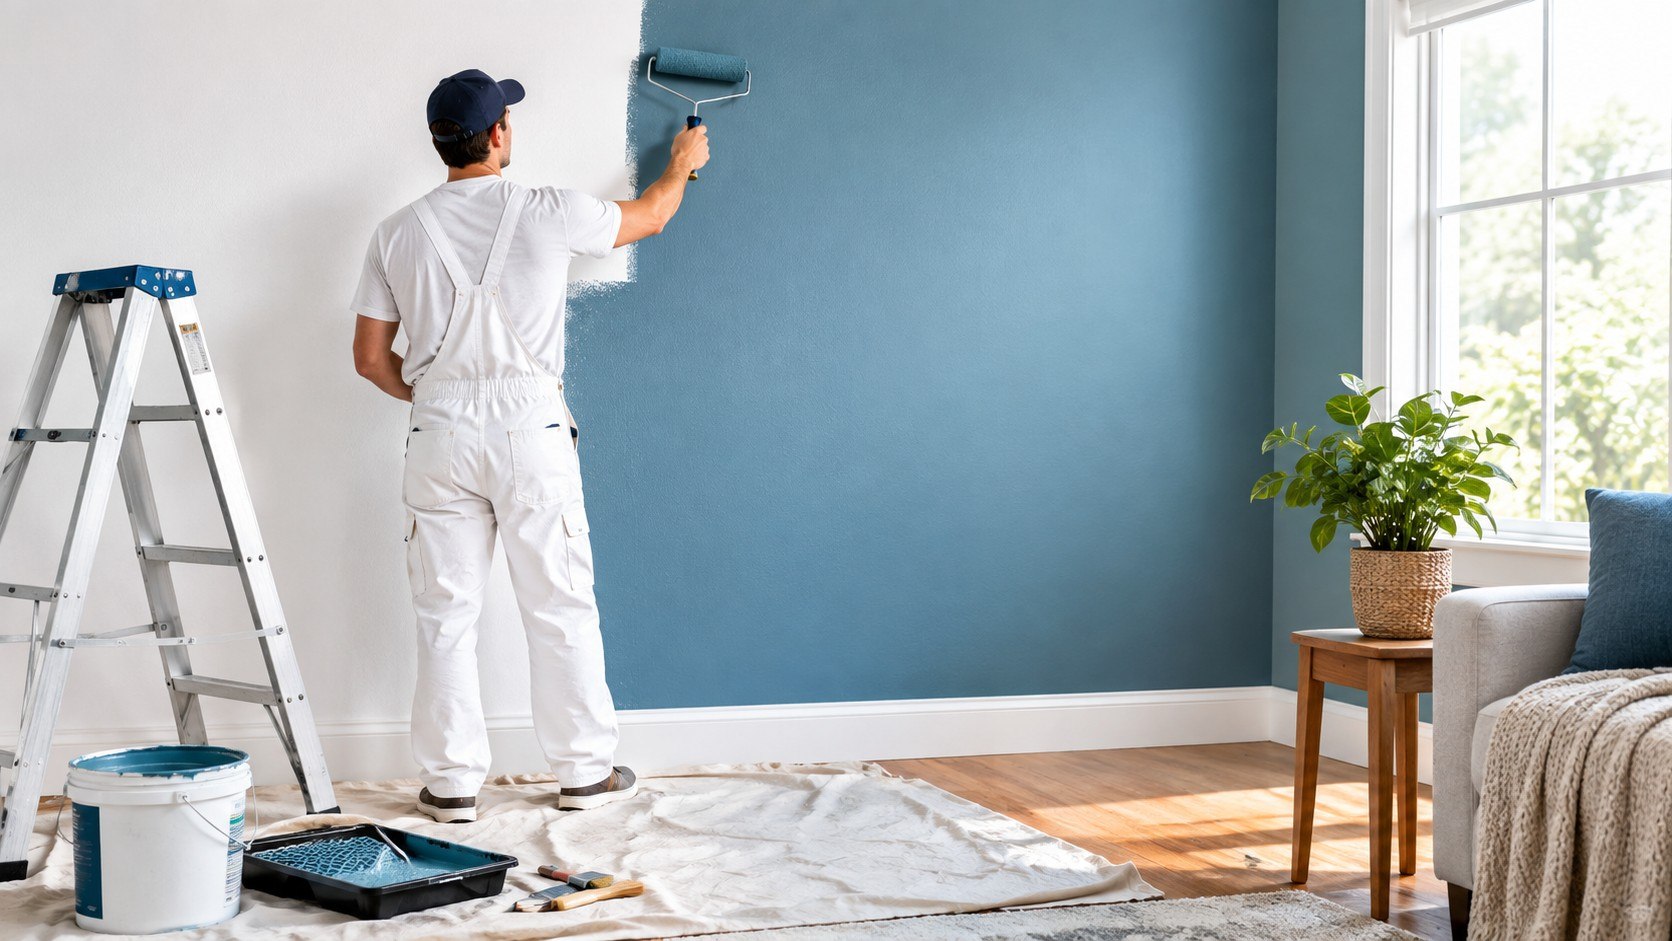
Troubleshooting common paint problems
Small defects usually reveal which part of the process failed. Correct the cause before adding more paint.
- Roller marks: keep the roller loaded, overlap wet sections, and reduce pressure during finishing passes.
- Visible brush borders: cut smaller sections and roll closer to the brushed area before it dries.
- Paint pulls off with tape: check curing time and score stubborn edges carefully before removal.
- Patch shows through: sand it flatter and prime porous compound before recoating.
- Uneven color: verify complete coverage, mix paint thoroughly, and apply another consistent coat when required.
Do not assume another heavy coat fixes every flaw. Raised patches remain raised after repainting. Runs should dry before careful sanding and recoating.
A dry roller creates texture that more pressure usually makes worse. Flashing around repairs often indicates different surface porosity. Primer can equalize those repaired areas before the finish coat.
FAQ
Should you cut in before or after rolling?
Cut in shortly before rolling each section. This approach helps brushed edges and roller texture blend while both remain fresh.
How many coats does a room usually need?
Many interior projects receive 2 finish coats. Coverage depends on color change, surface condition, paint quality, sheen, and whether primer was used.
How much paint is needed for a 10-by-12-foot bedroom?
Calculate the actual wall area rather than using floor area alone. Manufacturer coverage commonly approaches 350–400 sq ft per gallon under suitable conditions.
Do professional painters use painter’s tape?
They may use it for protection or difficult transitions, but tape is not a substitute for brush control. Skilled cutting can reduce unnecessary masking.
Should you paint the ceiling or walls first?
Paint the ceiling first when both surfaces are being refreshed. Small ceiling splatters can then be covered during wall painting.
When should a homeowner avoid sanding old paint?
Use extra caution in pre-1978 homes because lead-based coatings may be present. EPA recommends determining lead risk and using lead-safe work practices.
Earlier we wrote about How to Change Apple Watch Face in 2026: Complications, Face Gallery and Sharing Explained