

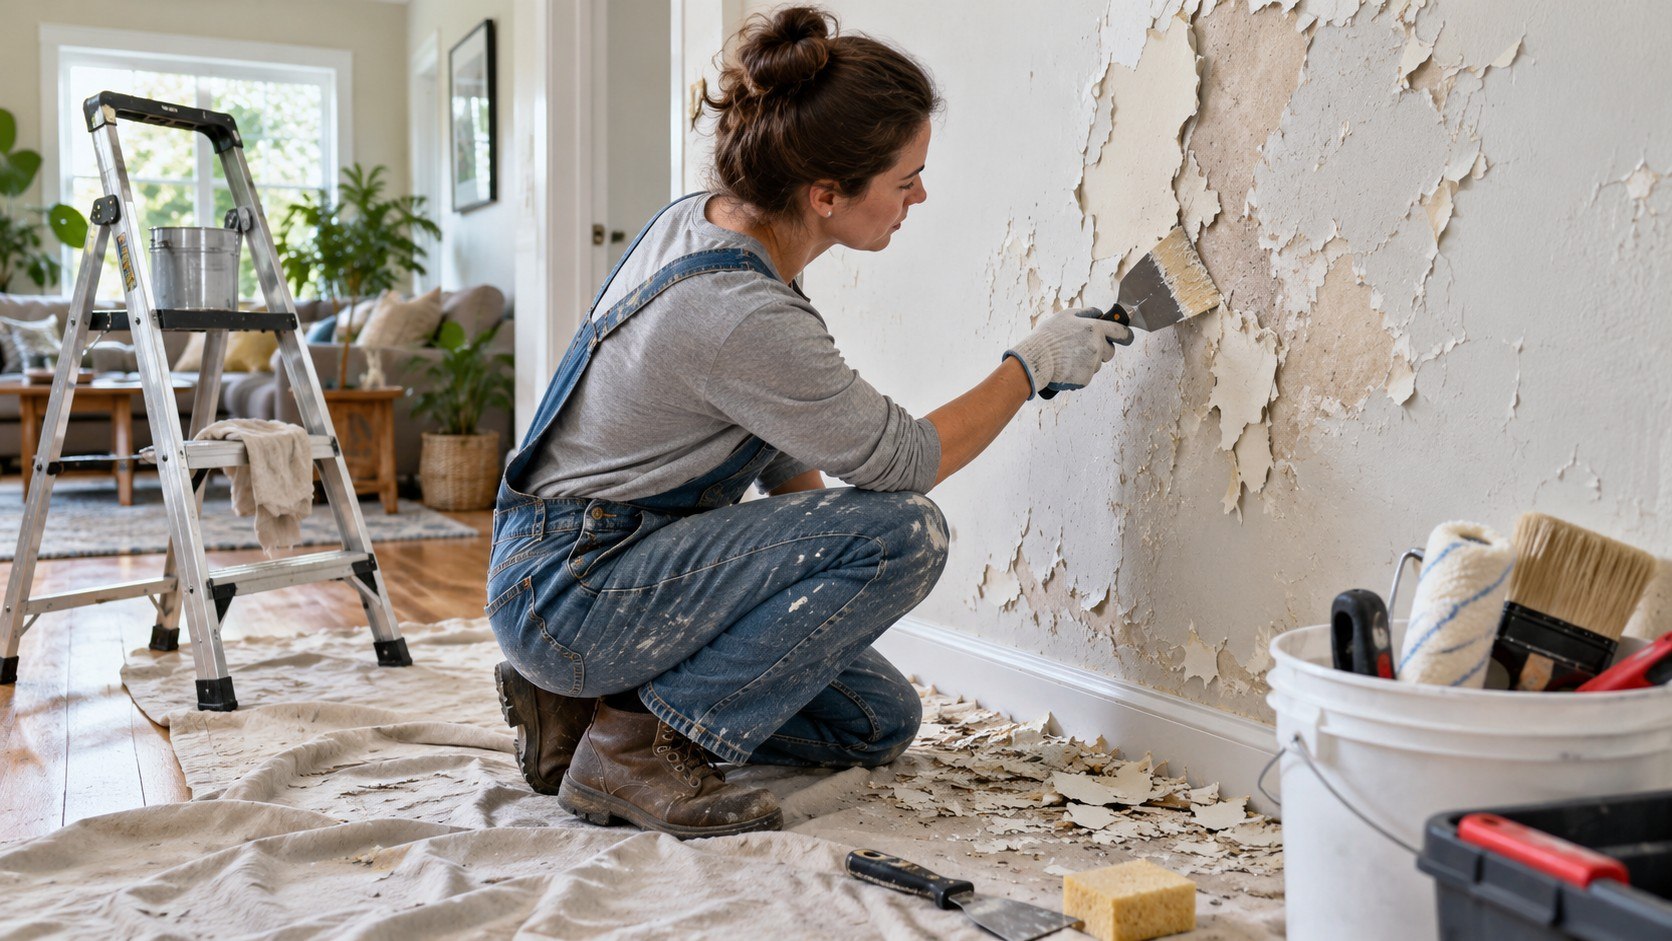
How to fix peeling paint on walls starts with removing every loose edge, correcting the reason adhesion failed, priming exposed material, and repainting thinly. A small damaged wall can often be repaired over a weekend, although moisture problems or extensive plaster damage add time, as noted by the Baltimore Chronicle editorial team.
The repair itself is not complicated. Scrape until the remaining coating is firmly attached, feather rough edges, patch damage, apply the correct primer, then repaint. The expensive mistake is covering peeling paint without finding out why it separated.
Key takeaways
- Remove loose paint completely because fresh paint cannot permanently stabilize a coating that has already lost adhesion.
- Stop leaks, condensation, or persistent humidity before priming, or the repaired area may begin peeling again.
- Prime exposed drywall, plaster, patches, and difficult surfaces before applying 2 controlled finish coats.
Peeling around a shower, window, exterior wall, or ceiling deserves extra investigation because water may be entering the assembly. Peeling limited to an old glossy surface often points toward poor adhesion instead. Broad bubbles can indicate moisture beneath the paint film. Tiny failures around patched areas may simply mean the repair compound was never primed.
Identifying the cause before repainting determines whether the project stays a small repair or turns into a recurring problem.
How to Fix Peeling Paint on Walls: Scrape, Prime, Repaint
The basic repair follows the same order on drywall and most painted plaster: inspect, scrape, sand, patch, prime, then repaint. Sherwin-Williams identifies moisture, dirty or glossy surfaces, and weak existing coatings among common causes of peeling. Its guidance also recommends checking adhesion beyond the visibly damaged section.
What you need
- Stiff putty knife or paint scraper
- 120- and 180-grit sanding sponge or sandpaper
- Spackling compound or suitable wall patch
- 2-inch or 2.5-inch angled paintbrush
- 9-inch roller and appropriate roller cover
- Bonding, drywall, stain-blocking, or masonry primer as required
- Matching interior wall paint
- Drop cloth, painter’s tape, gloves, eye protection, and dust-control supplies
For a small repair, many households already own some of this equipment. In 2026, a scraper, sanding supplies, patch compound, roller cover, primer, and paint can put a modest DIY repair around $50–$150. Premium paint can push the total higher.
The Baltimore Chronicle comparison of interior paint brands and 2026 prices shows how widely gallon prices can vary. A larger room also needs more primer and finish paint.
“Painting over flaking paint will lead to poor adhesion and more peeling.”
Sherwin-Williams, manufacturer repair guidance for flaking paint.
Paint quantity depends on wall texture, porosity, color change, and product. Sherwin-Williams says 1 gallon typically covers about 350–400 sq ft, although rough repairs and unsealed drywall may absorb more material.
| Repair item | Typical 2026 DIY budget | When it is needed |
|---|---|---|
| Scraper and sanding supplies | $10–$30 | Loose edges and uneven paint layers |
| Patch compound | $8–$25 | Gouges, dents, and damaged drywall facing |
| Primer | $20–$60+ | Bare drywall, plaster, stains, glossy surfaces |
| Interior paint | $30–$100+ per gallon | Finish coats after preparation |
| Brush and roller supplies | $15–$40 | Edges, repaired sections, and full-wall repainting |
These ranges are practical budgeting estimates rather than fixed national prices. Promotions can move the final bill substantially. California, New York, Maryland, and other higher-cost markets may also show different local retail prices.
Buying the cheapest coating does not compensate for poor wall preparation. For larger projects, compare the repair area with the paint coverage stated on the product label. Extra primer may also be necessary when bare drywall or fresh patch compound absorbs material unevenly. A repair budget should include enough material for 2 finish coats if the color or sheen needs full coverage.
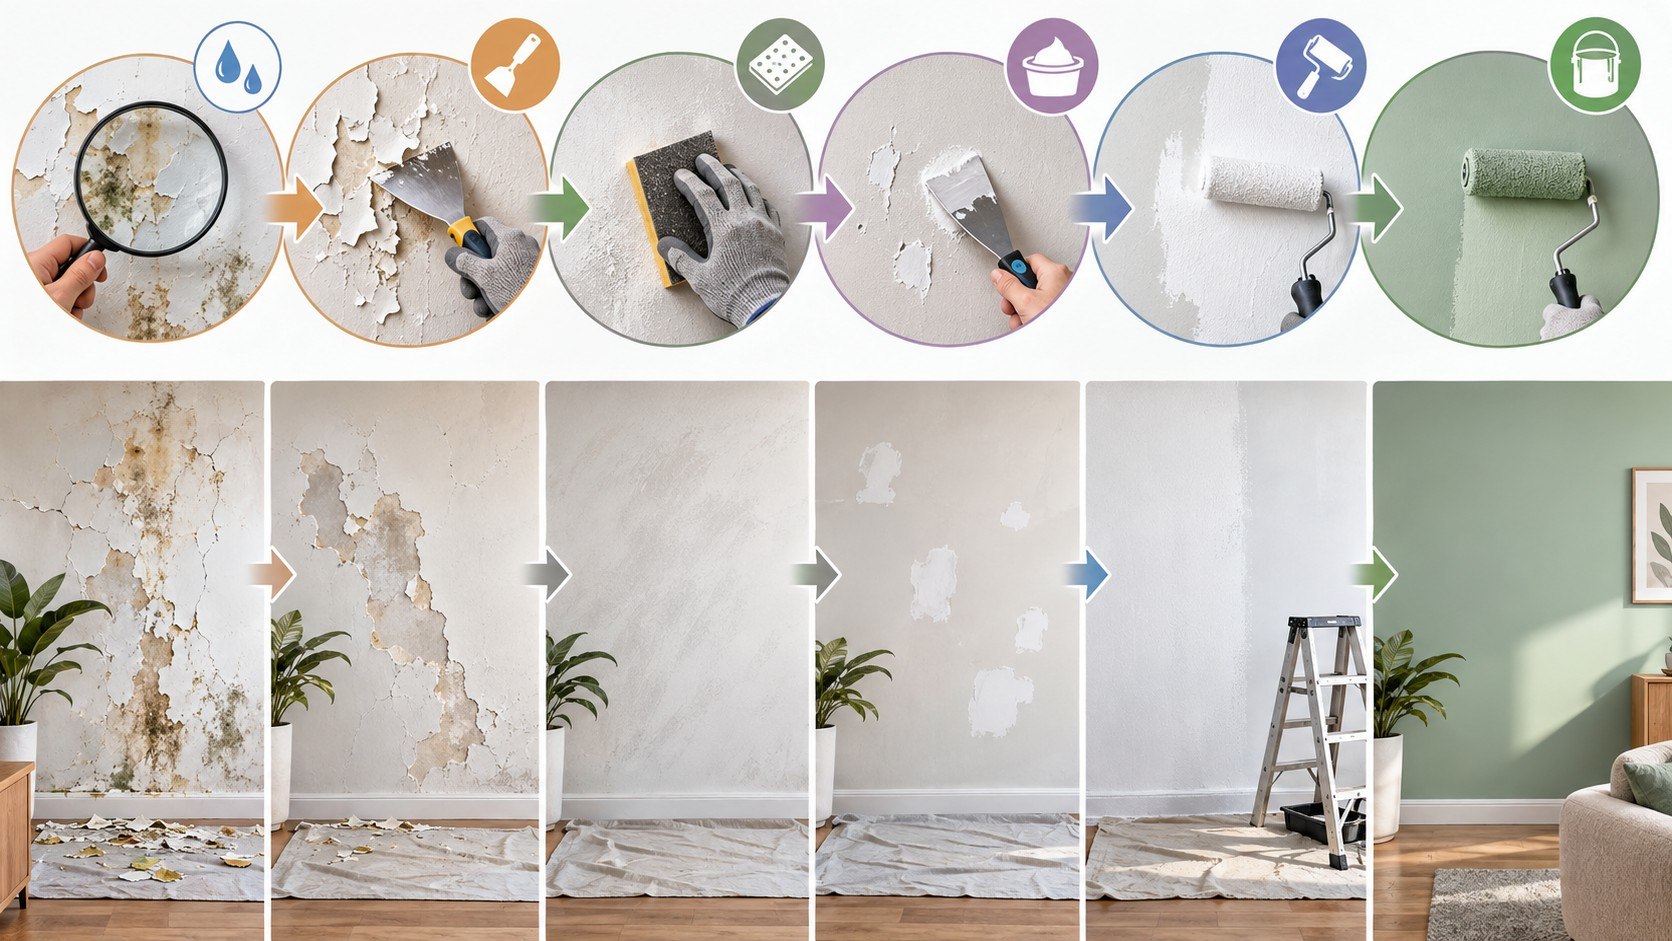
Step 1: Find Why the Paint Is Peeling
Run a scraper gently around the damaged section and inspect what lies beneath. Look for damp drywall, water staining, mildew, chalky plaster, glossy old paint, or a weak layer that releases in sheets.
This matters because peeling wall paint repair fails quickly when moisture remains active. Bathrooms may need better exhaust ventilation, while staining beneath a window can indicate failed caulk or water intrusion.
Avoid assuming primer will seal an active leak. Primer improves adhesion and can block some stains, but it does not repair plumbing, roofing, exterior flashing, or condensation problems.
Readers dealing with extensive wall replacement can compare materials in the Baltimore Chronicle guide to 2026 drywall costs.
Step 2: Check for Lead Before Scraping Older Paint
Homes built before 1978 require a different safety decision. The U.S. Environmental Protection Agency says renovation, repair, or painting work can create dangerous lead dust when lead-based coatings are present.
EPA guidance recommends determining whether lead is present, controlling dust, containing the work area, and cleaning carefully. The official EPA lead-safe renovation guidance explains the precautions for DIY work.
“Any renovation, repair, or painting project in a pre-1978 home that has lead-based paint can easily create dangerous lead dust.”
U.S. Environmental Protection Agency, Lead-Safe Renovations for DIYers.
Do not aggressively dry-sand questionable old coatings. EPA guidance favors dust-minimizing methods and HEPA cleanup where lead may be involved.
In an older house, the fastest repair method is not automatically the safest one.
Paid contractors working on covered pre-1978 properties can also fall under federal RRP requirements. Rules may differ when the property is rented, used for childcare, or renovated commercially.
Step 3: Scrape to a Firm Edge and Sand the Transition
Place the scraper beneath each lifted edge and remove paint that releases with reasonable pressure. Continue slightly beyond the obvious flake until the remaining coating feels firmly bonded.
Then sand the boundary between bare wall and intact paint with 120- to 180-grit abrasive. The goal is a gradual transition, not aggressive removal of the entire wall finish.
This process is often called feathering. It helps prevent a visible ridge from appearing after the new paint dries.
The common mistake is stopping at the exact visible edge of the peeling area. Weak paint can remain around that perimeter and release after repainting.
Step 4: Patch Damage and Make the Wall Flat
Scraping can expose torn drywall paper, shallow gouges, nail holes, and small cracks. Apply patching compound in thin layers with a wide putty knife rather than leaving one heavy mound.
Allow the compound to dry according to its instructions, then sand until the repair disappears under side lighting. Run a hand over the area before priming.
A ridge that can be felt will usually remain visible after paint dries. Fine finishing work matters more here than adding another thick coat later.
For homeowners repainting an entire room, the Baltimore Chronicle guide to painting a room professionally covers rolling technique, cutting edges, coverage, and avoiding lap marks.
Step 5: Prime the Exposed Surface
Primer for peeling paint is not one universal product. Bare drywall usually needs a drywall or general-purpose primer, difficult glossy surfaces may need a bonding primer, and water stains can require a stain-blocking formulation.
Apply primer across the exposed substrate and slightly onto the sound surrounding coating. Priming the whole wall can make sense after extensive repairs or a major color change.
The reason is straightforward. Bare compound, drywall paper, plaster, and existing paint absorb coatings differently.
Primer helps equalize the surface and improves adhesion. Skipping it can leave flashing, where repaired sections appear duller or shinier than the surrounding wall.
Step 6: Repaint With Controlled Finish Coats
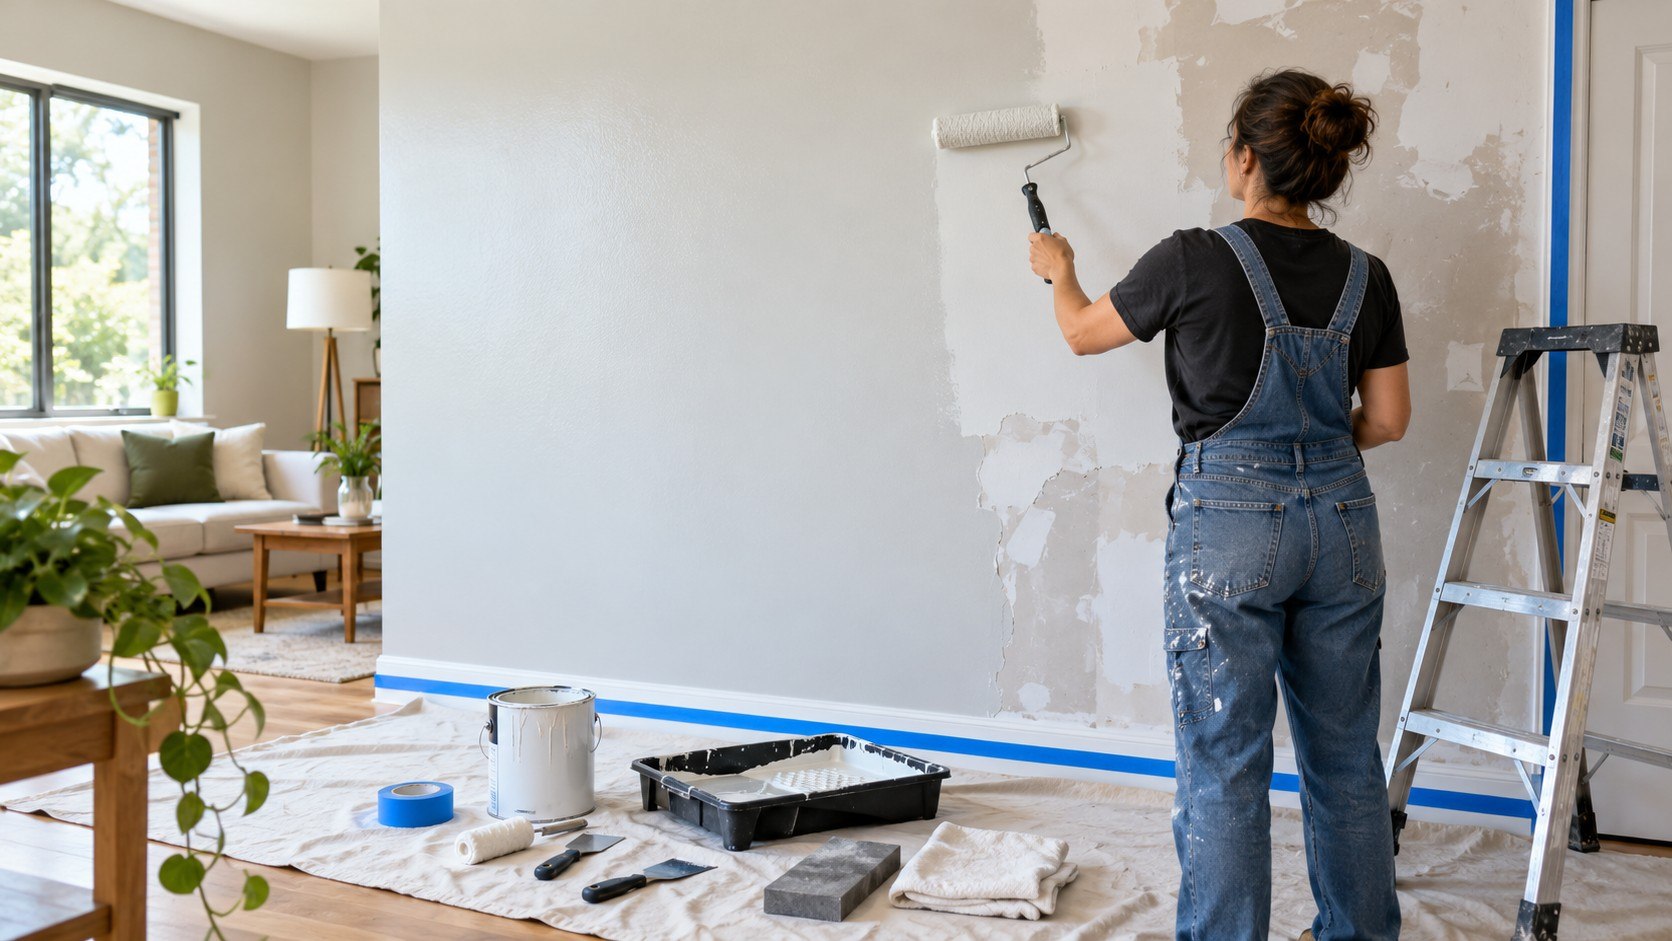
Once the primer reaches its stated recoat time, apply the first finish coat with a brush at edges and a roller over larger sections. Maintain a wet edge and avoid pressing a nearly dry roller hard against the wall.
For most color changes and repaired areas, repainting peeling walls looks more uniform with 2 controlled coats instead of 1 heavy coat. Follow the paint label for recoat time because humidity and temperature influence drying.
Do not keep rolling across paint that has started setting. That habit creates texture differences, roller marks, and lifted material.
The repaired section should blend into the surrounding wall rather than look like a thick island of paint. If only a small area was repaired, matching an older finish can still be difficult. Paint changes slightly with age, cleaning, sunlight, and sheen.
Repainting from corner to corner often hides the repair better than touching up a patch in the middle of a large wall.
Troubleshooting Peeling Paint That Comes Back
Fresh failure usually points toward a cause beneath the finish coat rather than defective color pigment. These patterns can narrow the search before more money goes into repainting.
- Paint peeling after repainting: weak old coating probably remained, or the wall was not clean and dry.
- Peeling around a bathroom ceiling: investigate humidity, ventilation, condensation, and possible plumbing leaks.
- Paint bubbles near a window: inspect exterior caulk, flashing, condensation, and surrounding trim.
- Patch remains visible: sand flatter, reprime the porous repair, and repaint the wall consistently.
- New paint scratches off glossy old paint: adhesion may require additional sanding and a bonding primer.
Repeated peeling in the same location is evidence, not bad luck. Water has to be ruled out before another coat goes on.
A dry moisture-meter reading can provide useful information, but 1 reading does not exclude intermittent leaks. Check the wall after rain, showers, or major temperature changes when relevant.
When drywall becomes soft, swollen, or mold-damaged, surface painting is no longer the complete repair. Large sections of damaged plaster may also need stabilization before coating.
FAQ
Can you paint directly over peeling paint?
No. Loose coating needs to be removed until the remaining paint is firmly attached. Painting directly over flakes leaves the new finish attached to an unstable layer.
Do you have to prime after scraping peeling paint?
Usually, yes, when scraping exposes drywall, plaster, patch compound, wood, masonry, or another porous surface. Fixing peeling interior paint without primer often produces uneven sheen and weaker adhesion.
Why does paint peel even after priming?
Moisture, contamination, glossy surfaces, incompatible coatings, insufficient drying, or weak paint beneath the primer can cause another failure. Find the lowest layer that is losing adhesion.
How much does it cost to fix peeling paint on a wall?
A small DIY repair can often use about $50–$150 in 2026 materials when basic tools are already available. Extensive moisture repairs, lead-safe work, plaster restoration, or full-wall replacement can raise costs substantially.
Should peeling paint be scraped or sanded first?
Scrape loose sections first, then sand firmly attached edges smooth. Sanding loose flakes immediately wastes abrasive and can spread unnecessary dust.
Earlier we wrote about Layering Rugs in a Living Room: 2026 Prices, Size Pairings and the Pattern Rule That Prevents Clutter