

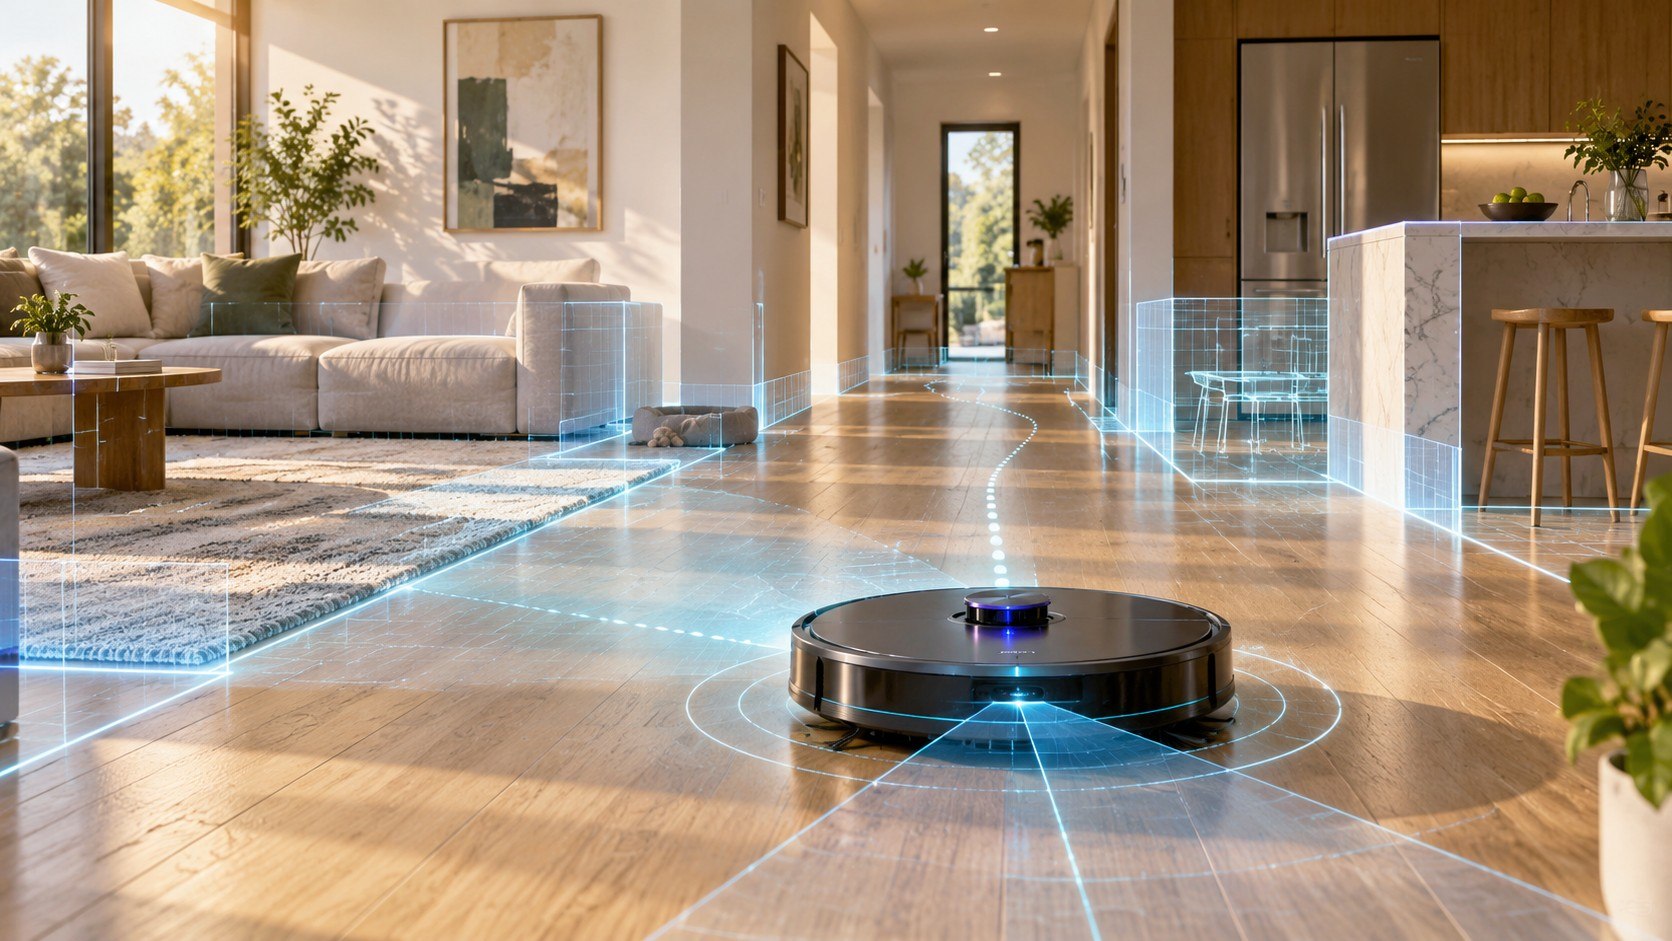
How to map your house with a robot vacuum starts with a clean floor, open doors, and one uninterrupted mapping run. Most modern robots can build a usable map in 15–45 minutes, depending on floor area and layout. LiDAR models usually map faster than camera-only systems. Once the map is saved, label rooms and add no-go zones before starting scheduled cleaning, as noted by Baltimore Chronicle.
The first run matters more than later cleaning runs. Cables, pet bowls, mirrored doors, low furniture, and closed rooms can distort the map. A careful setup prevents the robot from inventing walls, splitting rooms incorrectly, or repeatedly entering places where it gets stuck.
Key takeaways
- Clear cords, toys, lightweight mats, and temporary obstacles before the first mapping run.
- Keep every room door open that should appear on the permanent floor map.
- Add no-go zones only after the robot has created and saved a complete map.
A robot should map the normal shape of the home, not a temporarily rearranged version. Move objects that are usually absent, but leave permanent furniture where it normally sits. Dining tables, sofas, beds, kitchen islands, and cabinets help establish stable reference points.
Mapping is also different from obstacle avoidance. A robot may remember the walls while still failing to recognize a charging cable on Tuesday. LiDAR measures geometry, while cameras and structured-light sensors may identify smaller objects.
The distinction matters when choosing equipment. Baltimore Chronicle’s 2026 robot vacuum comparison shows how Roborock, Dreame, ECOVACS, and Roomba use different navigation systems.
- A good map is less about drawing every chair leg and more about creating reliable rooms, routes, boundaries, and cleaning zones. *
What you need before mapping
Mapping does not require special tools, but 10 minutes of preparation can prevent an hour of corrections later. Have the following ready before pressing Start.
- A charged robot vacuum and connected charging dock
- The manufacturer’s mobile app and a working home Wi-Fi connection
- About 15–45 minutes without people moving furniture around
- Open doors for every room that belongs on the floor plan
- A floor cleared of cords, socks, pet toys, and lightweight objects
- Temporary barriers near risky stairs if the robot is unfamiliar
- Access to room-editing and virtual-boundary controls in the app
The dock should sit in its normal long-term location before mapping begins. Moving it later can confuse some saved maps or force the robot to relocate itself.
Place the base against a wall with reasonable open space around it. Exact clearance requirements differ by manufacturer and model.
Do not carry the robot into another room for its first run. Let it leave the dock itself and return there when mapping finishes.
If the home has several stories, map each floor separately when the model supports multi-level maps. Stairs should remain visible to the robot’s cliff sensors.
Owners comparing robotic and conventional cleaning can also use Baltimore Chronicle’s Dyson, Shark, and Miele vacuum guide to decide which tasks still need manual equipment.
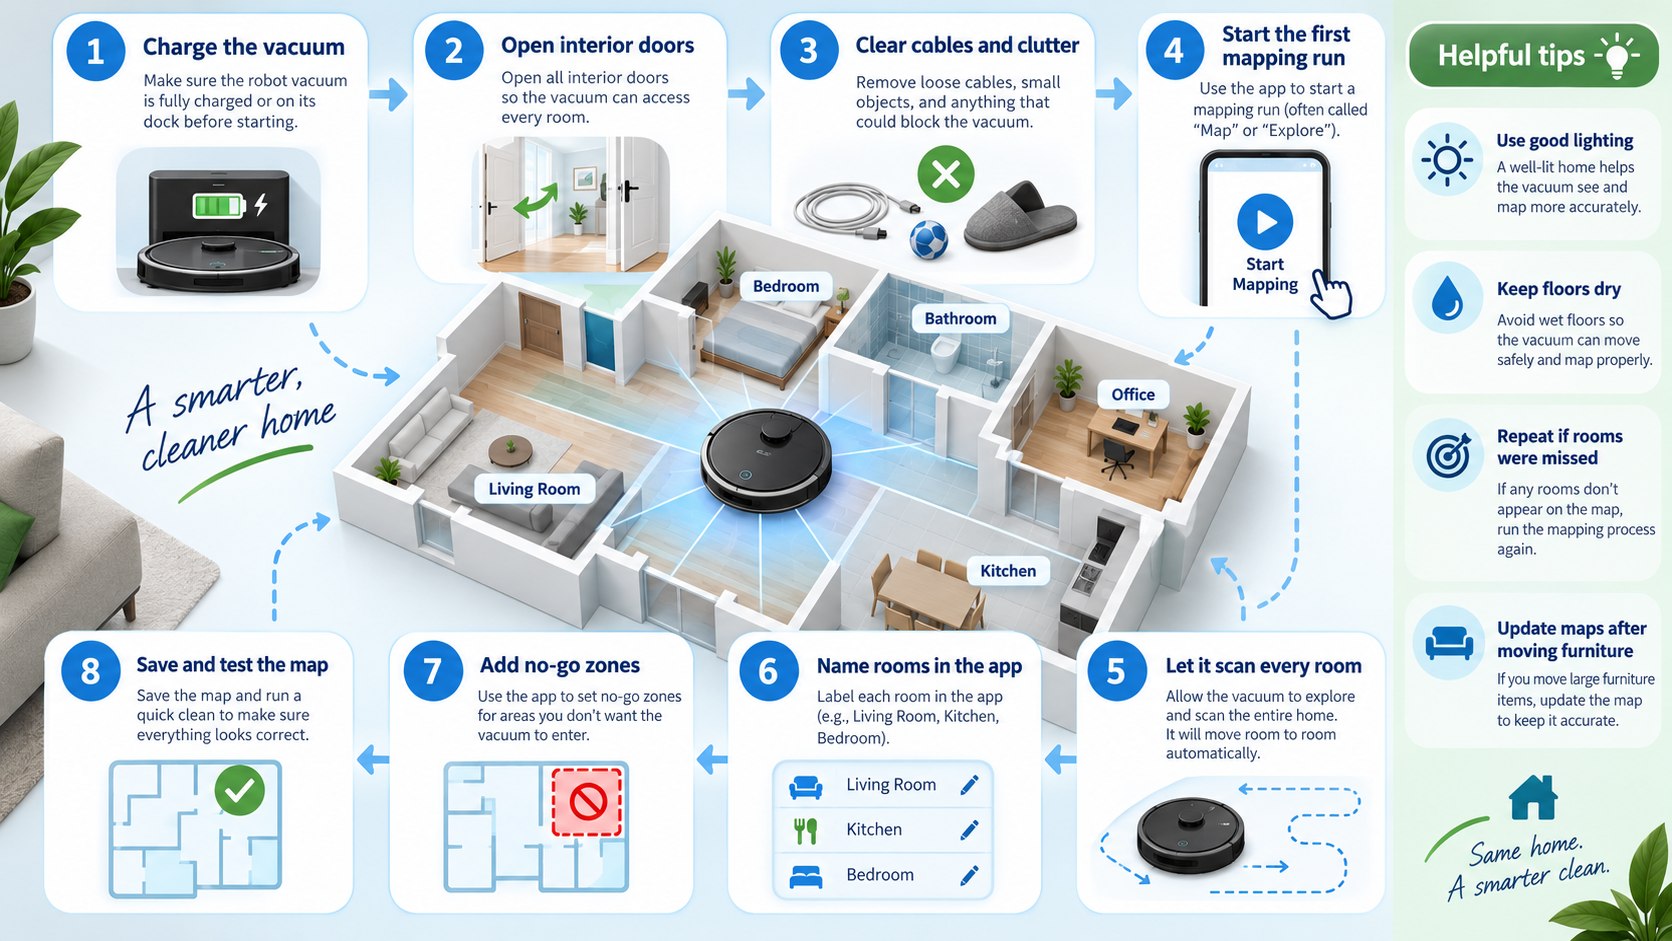
Step 1: Prepare the rooms before the first run
Walk the route before the robot does. Pick up USB cables, shoelaces, pet toys, loose fabric, and small rugs that regularly trap wheels.
Open interior doors fully and secure doors that tend to swing shut. The robot needs a stable opening long enough to identify the room beyond it.
Why it matters: the first map becomes the robot’s reference for rooms, boundaries, and later route planning.
A common mistake is making the floor unrealistically empty. Permanent chairs and large furniture can remain in place because the robot needs to learn the real layout.
Step 2: Start mapping from the dock
Use Quick Map, Mapping Run, Explore, or the equivalent option in the manufacturer’s app. If the model lacks a dedicated mode, start a normal whole-home cleaning cycle.
For a predictable first run, use this order:
- Charge the robot to the level recommended by its manufacturer.
- Place it on the dock instead of starting it from the middle of a room.
- Select the mapping or whole-home cleaning option.
- Leave doors open and avoid moving large objects.
- Let the robot return to its base without carrying it.
The robot uses its starting location as an important reference point. Returning independently also helps the app connect the completed route with the dock.
Avoid stopping the machine merely because its route looks inefficient. First mapping runs often prioritize coverage instead of cleaning efficiency.
Do not follow the robot closely with a chair, laundry basket, or vacuum. Moving obstacles can produce unnecessary detours.
If it becomes trapped, free it with the smallest possible movement. Place it near the same position rather than carrying it across the room.
Cancel and restart only when the robot repeatedly loses its position or misses a major part of the home.
Step 3: Understand LiDAR mapping and its limits
LiDAR robot vacuum mapping works by measuring surrounding surfaces with laser-based distance sensing. It can create room geometry without relying entirely on visible light.
Roborock describes its PreciSense system this way:
“LiDAR-based navigation creates detailed and accurate maps in real-time.”
Roborock, official US product guidance for PreciSense LiDAR navigation, 2026. Official source.
LiDAR is particularly useful in large homes, long hallways, and rooms with limited daylight. It can also help a robot localize itself when furniture moves slightly.
It is not infallible. Floor-length mirrors can sometimes produce strange reflections or apparent spaces behind a wall.
Very low furniture creates another problem. A tall LiDAR turret may prevent the robot from entering areas that its body could otherwise reach.
Some newer models reduce that limitation with retractable sensors. Roborock’s Qrevo CurvX, for example, uses a retractable navigation system and measures about 3.14 inches tall.
As of 2026, manufacturer pricing for LiDAR-equipped robots ranges widely. Entry and midrange models can sell for a few hundred dollars, while premium self-emptying and self-washing systems can reach four figures. Verify the current manufacturer price before purchase.
Step 4: Edit rooms after the map is saved
Once the first map appears, inspect room boundaries before scheduling anything. Correct obvious errors while the layout is fresh in mind.
Most mapping apps provide some combination of split, merge, rename, rotate, and room-type controls. Names such as Kitchen, Hallway, Bedroom, and Office make voice commands easier later.
| Map problem | Best correction | When to remap |
|---|---|---|
| 2 rooms shown as 1 | Use the split-room tool | Only if splitting fails |
| 1 room divided incorrectly | Merge map sections | If walls remain distorted |
| Doorway missing | Run through the area again | If the room stays inaccessible |
| Phantom room behind mirror | Add a boundary near the mirror | If localization keeps failing |
| Furniture moved slightly | Keep the existing map | Usually unnecessary |
Small map imperfections do not always require a reset. A slightly crooked wall rarely affects cleaning performance.
Focus on whether the robot understands usable space and can travel between rooms. Those errors matter more than cosmetic accuracy.
Room labels also improve targeted cleaning. “Clean the kitchen” is more useful than selecting an anonymous rectangle each time.
If one doorway is absent, open the door and send the robot into that area again. Many systems can expand an existing map.
Delete the map only when navigation becomes persistently unreliable. Starting over should be the last correction, not the first.
Step 5: Set no-go zones around real household hazards
Robot vacuum no-go zones are virtual boundaries that tell the machine where it should not enter. They work best for recurring hazards rather than temporary clutter.
Useful boundaries include pet feeding stations, delicate floor lamps, cable clusters, children’s play areas, and furniture that traps the robot. Some apps offer rectangles, virtual walls, or separate no-mop areas.
Place the boundary slightly outside the hazard. A line drawn exactly against a pet bowl can still allow the robot’s brush or body to touch it.
Some LiDAR-equipped systems can also suggest restricted zones near places where a robot repeatedly becomes stuck.
No-go zones work best when they solve repeat problems, not when they turn half the floor plan into forbidden space.
Step 6: Test the map with a targeted cleaning run
Do not trust a new map solely because it looks correct on a phone. Send the robot to 2 or 3 named rooms and watch how it gets there.
Test a room across the house, one near the dock, and one with a narrow doorway. That exposes localization problems quickly.
Camera-based robots require slightly different expectations. iRobot explains that compatible Roomba models can use cameras during mapping and navigation.
“The floor should be clear of pet waste or cables.”
iRobot Home Support, guidance for training and mapping runs on compatible Roomba models, 2026. Official support page.
This matters because obstacle recognition may be limited during a dedicated training run. A cable that gets avoided during daily cleaning may still interfere with initial mapping.
If the robot repeatedly enters the wrong room, first check whether room boundaries overlap. Then confirm that the dock has not moved.
Strong reflections, closed doors, or major furniture changes can also affect localization. Repeated failures are a better reason to remap than one awkward route.
How LiDAR, camera mapping, and virtual zones compare
The best mapping technology depends on the home. A dark 2,000 sq ft house presents different challenges than a bright 700 sq ft apartment.
| Feature | LiDAR navigation | Camera-based navigation |
|---|---|---|
| Low-light mapping | Usually strong | May depend more on available light |
| Room geometry | Fast distance measurement | Built from visual navigation data |
| Small-object recognition | Depends on added sensors | Can be strong with object-recognition systems |
| No-go zones | Common in companion apps | Common in advanced companion apps |
| Low furniture | Turret height can matter | Often avoids a raised LiDAR turret |
LiDAR should not be treated as a synonym for obstacle recognition. They solve related but different problems.
A laser can map a wall accurately while missing a thin charging cable. A camera may recognize the cable while producing a less precise geometric map.
Premium robots often combine several systems. These can include LiDAR, cameras, structured light, cliff sensors, and front-facing depth sensors.
That combination explains part of the wide 2026 price range. Capable systems now span everything from midrange robots to premium models with automated dock cleaning.
For broader appliance planning, Baltimore Chronicle also covers practical ownership questions such as choosing refrigerator capacity for a household.
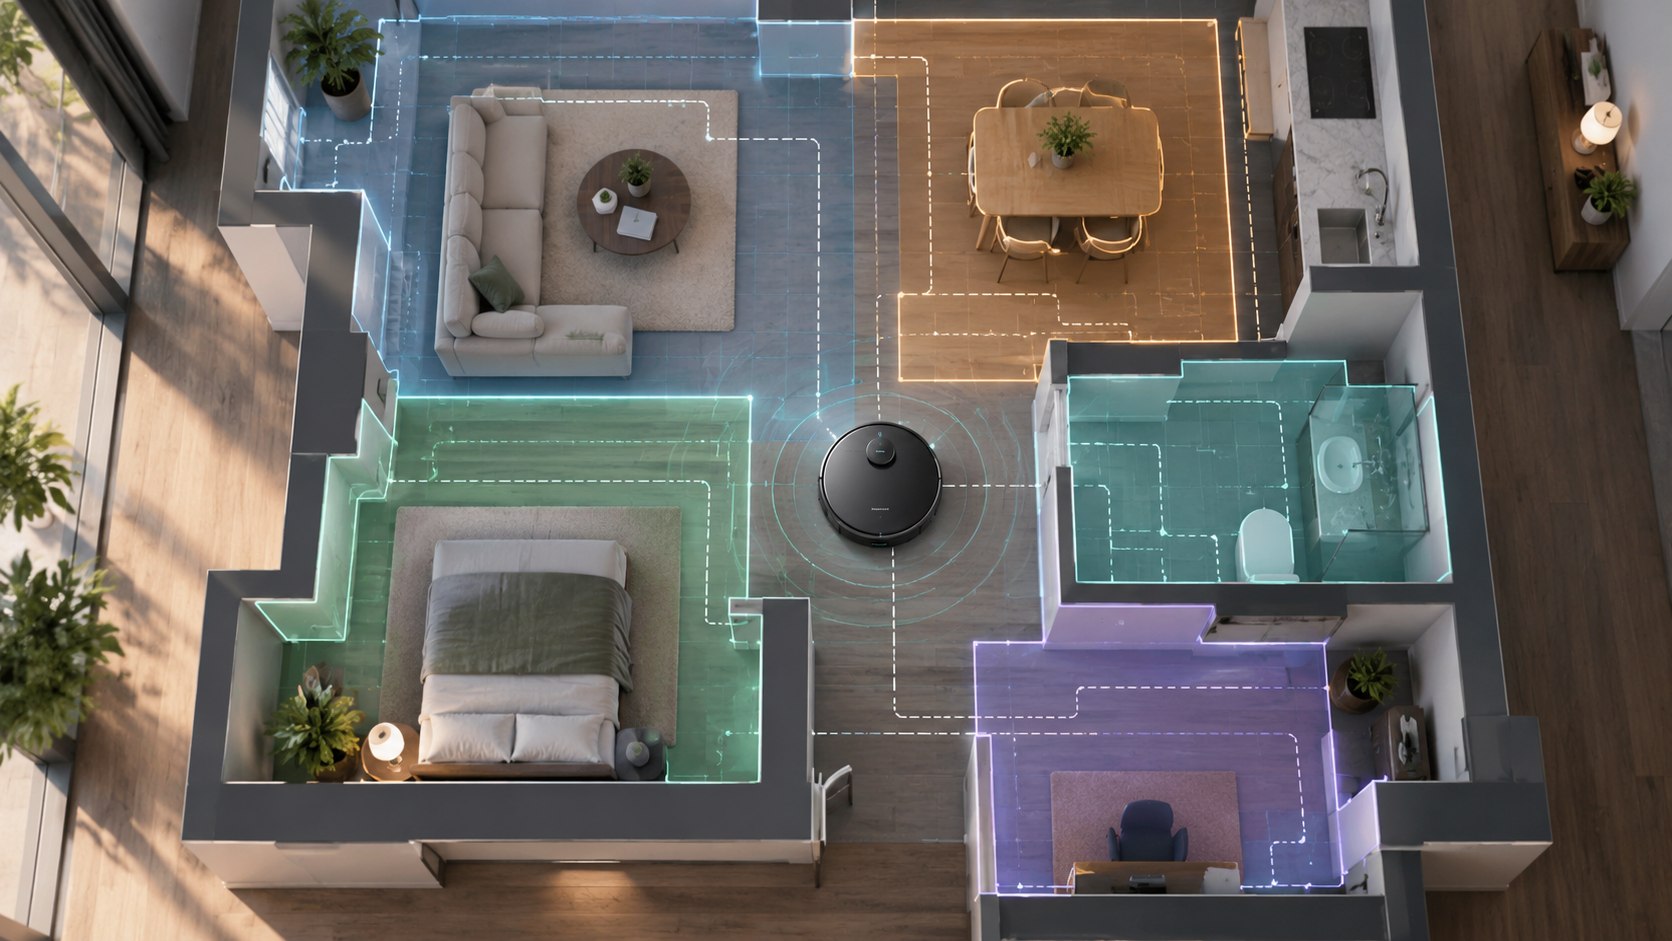
Troubleshooting robot vacuum mapping problems
Most bad maps come from a few repeatable causes. Correct the environment before deleting a saved map.
- Robot misses a room: open the door completely and send it toward that room again.
- Map shows a phantom area: check mirrors, glass doors, or reflective floor-to-ceiling surfaces.
- Robot appears in the wrong room: return it to the dock and allow localization to complete.
- No-go zone gets ignored: enlarge the boundary and confirm the correct saved map is active.
- Map changes after moving the dock: restore the dock location or remap from its permanent position.
A robot that misses one room does not always need a complete reset. Many apps allow maps to expand after another cleaning run.
Localization errors are more serious. They can cause the machine to cross room boundaries or clean the wrong zone.
Dock placement should be checked early because it anchors many navigation systems. Avoid regularly moving the base between rooms.
Virtual boundaries also need margin. Make them slightly larger when spinning side brushes can reach outside the robot’s body.
If every correction fails, create a fresh map with doors open and the floor prepared again.
FAQ
How long does it take a robot vacuum to map a house?
Many homes can be mapped in roughly 15–45 minutes. Large houses and complicated layouts can take longer, especially during a cleaning-and-mapping run.
Should I move furniture before mapping my robot vacuum?
Remove temporary clutter, but keep permanent furniture in its normal location. The robot should learn the layout it will clean every week.
Can I add no-go zones before the first map is complete?
Usually, no. Virtual boundaries are most reliable after the robot has saved a complete map with recognizable rooms and walls.
Is LiDAR better than camera mapping?
Robot vacuum room mapping with LiDAR is usually strong in low light and fast at measuring room geometry. Cameras can add useful object recognition when supported by compatible software.
Why did my robot vacuum create a room that does not exist?
Mirrors and reflective glass can confuse some mapping systems. Add a virtual boundary near the reflective surface if the phantom area affects navigation.
Do I need to remap after moving furniture?
Usually not after moving a chair, coffee table, or similar object. Remapping becomes more useful after major layout changes, dock relocation, or persistent localization failures.
Earlier we wrote about Apple Watch Not Charging in 2026: Apple’s 30-Minute Rule and the Charger Checks That Matter