

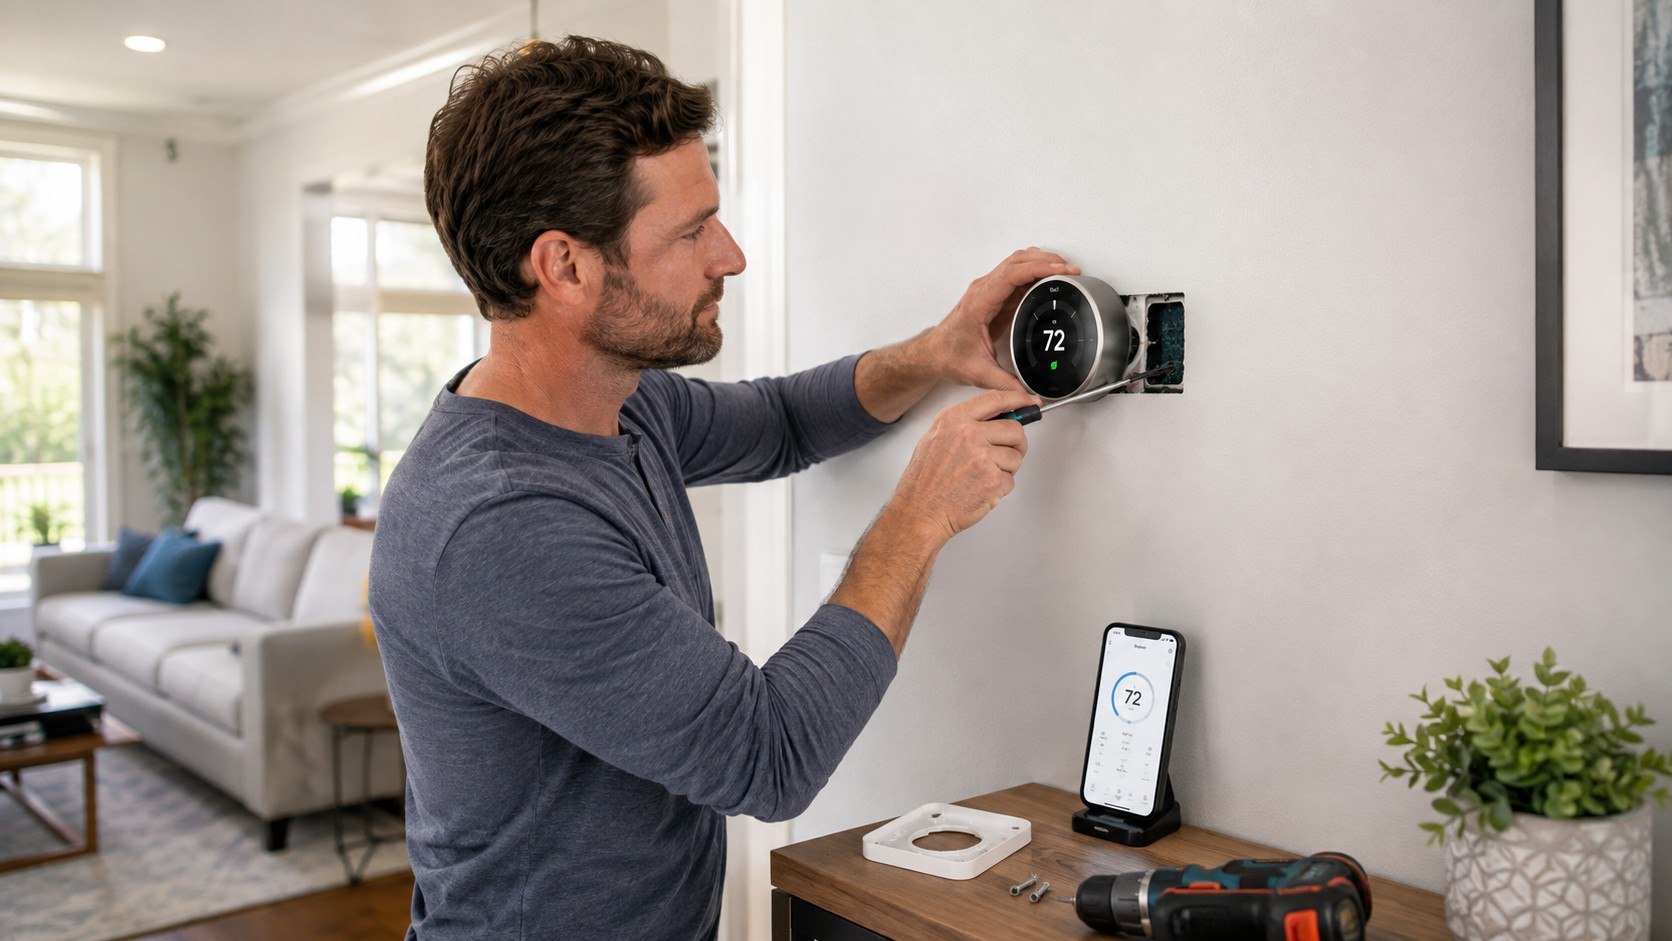
How to install a smart thermostat yourself is mainly a wiring-identification job, not a difficult electrical project. Most compatible systems take 45–90 minutes to upgrade, including Wi-Fi connection and app setup, as noted by Baltimore Chronicle.
Turn off HVAC power, photograph every wire, confirm the terminal labels, and connect each wire to the matching terminal. The critical question is whether the system has a C-wire, also called a common wire, which provides continuous low-voltage power.
Key takeaways:
- Confirm HVAC compatibility before buying because heat pumps, boilers, and communicating systems may require specialized controls.
- Never identify thermostat wiring by color alone; use terminal letters and your reference photograph.
- Complete app setup beside the thermostat so you can test Wi-Fi, heating, cooling, and fan operation immediately.
Smart thermostats are compatible with many conventional forced-air systems. However, buyers should check compatibility carefully when a home has variable-speed, multi-stage, oil-fired, zoned, or proprietary HVAC equipment.
Widely sold US models include the Google Nest Thermostat, Ecobee Smart Thermostat Essential and Premium, Amazon Smart Thermostat, and Honeywell Home products. In 2026, mainstream models generally cost about $80–$280 before rebates, sensors, adapters, or professional labor.
What you need before starting
Gather everything before disconnecting the existing thermostat. Leaving an HVAC system partly disassembled while searching for tools increases the chance of crossed wires or lost labels.
- Compatible smart thermostat and mounting hardware
- Manufacturer’s compatibility checker or installation app
- Small Phillips-head and flat-head screwdrivers
- Drill, level, and wall anchors when required
- Masking tape or supplied wire labels
- Phone camera and reliable home Wi-Fi
- Access to the HVAC breaker or service switch
- C-wire adapter or power-extension kit when required
- 45–90 minutes without heating or cooling
A basic DIY installation should not require opening refrigerant lines, modifying 120-volt wiring, or replacing HVAC equipment. Thermostat conductors usually carry about 24 volts, but shutting off power remains essential. It protects the equipment’s control-board fuse from accidental contact between conductors.
Renters should obtain written permission before drilling holes or replacing installed controls. Keep the original thermostat, backplate, screws, and photographs for restoration. Homeowners planning additional upgrades can also review these practical home-automation options.
Do not begin installation during extreme heat or freezing weather unless you can restore the old thermostat quickly.
How to install a smart thermostat yourself: compatibility checks
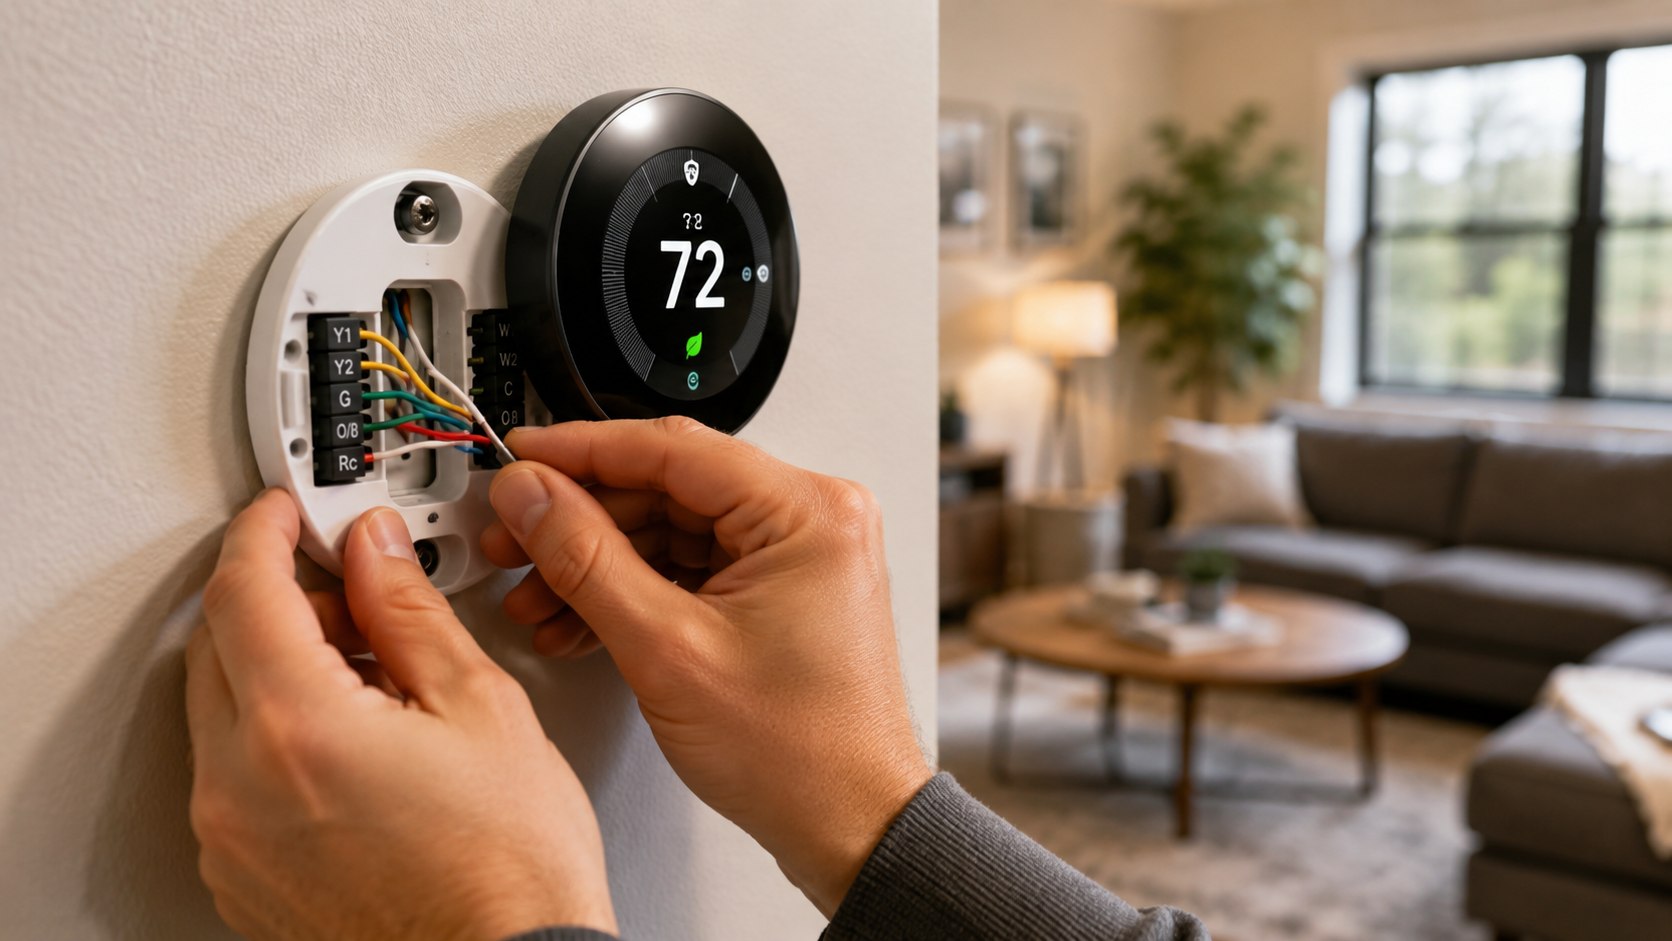
Remove only the decorative thermostat cover. Do not disconnect wires yet. Photograph the terminal block closely enough to read labels such as R, Rc, Rh, W, Y, G, C, O/B, AUX, and E.
| Terminal | Typical function | Installation concern |
|---|---|---|
| R, Rc or Rh | 24-volt power | Do not add a jumper unless instructed |
| C | Common power return | Supports constant thermostat power |
| W or W1 | Heating call | Common on furnaces and boilers |
| Y or Y1 | Cooling compressor | Usually paired with central AC |
| G | Indoor fan | Controls blower operation |
| O/B | Heat-pump reversing valve | Requires correct app configuration |
| AUX or E | Auxiliary or emergency heat | Common on heat-pump systems |
Terminal letters matter more than wire colors because installers do not always follow conventional color schemes. A blue wire may be connected to C, but that does not make every blue wire a common wire. Likewise, an unused conductor behind the wall is not active until connected correctly at the HVAC control board.
Do not continue with thick wires, wire nuts, or labels such as L1 and L2. Those signs may indicate a line-voltage thermostat used with electric baseboard heating. Many consumer smart thermostats cannot control that system directly.
Communicating systems may use proprietary terminals or digital controls rather than standard HVAC wiring. Replacing those thermostats can disable variable-speed features or equipment diagnostics. Buyers with advanced equipment should consider a controller from the HVAC manufacturer.
Homes with aging equipment deserve a broader inspection before adding connected controls. This guide to US home inspections and HVAC checks explains how heating and electrical systems fit into a property review.
Step 1: Turn off power to the HVAC system
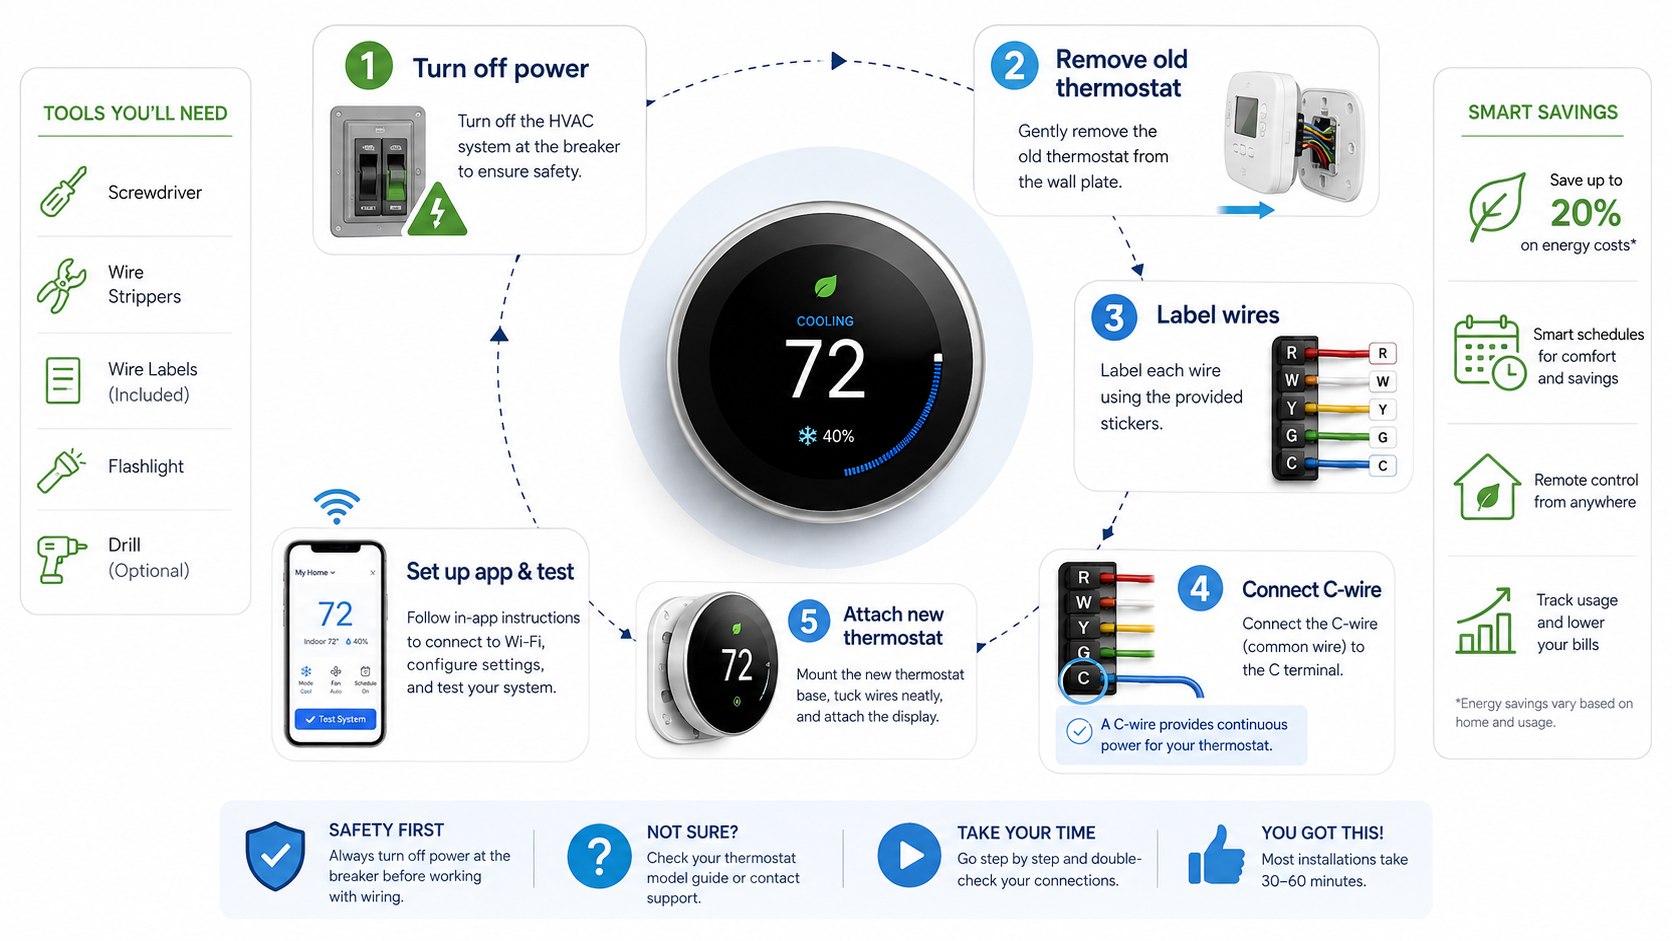
Switch off the furnace, air handler, heat pump, and air-conditioning breakers. Also use the service switch near the indoor equipment when one is installed.
This prevents a loose conductor from shorting the control circuit. Avoid assuming that turning the thermostat to “Off” removes electrical power.
Step 2: Photograph and label every wire
Take several sharp photographs before touching any terminal. Label each conductor according to its existing terminal, not its insulation color.
The photograph provides a recovery map if a label falls off. A common mistake is removing every wire before recording whether R used Rc, Rh, or a jumper.
Step 3: Remove the old thermostat safely
Loosen one conductor at a time and prevent it from slipping into the wall. Wrap the wire bundle around a pencil or tape it temporarily to the wall.
Remove the old backplate after all conductors are secure. Do not cut the wires shorter because limited conductor length makes the new installation harder.
Step 4: Resolve the C-wire problem
Look for a conductor connected to the C terminal. A smart thermostat may also work with an included power-extension kit, manufacturer adapter, or approved no-C-wire configuration.
- Use an existing wire already connected to C at both ends.
- Activate an unused conductor after verifying it at the HVAC board.
- Install the thermostat manufacturer’s power-extension kit.
- Run new thermostat cable when accessible.
- Choose a compatible model designed for the available wiring.
The cleanest solution is usually a correctly connected existing conductor. An adapter can be practical when running cable would require opening finished walls. However, adapter installation often requires access to the furnace or air-handler control board.
Do not connect an unused wire to C at the thermostat without checking its other end. An unconnected conductor provides no power. Connecting it to the wrong control-board terminal can damage a fuse or produce unreliable operation.
Some thermostats use battery charging or limited power-sharing techniques, but compatibility depends on the HVAC system. Frequent restarts, Wi-Fi drops, delayed cooling, or unusual furnace behavior may indicate unstable power. Honeywell Home provides an official C-wire identification and connection guide.
Call an HVAC professional when the control board is inaccessible, terminals are undocumented, or the system includes multiple zones. Advanced heat pumps and dual-fuel equipment also require careful configuration.
Step 5: Install the new backplate
Feed the labeled wires through the center opening and position the plate over the wall. Use the built-in level or a separate level before marking holes.
Secure the plate without crushing wires behind it. Avoid overtightening screws into drywall because the plate may bow and prevent the display from seating correctly.
Step 6: Connect the thermostat wires
Insert each conductor into the matching labeled terminal. Tug gently after insertion to confirm that the connector has locked.
Follow the new thermostat’s terminal map rather than copying the physical arrangement of the old plate. Never add or remove an Rc-to-Rh jumper unless the manufacturer specifically directs it.
Heat-pump wiring requires special attention because O/B controls the reversing valve. Choosing the wrong setting can cause the system to heat while the thermostat requests cooling.
Step 7: Attach the display and restore power
Push extra wire carefully into the wall and attach the thermostat display. Restore the service switch and breakers after the display sits flat.
The thermostat should start within several minutes. If the screen remains blank, switch power off again and inspect R, C, the display connection, and the HVAC control-board fuse.
Step 8: Complete Wi-Fi and app setup
Install the official Google Home, Ecobee, Alexa, or First Alert app for your model. Create or sign in to the account, then add the thermostat using its displayed code.
Enter the correct equipment type, fuel, stages, and O/B orientation. Do not guess these settings because incorrect configuration can increase wear or activate auxiliary heat unnecessarily.
Use a strong account password and enable multi-factor authentication when the manufacturer offers it.
Step 9: Test heating, cooling, fan, and schedules
Run each available mode separately for several minutes. Confirm that supply vents deliver the expected air and that the outdoor unit starts only when required.
- Raise the setpoint and verify heating operation.
- Lower the setpoint and verify cooling operation.
- Run the fan without heating or cooling.
- Confirm room sensors appear in the app.
- Check remote access through cellular data.
- Create weekday, weekend, sleep, and away periods.
- Disable unwanted utility programs or learning features.
Allow equipment to observe normal compressor-protection delays. Many thermostats wait several minutes before restarting cooling. That pause prevents rapid compressor cycling.
Confirm that the app reports the same indoor temperature as the thermostat. A difference of 1°F can reflect sensor placement, calibration, or nearby airflow. Avoid placing lamps, televisions, or portable heaters directly beneath the device.
Review privacy settings before enabling location-based automation. Geofencing may use household phone locations to change temperatures. Every resident should understand when that feature is active.
Check utility rebate eligibility before discarding the packaging. Programs differ across Maryland, California, Texas, New York, and other states. Some rebates require an ENERGY STAR-certified model, proof of purchase, or enrollment in demand-response events.
For additional household savings, compare the thermostat settings with these ways to reduce water and electricity use.
Troubleshooting smart thermostat installation problems
Most failed installations involve power, identification, or setup rather than a defective thermostat. Switch power off before changing any wire.
- Blank display: Check R and C connections, the HVAC door switch, service switch, breakers, and control-board fuse.
- Wi-Fi disconnects: Confirm signal strength, reconnect the network, and avoid unsupported enterprise or captive-portal networks.
- Heating runs during cooling: Recheck O/B configuration and confirm that the thermostat is set for a heat pump.
- System cycles rapidly: Inspect C-wire power, equipment staging, temperature differential, and compressor-protection settings.
- App cannot find the thermostat: Restart pairing, enable Bluetooth and local-network access, then verify the correct account region.
A blank screen after installation does not always mean the thermostat is faulty. Many furnace cabinets include a safety switch that cuts power when the access panel is open. Reinstall the panel completely before retesting.
Rapid cycling requires prompt attention because repeated starts can stress HVAC equipment. Restore the original thermostat when safe operation cannot be confirmed. Use the photographs taken before disassembly.
Do not bypass safety switches, equipment controls, or fuses. A repeatedly blown low-voltage fuse indicates a short circuit that requires diagnosis. Continuing to replace the fuse without finding the fault can damage the control board.
Professional installation is the safer option for dual-fuel systems, proprietary communicating equipment, electric baseboard heat, and complicated zoning. It is also appropriate when wire labels differ from manufacturer documentation.
FAQ
Can I install a smart thermostat without a C-wire?
Possibly. Some models support an approved adapter, power-extension kit, or compatible no-C-wire installation. Verify the exact HVAC wiring with the manufacturer’s compatibility checker before purchase.
How long does smart thermostat installation take?
A straightforward replacement usually takes 45–90 minutes. Adding a C-wire adapter, repairing drywall, or configuring advanced HVAC equipment can extend the job.
Can a smart thermostat damage an HVAC system?
Incorrect wiring or equipment settings can blow a low-voltage fuse and cause improper operation. Shut off power, identify terminals accurately, and test every mode before relying on automation.
Do renters need permission to replace a thermostat?
Lease terms vary, but written landlord approval is advisable. Keep the original unit and avoid permanent wiring changes unless the property owner authorizes them.
Why does my thermostat have both Rc and Rh?
Those terminals can represent separate cooling and heating power sources. Modern systems often use one transformer, but jumper requirements vary by thermostat and HVAC design.
Should I hire an HVAC technician instead?
Hire a professional for line-voltage systems, dual-fuel equipment, inaccessible control boards, proprietary wiring, complex zoning, or unresolved C-wire problems.
Earlier we wrote about Renting Without a Credit Score in 2026: Co-Signers, Deposits and References