


How to use shared photo library 2026 starts with one decision: choose the person who will create the library and pay for its iCloud storage. Setup usually takes 5–10 minutes if everyone already has an Apple Account, iCloud Photos enabled, and updated devices. The organizer can invite up to 5 other people, making 6 participants total, as noted by Baltimore Chronicle.
The feature is designed for households, couples, parents, travel groups, and anyone who wants one collaborative photo collection. Unlike sending pictures through Messages, every participant can add, edit, favorite, caption, or delete shared items. Apple also keeps the Shared Library separate from each person’s Personal Library.
Key takeaways
- One Shared Library supports the organizer plus up to 5 invited participants.
- The organizer’s iCloud storage holds the shared photos and videos for everyone.
- Check every participant before moving pictures because members can edit or delete shared content.
What you need before setting up Shared Photo Library
You do not need Family Sharing for normal adult participants. Everyone does need an Apple Account and iCloud Photos enabled on a compatible device.
Apple lists iOS 16.1, iPadOS 16.1, and macOS Ventura 13 or later as the minimum versions. Devices running older software cannot access photos moved into the Shared Library.
Before starting, have these items ready:
- an iPhone, iPad, or Mac with supported software;
- an Apple Account for every participant;
- iCloud Photos turned on;
- enough iCloud storage in the organizer’s account;
- the phone numbers or email addresses associated with invitees;
- about 5–10 minutes for setup, plus upload time for large libraries.
The organizer should check available iCloud storage before moving years of photos or 4K video into the shared collection.
Storage matters because shared content counts against the organizer’s iCloud quota, not each participant’s individual quota. People joining the library can view its content without consuming an equivalent amount from their own iCloud storage.
For readers already dealing with storage pressure, Baltimore Chronicle’s guide to freeing storage on an iPhone explains the difference between local device storage and cloud capacity. Windows users can also review the guide to downloading iCloud photos to a PC before reorganizing a large archive.
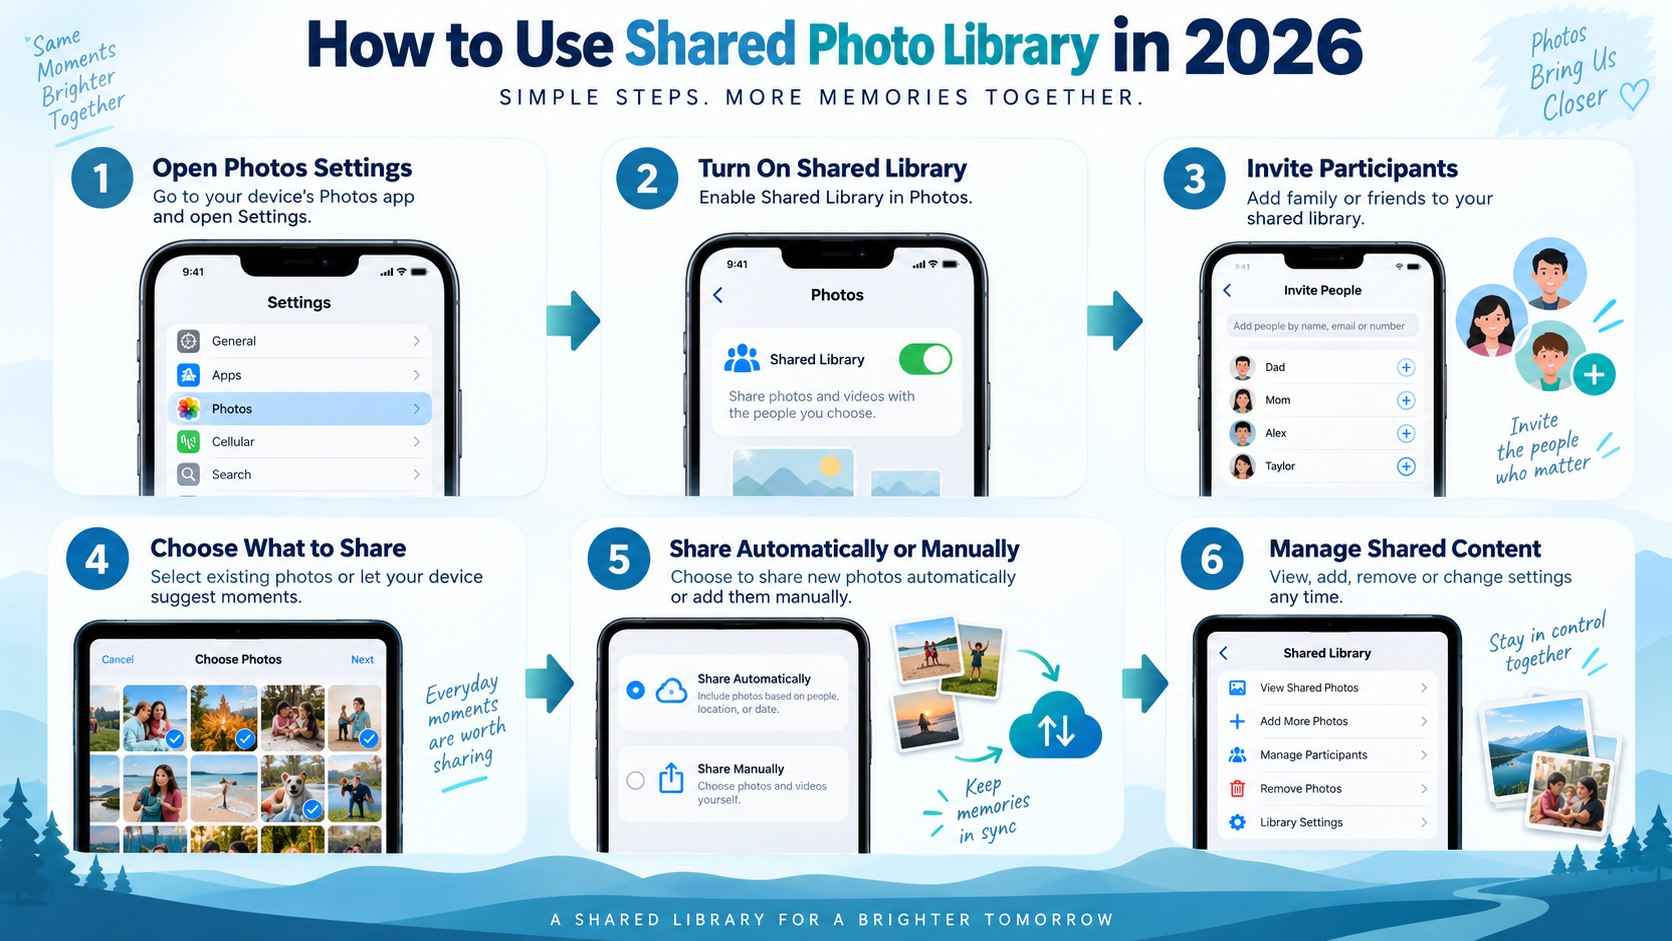
Step 1: Check iCloud Photos before you create anything
On an iPhone, open Settings and confirm that iCloud Photos is active for the Apple Account you plan to use. Depending on the current iOS interface, Shared Library controls may also appear inside the Photos app under the account menu.
This matters because iCloud Shared Photo Library setup depends on iCloud Photos synchronization. A phone that stores only local images cannot participate normally until synchronization is enabled.
The common mistake is starting with a nearly full iCloud account. Uploading thousands of shared photos can stop when the organizer runs out of cloud storage.
Apple maintains the current device requirements and setup instructions in its official Shared Photo Library guide.
Step 2: Create the Shared Library
Open Photos on the iPhone, go to Collections, tap the account button, and choose Shared Library. Follow the prompts to create a new collection.
On a Mac, open Photos, choose Photos > Settings, select iCloud, then open Shared Library and start setup. The Mac route is useful when the organizer wants a larger screen for reviewing thousands of existing pictures.
“You can join one Shared Library.”
Apple Support states that each person can participate in only one Shared Library at a time. That restriction matters for people who might otherwise expect separate libraries for family, work, and travel groups.
The common mistake is treating Shared Library like Shared Albums. They are different Apple features with different permissions and storage behavior.
Step 3: Choose what existing photos to share
Apple lets the organizer move existing pictures and videos during setup or postpone that decision. Do not automatically transfer an entire Personal Library unless every image belongs in a collaborative space.
A better Apple shared photo library setup starts with a narrow selection. Family vacations, children’s events, household projects, weddings, and group trips usually make more sense than an unrestricted archive.
You can organize the first transfer in several ways:
- Move selected photos manually.
- Select content involving particular people or dates when the option is available.
- Skip migration and begin with new photos only.
- Add older material gradually after participants have joined.
Moving an item matters because Shared Library is not simply another visual copy. Apple says contributed photos and videos move out of the Personal Library and into the shared collection.
The common mistake is assuming the organizer always retains an untouched private version. Keep private documents, screenshots, IDs, medical images, and other sensitive material out of the initial transfer.
For most households, manually moving a smaller first batch is safer than transferring years of photos during setup.
That approach also makes it easier to explain the system to family members. Everyone can learn how edits and deletions behave before the library becomes large.
Step 4: Send Shared Photo Library invites
The organizer can invite up to 5 people, creating a maximum group of 6 including the organizer. Invitations can be sent during setup or added afterward.
This is the critical part of Shared Photo Library invites because invited members receive substantial control. Apple says participants can add, edit, favorite, caption, and delete shared items.
Before sending invitations, confirm these details:
- the contact uses the intended Apple Account;
- the person understands that the library is collaborative;
- everyone knows deletions affect shared content;
- participants have iCloud Photos enabled;
- older devices are updated before shared photos are moved.
The common mistake is inviting a person simply because they need to see several pictures. A Shared Album, AirDrop transfer, or ordinary iCloud link may be more appropriate when full collaborative access is unnecessary.
Step 5: Accept the invitation correctly
An invited person can open the Shared Library invitation and choose Get Started. Apple also allows invitations to appear through Photos settings when they have not been handled directly from the message.
After joining, the participant can contribute photos during setup or wait until later. The shared collection then becomes available alongside the user’s Personal Library.
| Setting | Personal Library | Shared Library |
|---|---|---|
| Who controls content | Account owner | All participants |
| Who can add photos | Owner | All participants |
| Who can edit shared items | Owner | All participants |
| iCloud storage charged to | Owner | Shared Library organizer |
| Maximum participants | 1 account | 6 total |
| Best use | Private archive | Collaborative family or group collection |
The distinction becomes important after several people begin contributing. A photo visible inside Shared Library should be treated as collaborative content rather than a private backup.
Users can switch among Personal Library, Shared Library, and a combined view in Photos. This makes daily browsing easier without physically merging the collections.
The combined view can still create confusion if someone forgets which library contains a particular image. Apple provides visual indicators and filtering controls to help identify shared items.
A Shared Library also differs from copying files to another device. Changes can propagate through the shared environment rather than creating isolated versions.
For anyone moving to another phone before creating the library, Baltimore Chronicle’s new iPhone setup guide covers Quick Start and photo migration.
Step 6: Decide how new iPhone photos enter the library
Once the group is working, photos can be added manually or directly from the Camera app. Apple also supports sharing behavior based on whether Shared Library participants are nearby.
That makes iPhone shared photo library 2026 useful during vacations, birthdays, school events, and family gatherings. Multiple people can contribute images without creating duplicate group chats afterward.
Apple says nearby sharing requires participants to be signed into their Apple Accounts and have Bluetooth enabled. Camera sharing controls can be changed later through Photos settings.
The common mistake is leaving automatic sharing enabled without understanding where new pictures are going. Check the Camera library indicator before photographing receipts, work documents, private notes, or anything intended to remain personal.
Step 7: Switch between Personal and Shared Library
Open Photos and use the library viewing controls to display Personal Library, Shared Library, or both. In current Apple documentation, these controls are available through the Photos library interface and filtering menu.
This matters because switch between personal and shared library is one of the most practical daily tasks. A picture that appears missing may simply be hidden by the selected library filter rather than deleted.
Shared Library content is separate from Personal Library content, while Photos can display either collection or both together.
That is the central concept behind the feature. Apple designed one Photos interface around 2 distinct content pools rather than creating a second standalone photo application.
The common mistake is searching only the Personal Library after someone else moved or contributed an image to the shared collection.
Step 8: Manage participants and removals carefully
The organizer can add or remove participants from Shared Library settings. Apple applies different retention rules when someone leaves or is removed.
According to Apple’s current Mac documentation, a participant who has belonged to the library for more than 7 days receives shared assets in their Personal Library after removal. Someone who participated for less than 7 days receives copies only of items they contributed.
This makes remove someone from Shared Photo Library more consequential than deleting a person from a group message. Review the library before changing membership.
The common mistake is removing someone immediately after a dispute about access without understanding what copies they may retain. Shared Library should not be used as a technical mechanism for controlling confidential images.
Troubleshooting Shared Photo Library problems
Most problems fall into a few recognizable categories. Check account status and software compatibility before resetting devices or deleting photos.
- Invitation does not appear: confirm the recipient uses the correct Apple Account and resend the invitation.
- Shared Library option is missing: update the device and verify that iCloud Photos is enabled.
- Photos seem to disappear: switch the Photos view between Personal, Shared, and Both Libraries.
- New uploads stop: check the organizer’s available iCloud storage and internet connection.
- A person cannot join: confirm they are not already participating in another Shared Library.
After checking these items, restart Photos or the device before making larger account changes. A synchronization delay can sometimes make recent changes appear incomplete.
Do not delete photos as a troubleshooting shortcut. Deletion inside Shared Library can affect content available to the whole group.
For major photo collections, keep a separate backup of irreplaceable originals. Shared synchronization is designed for collaboration, not as a substitute for an independent backup strategy.
The organizer should also review membership periodically. Former roommates, separated partners, or temporary travel companions may no longer need access.
FAQ about how to use Shared Photo Library 2026
How many people can join an iCloud Shared Photo Library?
Apple allows the organizer to invite up to 5 additional participants. That means one Shared Library can contain 6 people in total.
Does everyone need an iCloud+ subscription?
No separate paid subscription is required simply to join. Shared content consumes the organizer’s iCloud storage rather than an equivalent amount from every participant.
Can participants delete my photos?
Participants have equal permissions over Shared Library content, including the ability to add, edit, and delete items. Keep photos private when that level of shared control is inappropriate.
Is Shared Photo Library the same as Shared Albums?
No. Shared Albums are separate collections designed mainly for sharing selected media. Shared Library functions more like a collaborative photo library with broader participant permissions.
Can one person join several Shared Libraries?
No. Apple states that a person can belong to only one iCloud Shared Photo Library at a time.
Can Shared Photo Library be viewed on a Mac?
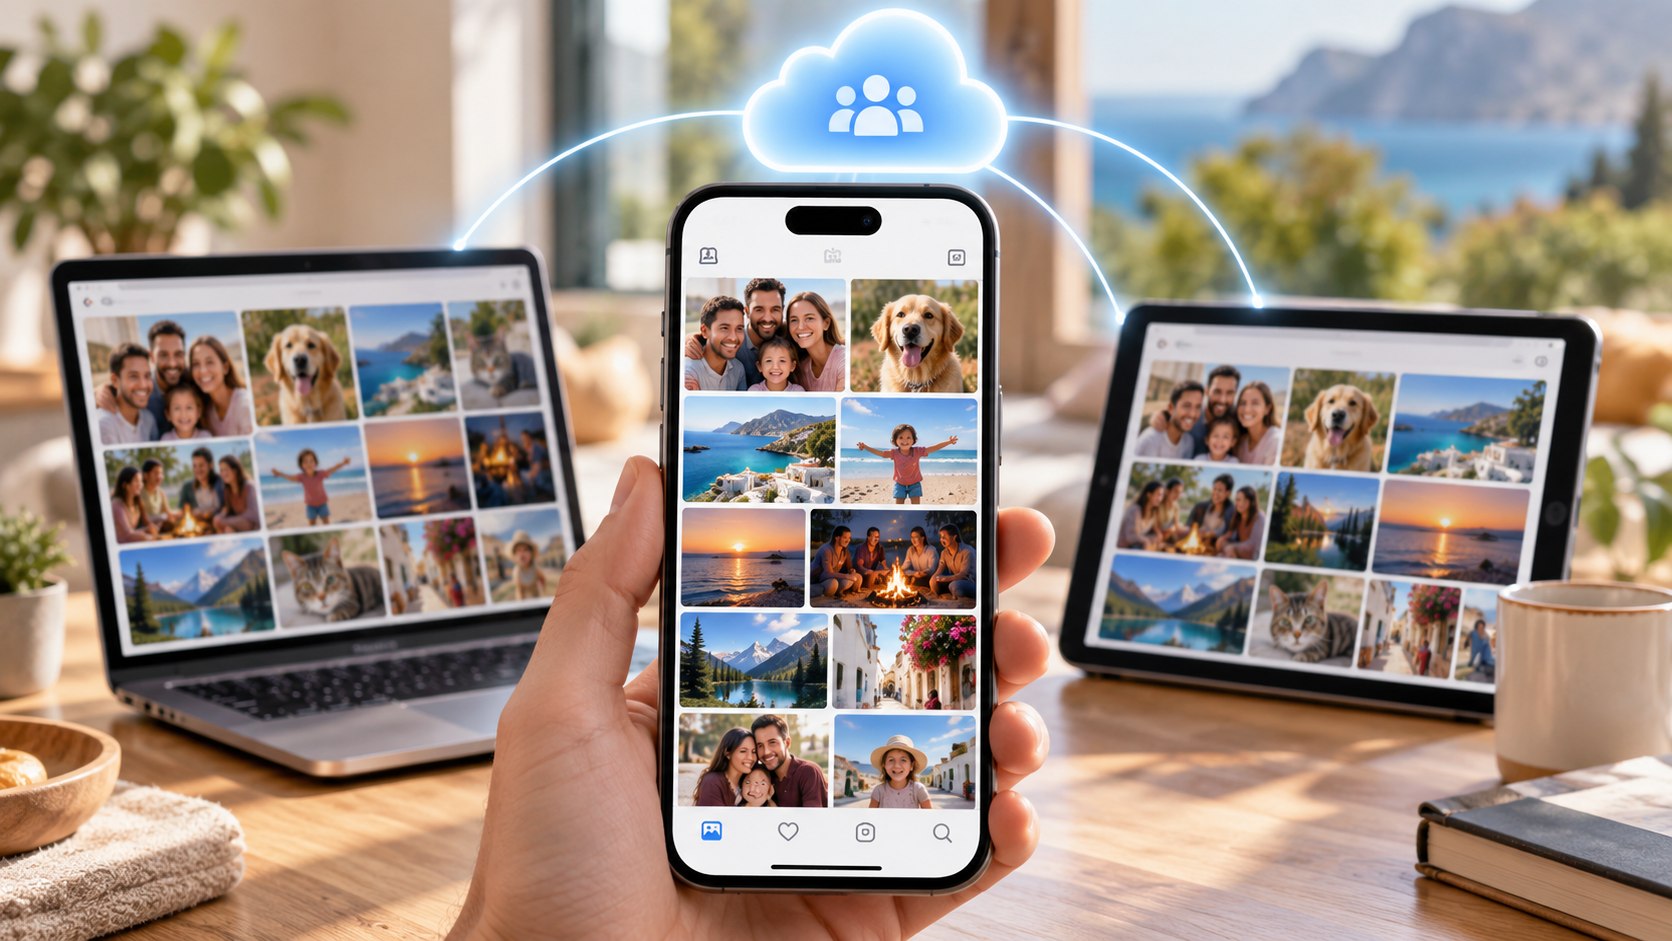
Yes. Apple supports Shared Library on Macs running macOS Ventura 13 or later with iCloud Photos enabled. It is also accessible on supported iPhones, iPads, Apple TV 4K, and iCloud.com.
Earlier we wrote about How to Cancel Uber One 2026: App Steps, Refund Rules and the $9.99 Charge