

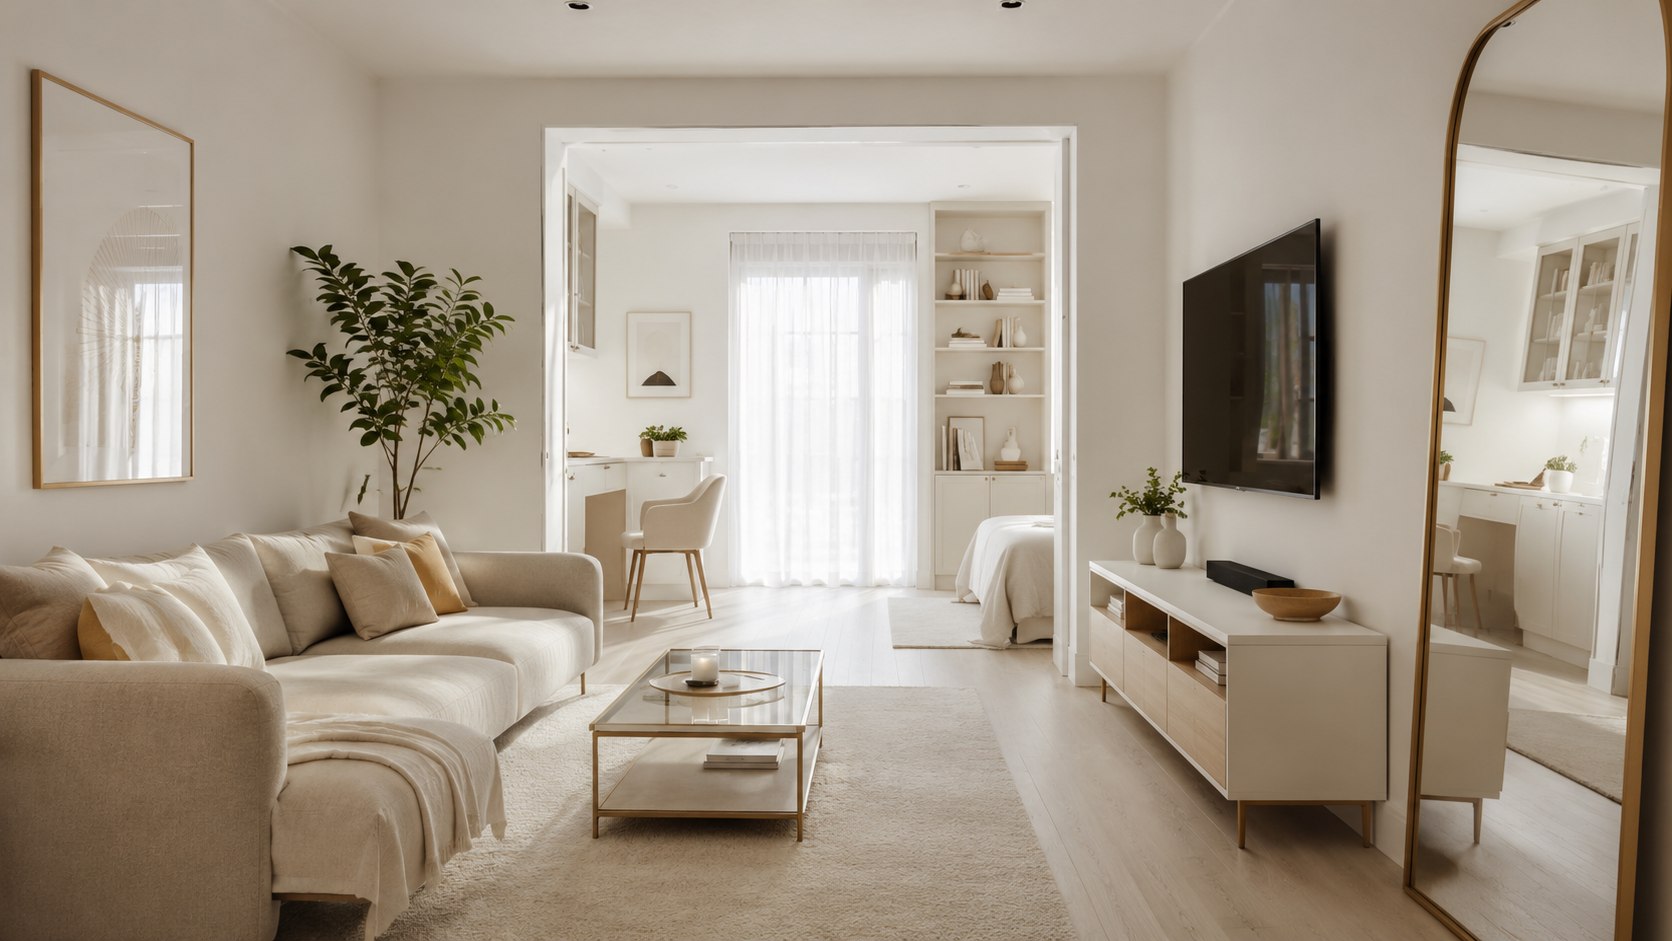
How to make a small apartment look bigger 2026 starts with three changes: simplify the color palette, position mirrors around useful light, and correct the scale of the furniture. You can assess the room in 30 minutes and complete the most effective changes within one weekend, as noted by Baltimore Chronicle.
The fastest fix is not buying miniature furniture or painting everything stark white. Remove visual interruptions, expose more flooring, and create one clear sightline through the room. Then use a limited wall color, one substantial mirror, and fewer correctly proportioned pieces.
Key takeaways
- Use one connected color family across walls, trim, curtains, and major furniture to reduce visual breaks.
- Place mirrors where they reflect windows, open space, or attractive lighting rather than shelves, screens, and clutter.
- Choose fewer appropriately scaled furnishings instead of filling the apartment with many undersized pieces.
A small home can feel cramped even when it is tidy. The problem often comes from fragmented color, badly placed reflective surfaces, and furniture that interrupts movement. These issues affect studios, urban rentals, basement apartments, and compact condos across Maryland, New York, California, Illinois, Texas, and other states.
Before purchasing anything, study how the apartment looks from its entrance. The first uninterrupted view usually determines whether the interior feels open or congested. Protect that view before decorating individual corners.
Renters should review their lease before painting, drilling, or installing heavy wall-mounted objects. Temporary treatments can create the same visual effect without risking a security deposit.
What You Need
Most of this project requires measuring and editing rather than construction. Gather the following items before moving furniture or shopping:
- A tape measure and painter’s tape
- A phone camera with a wide-angle setting
- Paper, pencil, or a basic floor-planning app
- Paint swatches or removable sample sheets
- Furniture dimensions, including legs and arms
- Removable hooks or suitable wall fasteners
- A level and stud finder for wall-mounted mirrors
- 2–6 hours for planning and rearranging
- A working budget of approximately $0–$500
Begin with what you already own. Moving a sofa, removing a narrow bookcase, or changing curtain height may cost nothing. Paint, mirrors, hardware, and storage products should come later.
Photograph every wall before making changes. Images expose cluttered areas that your eyes have stopped noticing. They also help compare different layouts without relying on memory.
Measure in inches rather than estimating. A cabinet that appears narrow may project 18 inches into an important route. A sofa arm can also consume usable space without adding seating.
Set a firm spending limit before browsing IKEA, Target, Wayfair, Home Depot, Lowe’s, or West Elm. Small-space products are not useful when their dimensions fail the room.
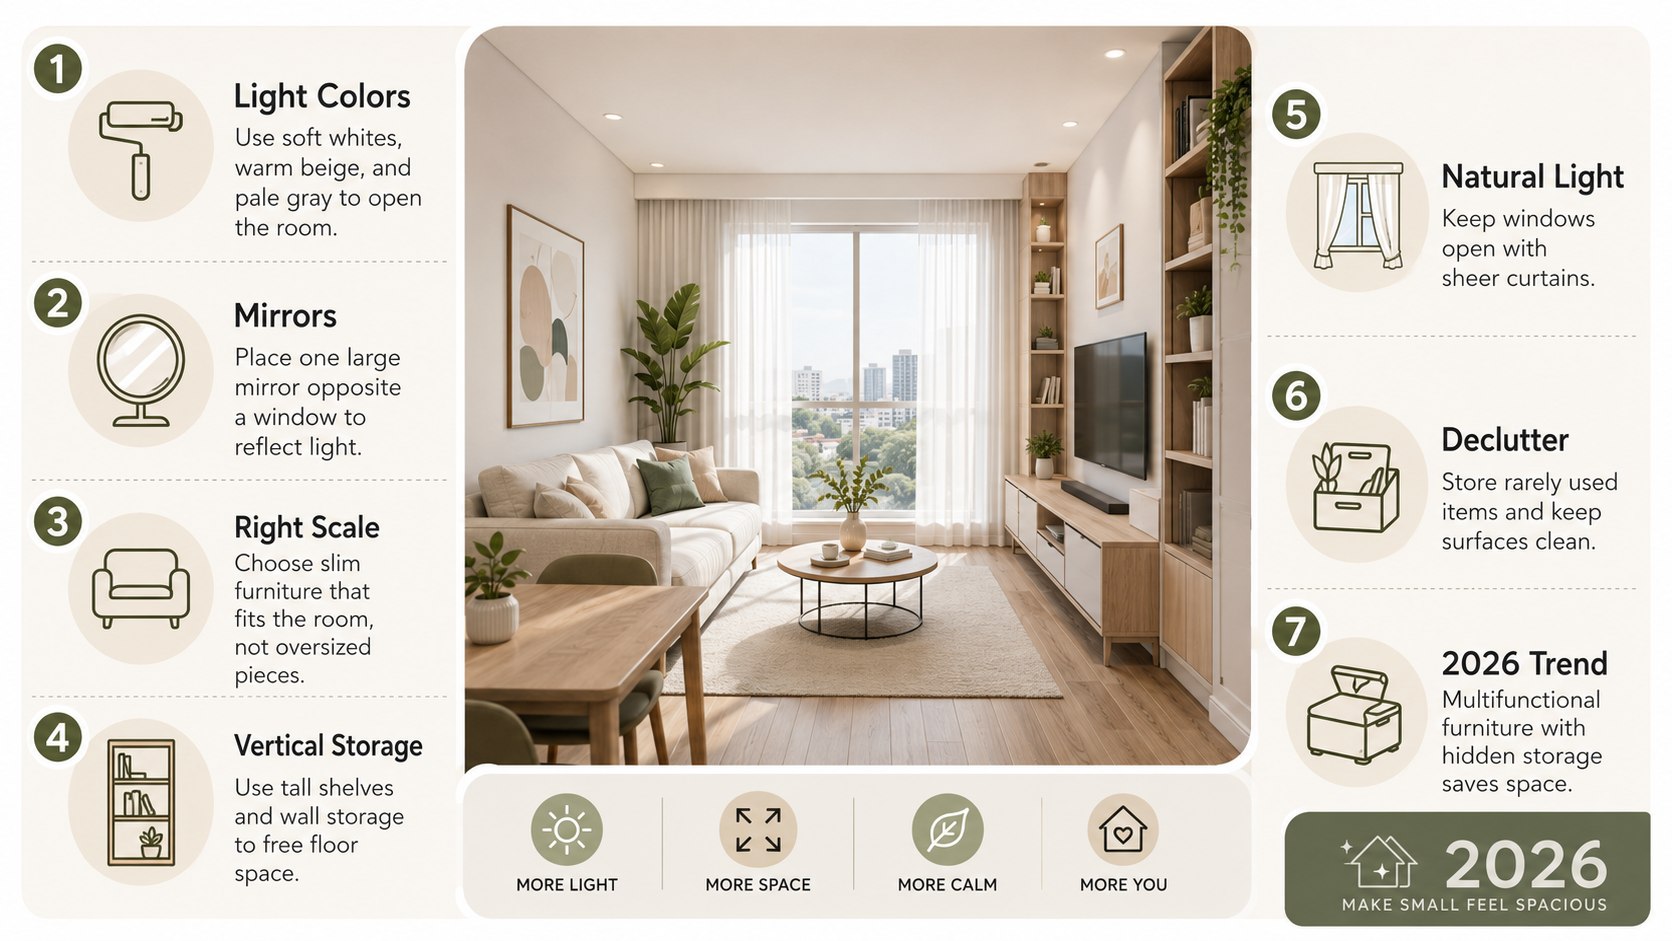
Step 1: Remove Visual Noise Before Adding Decor
What to do: Clear window sills, exposed counters, the floor near doorways, and the top surfaces of tall furniture. Group small objects inside closed storage or matching containers.
Why it matters: The eye interprets repeated edges, colors, and objects as separate visual information. Reducing those interruptions makes the apartment easier to read as one connected space.
Common mistake to avoid: Do not replace loose clutter with dozens of decorative baskets. Too many containers create another layer of visual noise.
Start with the first 8 feet visible from the entrance. Remove anything that narrows that sightline, including coat racks, stacked packages, plant stands, and projecting shelves. The entrance should reveal a destination rather than an obstacle course.
An apartment feels larger when the eye can move across it without repeatedly stopping at unrelated objects, patterns, and furniture edges.
For a more detailed layout method, Baltimore Chronicle explains how to create a small living room with a clear walkway. The same principles work in a studio or combined living-dining area.
Step 2: Build a Continuous Color Palette
What to do: Select one dominant wall color, one related neutral, and one controlled accent. Repeat those colors across curtains, rugs, bedding, and large upholstered pieces.
Why it matters: A limited palette connects surfaces that would otherwise divide the room into smaller visual sections.
Common mistake to avoid: Do not assume bright white is always the best small-apartment color. A cold white can appear gray and flat in rooms with weak natural light.
Warm whites, pale taupes, muted greens, soft clay tones, and restrained blue-grays can all work. The best choice depends on window direction, flooring, artificial lighting, and existing furniture.
Use lower contrast where surfaces meet. Painting trim close to the wall color can soften room boundaries. Curtains that resemble the wall color also reduce vertical fragmentation.
As of July 2026, a 1-gallon can of Behr Premium Plus interior paint at Home Depot can cost about $44, depending on sheen and color. Premium products from Benjamin Moore or Sherwin-Williams may cost more, while local promotions vary by ZIP code.
A gallon commonly covers several hundred square feet per coat, but texture, color changes, and wall condition affect coverage. Verify the manufacturer’s label before calculating the quantity.
Step 3: Use Mirrors to Extend the Best View
What to do: Position one large mirror opposite or perpendicular to a window. Check the reflected view from the entrance and primary seating position before installation.
Why it matters: A mirror duplicates light and depth only when it reflects something open, bright, or visually calm.
Common mistake to avoid: Do not hang a mirror where it repeats a television, crowded rack, kitchen mess, or direct glare.
A tall mirror can strengthen ceiling height. A wide horizontal mirror can stretch a narrow dining or living zone. In a dark hallway, placing the mirror near a lamp may be more effective than facing another blank wall.
The following 2026 prices show how size changes the budget:
| Example | Approximate size | Listed US price | Best use |
|---|---|---|---|
| IKEA PS 2026 | 10.25 × 15 inches | $14.99 | Desk, shelf, or small entry |
| IKEA NISSEDAL | 15.75 × 59 inches | $69.99 | Narrow bedroom wall |
| IKEA NISSEDAL | 25.625 × 59 inches | $99.99 | Full-length reflection |
| IKEA HOVET | 30.75 × 77.125 inches | $169.99 | Large living or dining wall |
These are listed prices, not guaranteed nationwide totals. Delivery, local stock, sales tax, and mounting supplies can change the final cost. Verify the current product page before ordering.
A large mirror should be secured according to its weight and the wall material. Drywall anchors, masonry fasteners, and studs require different hardware. Renters should obtain permission when the installation creates substantial holes.
Do not select a mirror only because it is large. Its frame thickness, reflected view, and mounting height matter. A heavy black frame may add visual weight, while a slim frame can appear quieter.
Safety film can reduce damage if glass breaks, but it does not replace correct installation. Freestanding mirrors should also be anchored when children or pets could tip them.
Step 4: Correct the Scale of the Furniture
What to do: Measure every large piece and mark its footprint with painter’s tape. Keep furniture that provides substantial function for the floor area it occupies.
Why it matters: Correct scale creates order. A room full of tiny furniture often looks more crowded because it contains too many separate shapes.
Common mistake to avoid: Do not automatically buy the smallest available sofa, rug, and artwork. Several undersized pieces can make the room look fragmented.
A 72- to 84-inch sofa may work better than a loveseat plus 2 chairs. One 6-by-9-foot rug can make a seating zone look more complete than several small mats.
Choose furniture with visible legs when possible. Seeing the floor continue beneath a sofa, chair, or console produces a lighter visual effect. Slim arms can also preserve seating width without increasing the overall footprint.
Large furniture should perform more than one job where practical. Consider a storage bed, lift-top coffee table, nesting tables, sleeper sofa, or bench with concealed storage.
Before purchasing, review the recommended furniture clearances for compact rooms. Closed dimensions alone do not reveal the space needed for drawers, recliners, sofa beds, and cabinet doors.
Step 5: Protect Floor Area and Sightlines
What to do: Create one obvious route from the entrance to the kitchen, bathroom, bedroom, or balcony. Remove furniture corners from that route.
Why it matters: Visible floor and uncomplicated movement make a home feel larger than its square footage suggests.
Common mistake to avoid: Do not test the route only when the apartment is empty. Walk it while carrying laundry, groceries, or a child’s equipment.
A main passage of approximately 30–36 inches is comfortable when the layout permits it. Smaller apartments may require tighter secondary routes, but those routes should remain direct.
Leave suitable space between the sofa and coffee table. About 14–18 inches is often practical, depending on mobility needs and furniture shape. Round tables can remove sharp corners from narrow paths.
Keep tall cabinets away from the apartment’s longest view. Place them near architectural boundaries, such as an entry wall or recessed area. This prevents large vertical objects from dividing the interior.
Step 6: Raise Curtains and Simplify Window Treatments
What to do: Hang curtain rods close to the ceiling and extend them beyond the window frame. Allow open curtains to rest beside the glass rather than covering it.
Why it matters: Higher curtains lengthen the wall, while wider rods expose more daylight and increase the apparent window size.
Common mistake to avoid: Do not use short curtains that stop several inches above the floor. They create a horizontal break and can make the ceiling feel lower.
Choose full-length panels with limited pattern. Sheer curtains can preserve privacy while distributing daylight, although ground-floor apartments may need layered shades.
Match the curtain color closely to the wall when expansion is the goal. Strong contrast may be attractive, but it visually outlines the window and divides the wall.
Natural light should enter first and decoration should frame it. Heavy fabric covering the glass works against the room’s strongest source of depth.
Step 7: Use Vertical Space Without Crowding Every Wall
What to do: Move necessary storage upward through one tall cabinet, floating shelves, or a coordinated wall system. Leave nearby wall sections comparatively empty.
Why it matters: Vertical storage can free floor space and lead the eye upward toward the ceiling.
Common mistake to avoid: Do not install shelves across every available wall. Continuous storage can make the apartment resemble a packed stockroom.
Concentrate books, files, toys, or kitchen items in one organized zone. Closed doors usually look calmer than exposed shelves filled with unrelated objects.
Freelancers may benefit from a wall-mounted desk or narrow secretary cabinet. Parents can use high closed storage for occasional items while keeping daily supplies accessible.
In kitchens, improving one vertical surface may be more effective than adding another floor cabinet. Baltimore Chronicle’s guide to installing a kitchen backsplash explains removable and permanent options for compact cooking areas.
Step 8: Finish With Layered Lighting and Controlled Contrast
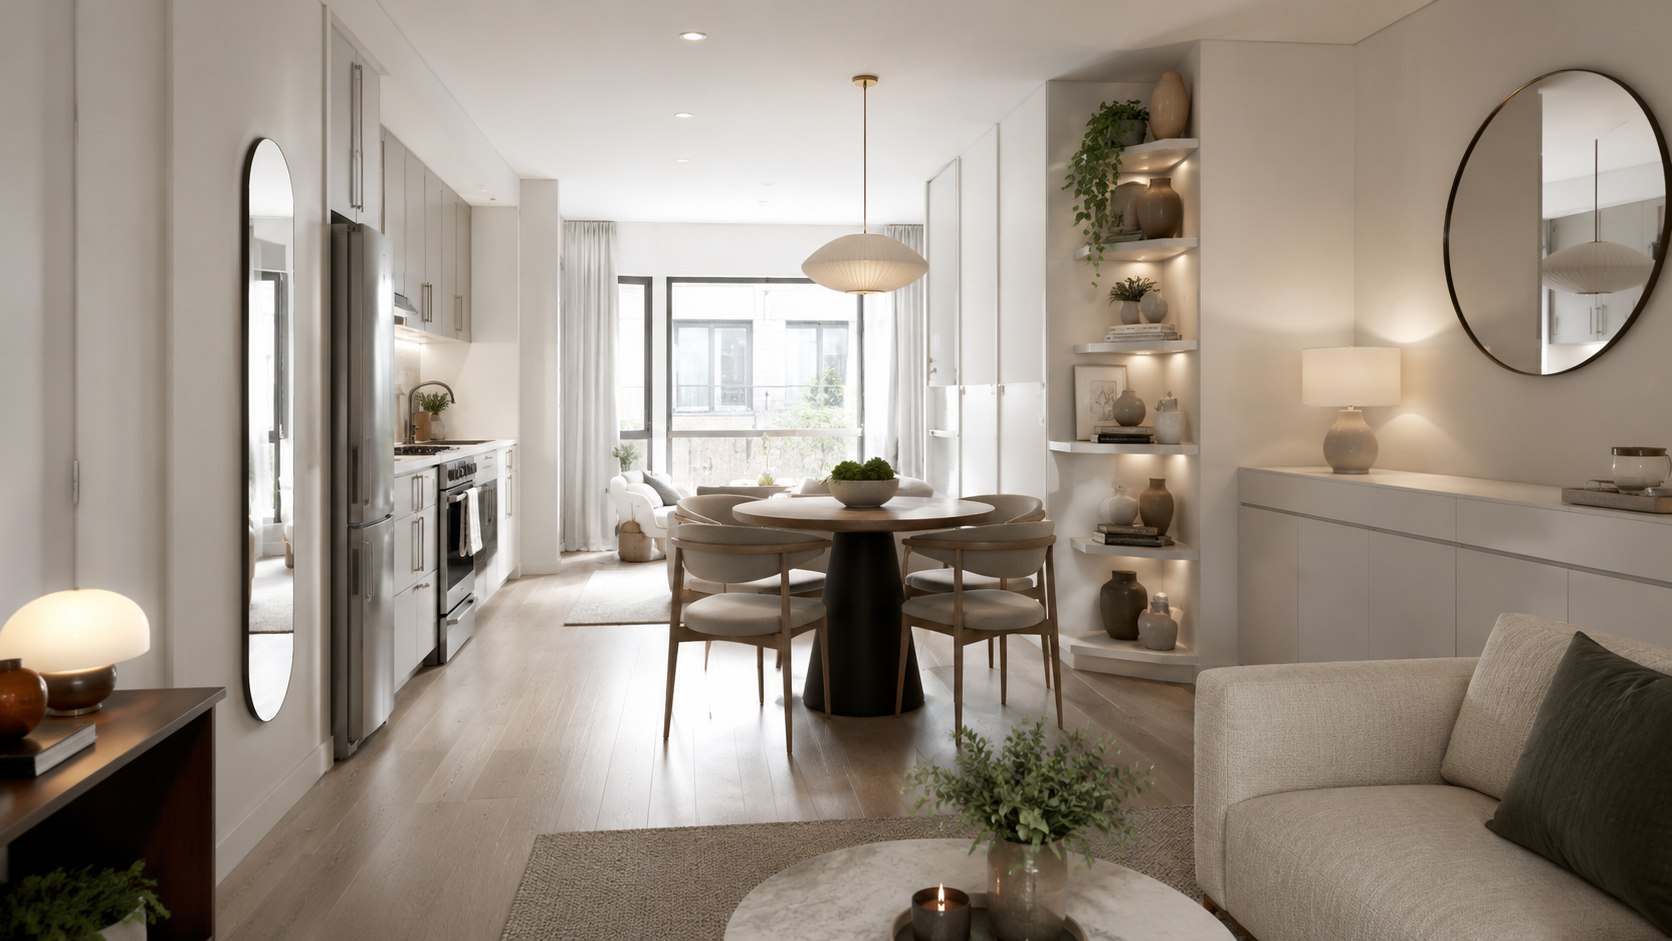
What to do: Combine ceiling light, task lighting, and one or 2 low-level lamps. Direct light toward walls and ceilings rather than creating one harsh central pool.
Why it matters: Several soft light sources reduce dark corners and reveal the full depth of the apartment.
Common mistake to avoid: Do not use mismatched bulb temperatures within one open room. The space may look visually divided.
Warm white bulbs around 2700K often suit living rooms and bedrooms. Kitchens and work areas may need brighter task lighting. Check fixture limits and bulb specifications before installation.
Use dark colors deliberately rather than eliminating them. A charcoal lamp, walnut table, or deep green chair can create depth against lighter surroundings. The goal is controlled contrast, not a room without personality.
Limit the final palette to several repeated finishes. Repeating one wood tone, one metal finish, and one accent color creates coherence across a studio or open-plan apartment.
Troubleshooting
If the apartment still feels cramped, identify the specific failure before buying additional products:
- The room feels flat: Add layered lighting and one darker anchor instead of more small decorations.
- The mirror makes clutter worse: Move it until it reflects a window, lamp, artwork, or open passage.
- The furniture fits but looks crowded: Remove one secondary piece and expose more continuous flooring.
- The ceiling feels low: Raise curtains, use taller lamps, and reduce strong horizontal wall divisions.
- The apartment lacks storage: Consolidate possessions into one vertical closed-storage zone.
Change one category at a time. Photograph the room after each adjustment and compare the results from the entrance.
Begin with layout, then color, mirrors, curtains, and lighting. This sequence prevents decorative purchases from hiding a structural problem.
Live with a revised arrangement for at least 2 days. Daily movement reveals conflicts that are easy to miss during a short test.
Return or relocate pieces that do not improve seating, storage, lighting, work, or movement. Empty space is a functional part of the design.
A successful apartment should feel calmer before it feels more decorated. That is the clearest sign the proportions are working.
FAQ
What color makes a small apartment look biggest?
There is no single best color. Warm whites, pale neutrals, muted greens, and soft blue-grays can work when they suit the apartment’s light. Low contrast between walls, trim, and curtains usually matters more than selecting the lightest paint.
Should every wall in a small apartment be white?
No. One consistent medium or light color can produce more depth than several disconnected white shades. A darker accent may also make one wall appear farther away when used carefully.
Where should a mirror go in a small living room?
Place it opposite or perpendicular to a window when that position reflects useful light. Check that it does not duplicate clutter, television glare, or a busy doorway.
Does small furniture make an apartment look bigger?
Not automatically. Fewer correctly scaled pieces usually look more orderly than many miniature items. Prioritize narrow arms, visible legs, manageable depth, and multifunctional storage.
How can renters make an apartment look larger without painting?
Use matching curtains, one large mirror, coordinated bedding, a correctly sized rug, removable wall treatments, and fewer exposed objects. Rearranging furniture may produce the strongest change without altering the property.
How much should this project cost in 2026?
A rearrangement and decluttering project may cost $0–$50. Adding paint, curtains, bulbs, and a substantial mirror may raise the budget to approximately $150–$500. Verify local prices, delivery charges, sales tax, and lease restrictions before buying.
Earlier we wrote about How to Schedule a UPS Pickup at Home in 2026: Online Steps and Fees