

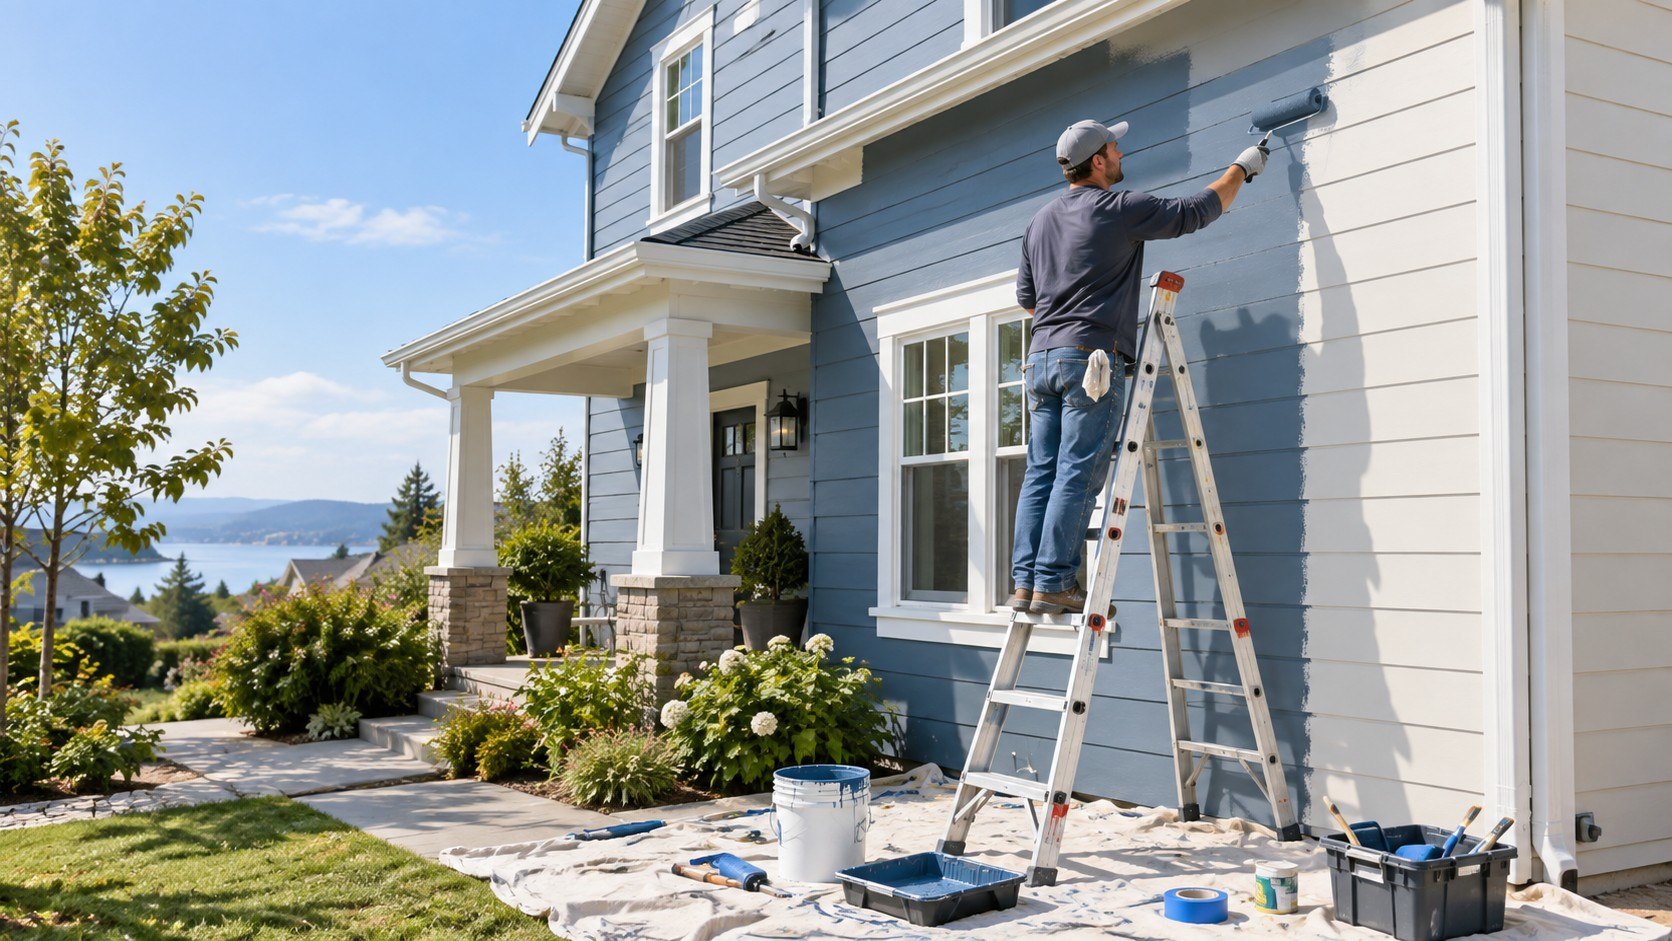
How to paint exterior of house yourself starts with surface preparation, primer selection, and a dependable weather window. A typical single-story DIY project can take 4–7 days, including cleaning, drying, repairs, priming, and 2 finish coats. Most failures begin before the paint can opens, usually with damp siding, loose coatings, or skipped primer, as noted by the editorial team at Baltimore Chronicle.
For a sound exterior, expect preparation to consume more time than actual painting. Homeowners should clean first, repair damaged areas, prime exposed surfaces, and paint only within the product’s temperature limits.
Key takeaways
- Clean, dry, and repair the exterior before applying primer because new paint cannot stabilize loose or contaminated surfaces.
- Use primer on bare wood, patched areas, porous masonry, and major color changes unless the product specifically says otherwise.
- Choose several dry days with moderate temperatures because rain, heat, wind, and cold can damage curing paint.
A forecast matters as much as the brush or roller. Temperature limits differ among products, so the label should control the decision. Direct afternoon sun can also make paint dry too quickly. High humidity slows evaporation and extends curing. Wind can carry debris into wet coatings. A stable 3-day period is far easier to manage than isolated dry hours.
What you need before painting a house exterior
The tool list depends on siding height and condition. A small ranch requires less access equipment than a 2-story Colonial or Victorian.
- Exterior acrylic latex paint and compatible exterior primer
- 2.5-inch angled sash brush and 3-inch or 4-inch exterior brush
- 9-inch roller frame, extension pole, and suitable roller covers
- Paint buckets, roller trays, grids, and mixing sticks
- Scraper, putty knife, sanding blocks, and 80–120 grit sandpaper
- Exterior-grade caulk, patching compound, and caulk gun
- Drop cloths, painter’s tape, plastic sheeting, and masking paper
- Work gloves, eye protection, respirator where appropriate, and safe ladder equipment
- Pressure washer or garden hose with suitable exterior cleaner
Paint quantity depends on actual wall area rather than home floor space. Sherwin-Williams says a gallon commonly covers about 250–400 sq ft, depending on surface conditions. Rough wood and masonry usually consume more material. Two coats can double the finish-paint requirement. Primer creates another material line in the budget. In 2026, verify local pricing before buying the full quantity.
For many DIY projects, buying better brushes and roller covers saves more frustration than buying the most expensive paint line available.
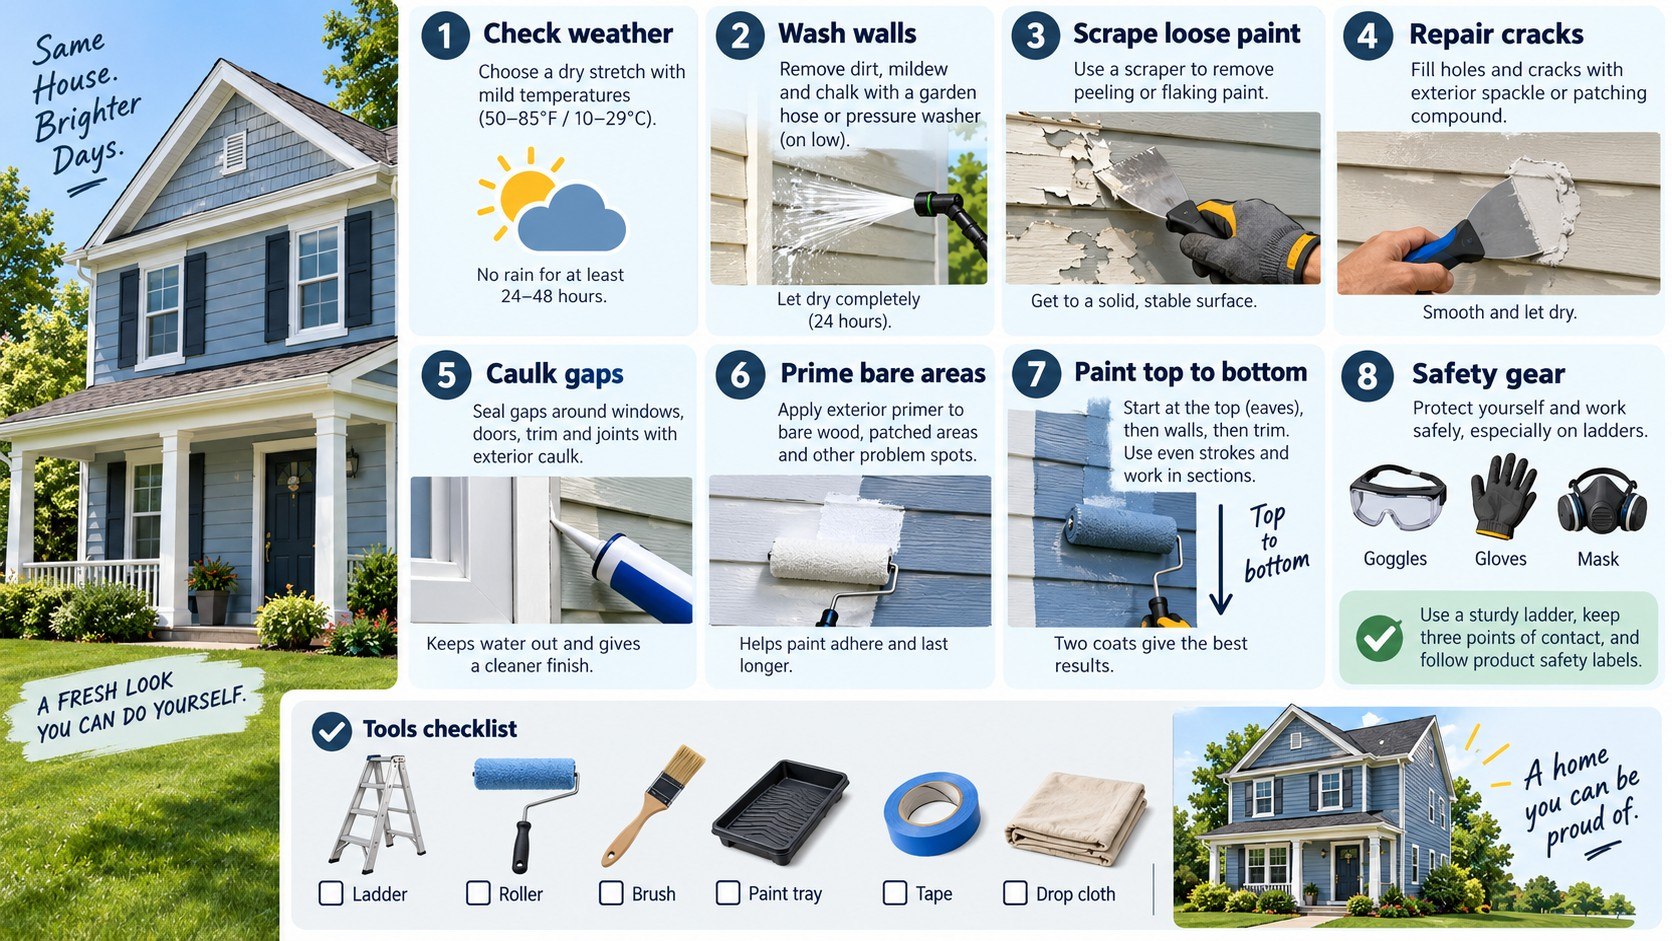
How much DIY exterior painting can cost in 2026
There is no single national price for DIY exterior house painting. Paint prices vary by brand, product grade, color base, finish, and local retailer.
| Expense | Typical 2026 planning range | What changes the cost |
|---|---|---|
| Exterior paint | $40–$100+ per gallon | Brand, product line, sheen, promotions |
| Exterior primer | $30–$80+ per gallon | Wood, masonry, stain blocking, bonding needs |
| Brushes and rollers | $40–$120 | Quantity and professional-grade tools |
| Scraping and repair supplies | $30–$150+ | Existing paint failure and wood damage |
| Caulk and masking materials | $30–$100 | Window count, trim, joints, landscaping |
| Ladder or equipment rental | $50–$300+ | House height and rental duration |
These figures are planning ranges rather than fixed national prices. A 1-story vinyl-sided home may need fewer repair materials. Weathered wood siding often requires more primer and sanding supplies. California and Florida homes may face stronger ultraviolet exposure than properties in Ohio. Maryland homes can combine humidity, freeze-thaw cycles, and older painted surfaces. Large access-equipment costs can erase much of the DIY savings on tall houses.
Homeowners finding damaged siding during preparation can compare replacement costs in the Baltimore Chronicle guide to 2026 siding replacement prices. Painting cannot repair rotten sheathing or structurally failed siding.
Step 1: Inspect the siding before buying paint
Walk around the property and mark peeling paint, cracks, mildew, soft wood, failed caulk, and damaged siding. Check window trim, fascia boards, door surrounds, and areas beneath gutters.
This inspection determines whether the project is really a painting job. Rotten wood, active leaks, and unstable siding need repair first. A common mistake is hiding deterioration beneath primer.
Inspect roof edges when staining appears beneath the eaves. The Baltimore Chronicle guide to repairing a small roof leak explains common flashing and shingle problems.
Step 2: Wash the exterior without damaging it
Remove dirt, pollen, chalking residue, cobwebs, and biological growth before scraping. Allow washed siding to dry completely before sanding, priming, or painting.
Pressure washing can help, but excessive pressure can scar wood and force water behind siding. Older brick and mortar require particular restraint. Baltimore homeowners can review material-specific guidance on pressure washing brick, stone, and siding.
Why it matters is simple. Paint adheres to the surface beneath it, not to loose dirt. The common mistake is painting the morning after a heavy wash.
Step 3: Scrape, sand, patch, and caulk
Remove loose and peeling coatings until the remaining paint is firmly bonded. Feather rough paint edges with sandpaper instead of leaving sharp ridges.
Patch small defects with an exterior-rated product. Replace rotten wood rather than filling deep decay with cosmetic compound. Caulk appropriate stationary joints around trim and penetrations.
“Remove loose paint and powdery substances.”
Sherwin-Williams, exterior paint preparation guidance.
The manufacturer’s official surface-preparation guidance also recommends priming bare areas before the topcoat. That reduces uneven appearance between repaired and previously coated sections.
A common mistake is caulking gaps designed for drainage or movement. Do not seal weep holes or necessary siding drainage paths.
Step 4: Decide where exterior primer is necessary
Exterior paint primer is most useful where the substrate has become exposed or inconsistent. Bare wood, repaired patches, porous masonry, and severe color changes commonly need primer.
Spot-priming may work for small repairs when the existing coating remains sound. Large bare areas usually benefit from a more continuous primer coat. Match the primer to wood, masonry, metal, or another substrate.
Primer is not a substitute for scraping. A perfectly primed loose paint chip is still a loose paint chip.
Do not assume every “paint and primer” label eliminates surface primer. Product instructions may still require primer on bare substrates or difficult stains.
Step 5: Check weather before opening the paint
Weather controls drying, adhesion, and curing. The best exterior painting weather is usually dry, moderate, and predictable.
- Check the temperature range printed on the exact paint container.
- Review daytime and overnight temperatures for the complete curing period.
- Avoid rain during application and the manufacturer’s required drying window.
- Plan walls around direct sunlight rather than chasing the hottest side.
- Delay spraying when wind can carry overspray onto cars, roofs, or neighboring property.
Many traditional latex products perform best above roughly 50°F. Some modern exterior coatings permit lower application temperatures. The exact label takes priority over a general rule. Arizona heat creates different problems than cool spring weather in Maine. Florida humidity can extend drying even when rain stays away. Texas sun can make exposed siding hot enough to shorten working time.
A common mistake is checking only the afternoon forecast. Overnight temperatures and evening dew also matter.
Step 6: Prime bare and repaired surfaces
Apply the selected primer to clean, dry areas using a brush or roller. Work primer into exposed grain, repaired sections, and other porous areas.
Why it matters: primer creates a more uniform base for the finish coat. It can also reduce uneven absorption on patched areas. The common mistake is covering damp wood because the surface feels dry.
Follow the product’s stated recoat time. Cooler temperatures and higher humidity may extend the wait.
Step 7: Apply the first exterior paint coat
Start high and work downward so drips can be corrected. Cut edges with a brush and roll broader surfaces while maintaining a wet edge.
Do not spread paint beyond the recommended coverage to save material. A thin coat can leave weak protection and inconsistent color. Thick application creates different problems, including runs and longer drying.
Painting house siding yourself becomes easier when each wall is divided into manageable sections. Finish natural breaks around corners, trim, doors, or architectural changes.
Step 8: Apply the second coat and inspect the finish
Allow the first coat to dry for the full manufacturer-specified period. Apply the second coat using the same controlled sequence.
A second finish coat improves color consistency and coverage on many exterior systems. Inspect corners, lap joints, trim edges, and areas beneath windows after drying.
Do not judge wet paint for final color consistency. Some coatings change noticeably as water evaporates. The common mistake is touching up partially dried areas too early.
Lead paint needs a different plan
Homes built before 1978 require additional caution. Disturbing old coatings can generate lead-contaminated dust and paint chips.
“Any renovation, repair, or painting project in a pre-1978 home that has lead-based paint can easily create dangerous lead dust.”
U.S. Environmental Protection Agency, lead-safe renovation guidance.
The U.S. Environmental Protection Agency recommends lead-safe practices for homeowners doing renovation work. Its federal RRP requirements also affect paid contractors working on covered properties.
Homeowners should not dry-sand questionable old coatings without understanding the hazard. Local and state requirements can add protections beyond federal rules.
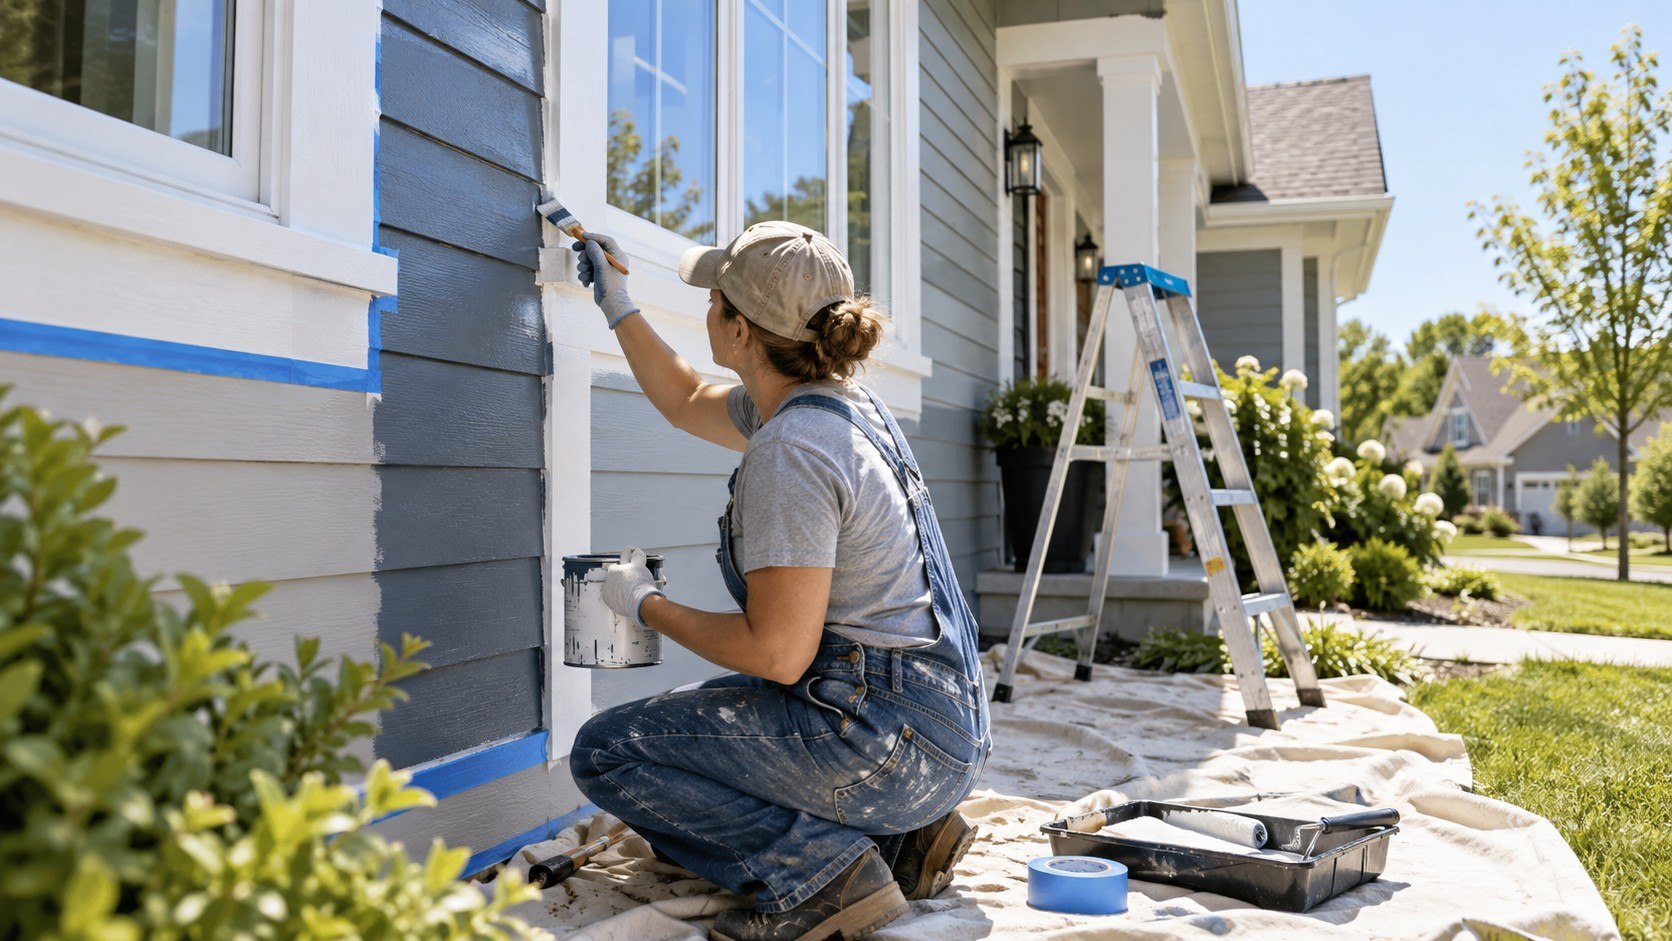
Troubleshooting common exterior painting problems
Many defects become visible within hours or days. Their appearance can often identify what went wrong.
- Paint peeling after preparation: check for remaining loose coating, moisture intrusion, or painting before the surface dried.
- Lap marks: work smaller sections and maintain a wet edge during rolling or brushing.
- Visible patches: prime repaired areas and confirm matching sheen before adding more finish paint.
- Paint stays tacky: review temperature, humidity, film thickness, and the product’s expected curing time.
- Bubbles or blisters: investigate trapped moisture, hot surfaces, or weak underlying coatings before repainting.
Do not repair peeling by simply adding another coat. Find the failed layer and determine whether moisture contributed. Blisters around one window may indicate a localized leak. Broad failure across a sunny wall suggests another cause. Repeated peeling near gutters deserves inspection for drainage problems. A coating defect often begins beneath the visible paint film. Repainting without correcting that condition usually repeats the failure.
FAQ
Can you paint an entire house exterior yourself?
Yes, when the siding is accessible and in repairable condition. Tall houses, steep terrain, lead hazards, or extensive rot may justify professional help.
Do I need to pressure wash before exterior painting?
No specific machine is mandatory, but the exterior must be clean. A hose, cleaner, and brush may be safer for delicate surfaces.
How long should a house dry after washing?
Sherwin-Williams advises allowing about 24–48 hours after pressure washing in its exterior painting guidance. Weather and substrate conditions can require longer.
Do I need primer before painting exterior siding?
Primer is commonly needed on bare wood, porous masonry, patched sections, and difficult substrates. Follow the primer and finish-coat manufacturer instructions.
What temperature is best for painting outside?
Use the range printed on the exact paint product. Many conventional exterior coatings favor moderate temperatures, while some products allow colder application.
How many coats of exterior paint should I use?
Two finish coats are common for durable, even coverage. Existing condition, color change, substrate, and manufacturer instructions can change the system.
Earlier we wrote about Robot Vacuum Mapping in 2026: Why LiDAR, Open Doors and No-Go Zones Decide Whether the First Run Works