

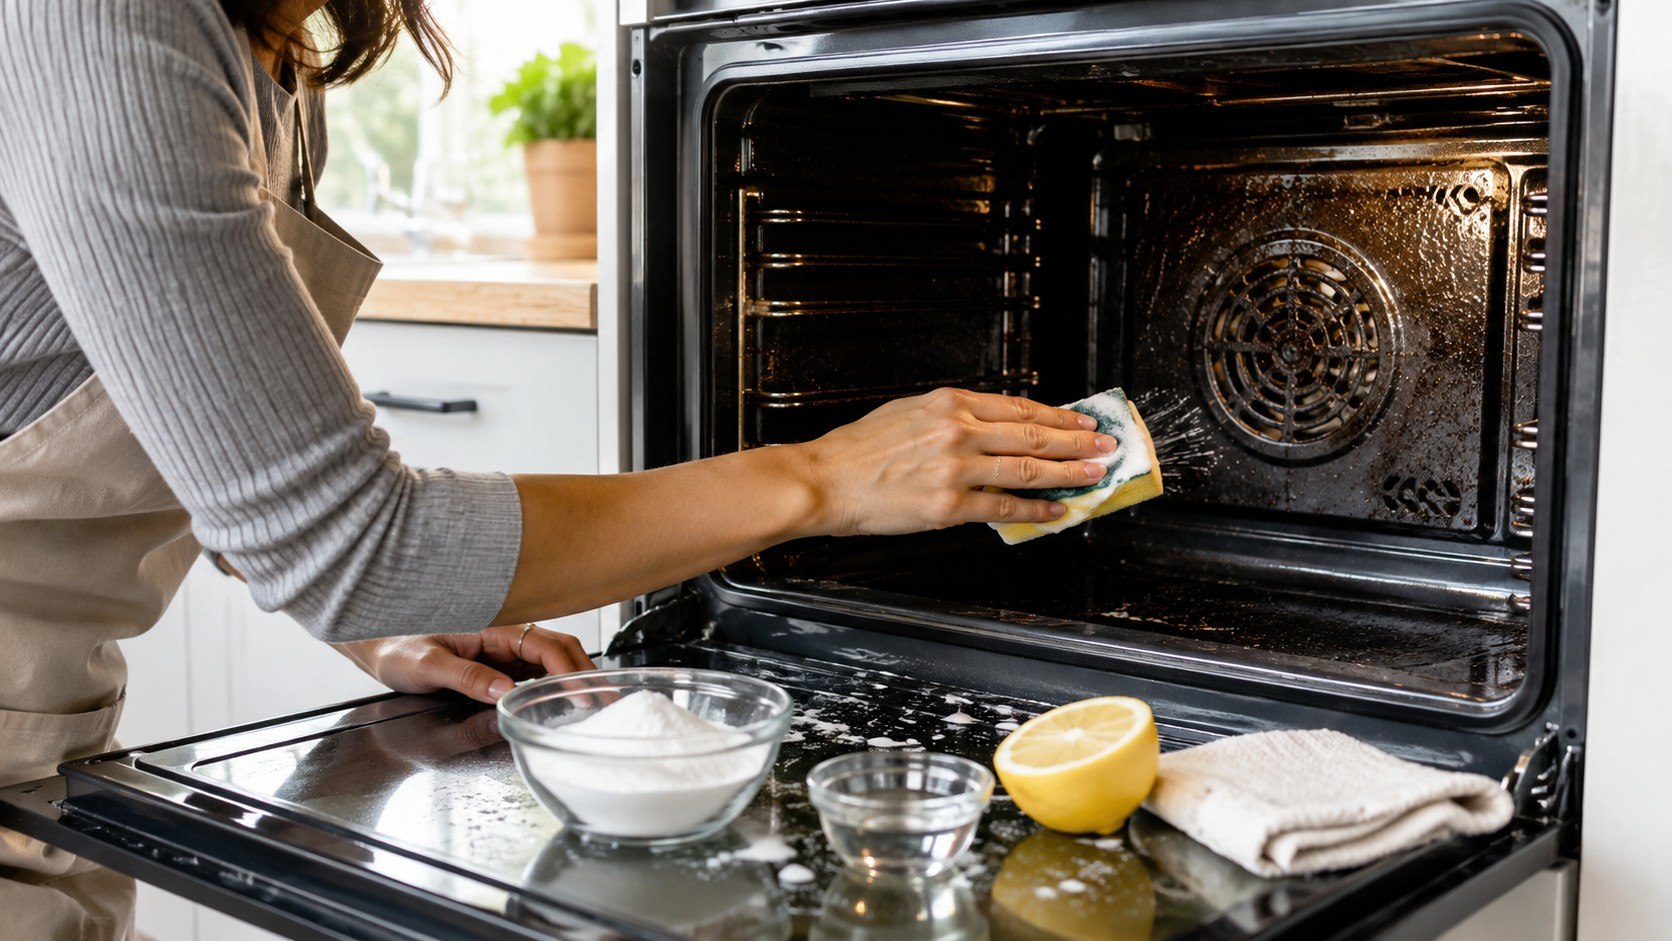
How to clean an oven without chemicals comes down to 2 inexpensive tools: baking soda for baked-on grease and steam for softened food residue. Allow about 30–60 minutes for light cleaning, or several hours when a baking-soda paste must sit. You can handle most routine oven grime without commercial oven cleaner, as noted by Baltimore Chronicle.
The fastest approach is simple. Remove loose debris, soften fresh residue with steam, then use a damp baking-soda paste on stubborn areas. Keep paste and excess water away from heating elements, vents, fans, electrical openings, and the door gasket unless your appliance manual specifically permits contact.
Key takeaways
- Use steam first for recent splatters because softened residue usually needs less scrubbing.
- Use baking soda for dark, baked-on deposits that remain after wiping the oven.
- Check the owner’s manual before cleaning catalytic liners, specialty coatings, heating elements, or a steam-clean oven.
What you need
This method requires little specialized equipment. Most supplies may already be in your kitchen, and the consumable cost is only a few dollars.
- 1–2 cups baking soda
- Warm water
- An oven-safe bowl or baking dish
- Microfiber cloths or clean rags
- Non-abrasive sponge
- Plastic scraper or old plastic card
- Dish soap for removable racks
- Rubber cleaning gloves, if preferred
- 30–60 minutes for light soil or several hours for heavy buildup
Arm & Hammer Pure Baking Soda is widely sold nationwide. In August 2026, a 1 lb box was listed at around $1.42 at Walmart and $1.69 at Target, although store and ZIP-code pricing varies.
You do not need a branded product. Plain sodium bicarbonate works because its mild abrasive action helps loosen residue without the aggressive solvent system found in many commercial oven cleaners.
Homeowners planning broader kitchen work can also compare current costs in Baltimore Chronicle’s 2026 kitchen remodeling cost guide. Renters should avoid altering removable liners, coatings, or appliance parts without checking the lease and appliance instructions.
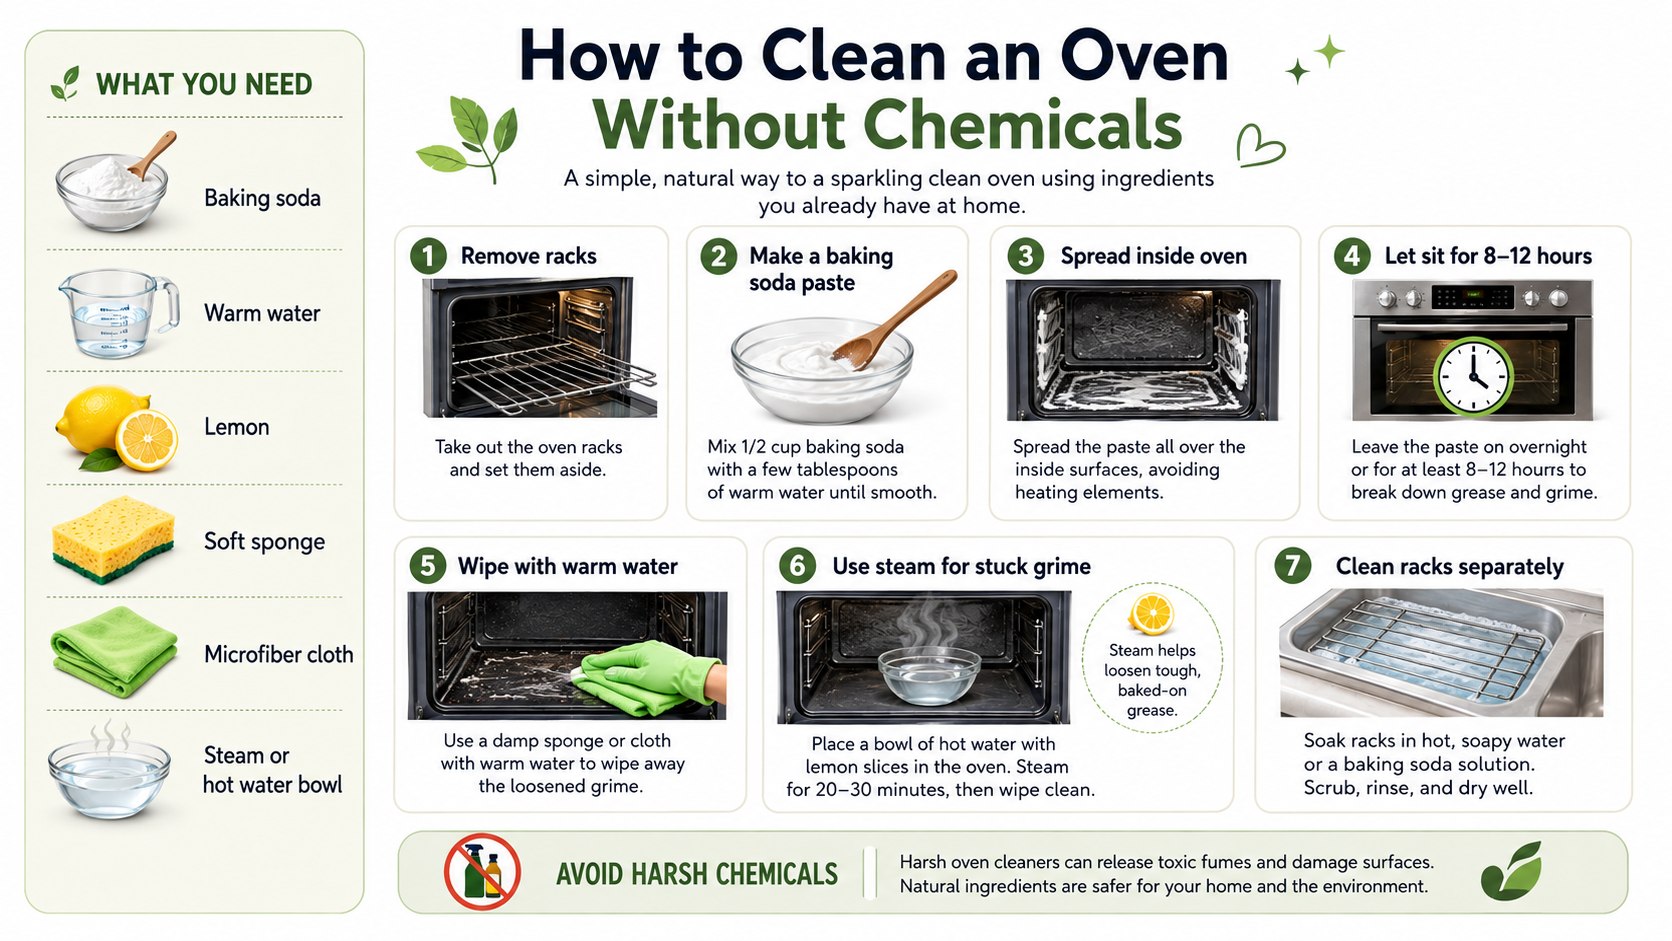
How to clean an oven without chemicals: choose steam or baking soda
The condition of the oven should determine the method. Steam is best for relatively fresh food residue. Baking soda is better when grease has repeatedly heated, cooled, and hardened onto enamel.
The following comparison helps avoid unnecessary scrubbing.
| Problem | Best starting method | Typical working time | Main caution |
|---|---|---|---|
| Fresh food splatter | Steam | 20–30 minutes | Do not flood the oven floor |
| Light greasy film | Steam, then wiping | 30–45 minutes | Let surfaces cool before wiping |
| Dark baked-on spots | Baking-soda paste | 2–12 hours | Avoid specialty liners and elements |
| Dirty oven-door glass | Baking-soda paste | 20–60 minutes | Keep moisture away from door openings |
| Removable racks | Warm water and dish soap | 30–120 minutes | Check rack finish before abrasive scrubbing |
GE says compatible Steam Clean ovens can use 1 cup of water and a cycle lasting about 30 minutes. The process is designed primarily for smaller spills rather than years of carbonized grease.
That distinction matters. Adding more water does not automatically make steam cleaning stronger. It can instead leave excess moisture around seams and openings.
Steam and baking soda can also be combined sequentially. Steam first reduces the loose layer. Baking soda can then target only the deposits that remain.
“Steam Clean allows for quick cleaning of minor food spills.”
— GE Appliances, official Range Cleaning Options guidance, describing the company’s Steam Clean function. Source: GE Appliances.
Step 1: Cool the oven and check its manual
Turn the oven off and let the cavity become completely cool. Remove cookware, baking sheets, thermometers, pizza stones, and other accessories.
This matters because manufacturers use different enamel coatings, self-clean surfaces, steam systems, fan assemblies, and heating-element layouts. Natural oven cleaning does not mean every household substance is safe on every oven component.
A common mistake is starting with an internet recipe before checking model-specific instructions. Search the model number on the manufacturer’s support site if the paper manual is missing.
Step 2: Remove racks and loose debris
Take out removable oven racks if the owner’s manual permits it. Brush crumbs and charred fragments into a dustpan, or remove them with a vacuum hose while the oven is completely cold.
This step prevents loose carbonized material from turning into muddy residue when water is introduced. It also exposes the actual stains underneath.
Do not scrape aggressively with knives or metal tools. Scratched enamel can be much harder to repair than the original stain.
Anyone already maintaining several kitchen surfaces may find Baltimore Chronicle’s guide to painting kitchen cabinets professionally useful for coordinating deeper kitchen cleaning and maintenance.
Step 3: Use steam to loosen food and grease
If your oven has a manufacturer-designed Steam Clean mode, follow that procedure rather than improvising. For example, GE instructs users of compatible models to place 1 cup of water on the cool oven bottom before starting its Steam Clean cycle.
For ovens without that feature, Whirlpool describes a separate steam-cleaning approach using an oven-safe container and water. Its guidance lists distilled or filtered water, with no more than 2 cups for the method it describes. Model-specific instructions should still take priority.
Steam is most effective before grease becomes a thick black crust.
Do not pour water blindly into an oven cavity. Some models have exposed heating elements, vents, holes, or surfaces not designed to hold standing water.
Step 4: Wipe away everything steam has loosened
Let the appliance cool until it can be handled safely. Wipe condensation, softened grease, and food residue with a damp microfiber cloth.
This matters because there is little reason to cover removable grime with baking soda. Removing the first layer lets the paste reach stubborn deposits directly.
A common mistake is immediately scrubbing with maximum pressure. Several gentle passes with a clean cloth often work better and reduce the chance of damaging enamel.
Step 5: Make a baking-soda paste for stubborn deposits
Place baking soda in a small bowl and add water gradually. Stop when the mixture becomes a spreadable paste rather than a liquid slurry.
Apply a thin coating to stubborn greasy patches. GE’s official oven-door guidance specifically identifies a baking soda and water paste as one manual-cleaning option for appropriate surfaces.
Focus on dirty enamel rather than covering every inch. Keep the mixture away from the gasket and any component prohibited by the manufacturer’s instructions.
The biggest mistake is assuming that more paste creates more cleaning power. A thick layer mostly creates more residue to remove afterward.
Step 6: Let the paste work before scrubbing
Allow the paste to remain on moderate stains for roughly 20–60 minutes. Severe baked-on patches may need several hours or an overnight treatment if the appliance manual permits it.
The waiting period reduces the amount of mechanical scrubbing required. That is particularly useful around glossy interior enamel and oven-door glass.
Do not let impatience turn a mild cleaning method into aggressive scraping. If a stain remains solid, give moisture and time another chance before increasing abrasion.
Step 7: Lift residue with a non-abrasive tool
Use a damp sponge or microfiber cloth to remove the paste. A plastic scraper can help lift softened deposits without introducing a sharp metal edge.
Work in small areas and rinse the cloth frequently. Cleaning an oven with baking soda often fails visually because white bicarbonate residue remains after the grease itself is gone.
Do not use steel wool automatically. Some manufacturers permit specific pads on specific surfaces, while other finishes scratch easily.
Step 8: Clean the door, racks, and final residue
Clean removable racks separately with warm water and dish soap unless their manufacturer specifies another procedure. For the inner door glass, use only methods compatible with that model.
GE warns against getting cleaner or water onto the oven-door gasket because moisture and cleaner can damage it.
Finish by wiping every treated surface with a clean damp cloth. Then dry the cavity before replacing racks.
The same appliance-maintenance principle applies elsewhere in the kitchen: check whether repair, maintenance, or replacement is more sensible before discarding equipment. Baltimore Chronicle explains the options in its guide to disposing of an old refrigerator in the USA.
Troubleshooting: when the oven still looks dirty
Some deposits will not disappear during the first pass. Identify the type of problem before repeating the entire cleaning process.
- White film remains: baking-soda residue is probably still present. Wipe repeatedly with clean, warm water.
- Black spots remain hard: repeat a targeted paste treatment and extend the contact time.
- Grease smears instead of lifting: change to a clean cloth frequently instead of redistributing dissolved grease.
- Steam barely changes the stain: the buildup is probably too carbonized for steam alone.
- Residue sits around a gasket or electrical opening: stop adding moisture and consult the manufacturer’s cleaning instructions.
A second targeted treatment is usually more sensible than coating the whole oven again. Start only after the cavity has cooled and you can clearly see what remains.
Do not mix random household products because each sounds “natural.” Combining cleaners can create unnecessary fumes, residues, or reactions.
Persistent staining does not always mean the oven is unhygienic or damaged. Some enamel discoloration can remain after removable grease has gone.
If the surface itself appears cracked, chipped, blistered, or damaged, cleaning is no longer the primary issue. Check manufacturer support before continuing.
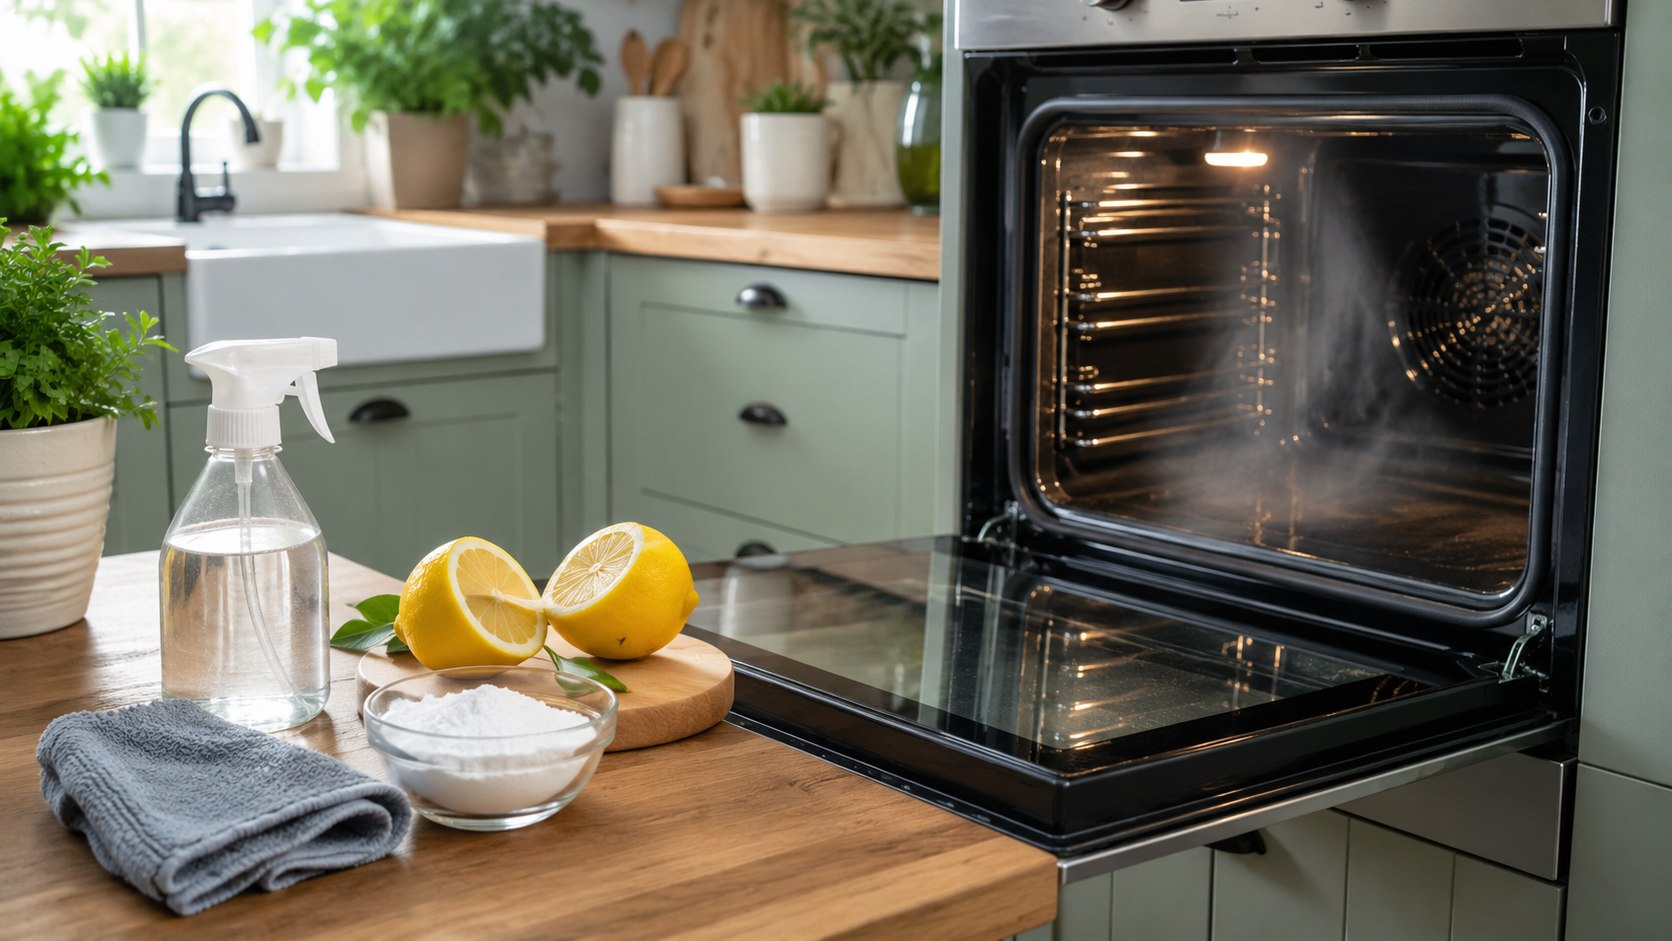
How to keep an oven clean after the deep clean
The easiest chemical-free oven cleaning session is the one that never becomes a major project. Wipe fresh spills after the oven cools instead of reheating them through another 10 cooking cycles.
A practical maintenance routine includes these habits:
- Inspect the oven floor after roasting foods likely to splatter.
- Wipe removable spills once the appliance is fully cool.
- Use appropriately sized baking dishes to contain bubbling food.
- Clean racks before grease forms several hardened layers.
- Run an approved steam-clean cycle when light residue appears.
- Check the door seal without scrubbing, soaking, or pulling it unnecessarily.
Frequent light cleaning usually requires less abrasion than an occasional attack on carbonized residue. That can make the process faster and gentler on finished surfaces.
It also prevents smoke from old food deposits during future cooking. Burned sugar, cheese, grease, and pie filling become increasingly difficult to remove after repeated heating.
Do not line the oven floor with foil unless the manufacturer explicitly allows that configuration. Foil placement can interfere with heat circulation or damage certain surfaces.
For households that cook several times weekly, a quick visual inspection after messy meals is often enough to prevent the next deep-cleaning session.
FAQ
What is the easiest way to clean an oven without commercial cleaner?
Start with steam on light residue, wipe the cavity, then apply baking-soda paste only where baked-on grease remains. This limits both scrubbing and cleanup.
Can I clean an oven with baking soda overnight?
Often yes on compatible enamel surfaces, but check your model’s instructions first. Avoid heating elements, fans, vents, gaskets, catalytic liners, and specialty surfaces unless the manufacturer approves contact.
Is steam enough to clean a very dirty oven?
Usually not. Steam is most useful for fresh or moderate residue. GE describes its Steam Clean feature as intended for minor food spills, while heavier soil may require another approved cleaning method.
How much baking soda do I need to clean an oven?
About 1–2 cups is usually enough for targeted household cleaning. The exact amount depends on oven size and how much surface requires paste.
Can baking soda scratch oven glass?
Manufacturer guidance matters. GE lists baking soda among non-abrasive options for certain oven-door glass and interior surfaces, but oven construction varies by model.
Can I use vinegar with baking soda inside an oven?
It is often unnecessary. Whirlpool mentions vinegar as an optional ingredient in some cleaning guidance, but the safest approach is to follow the instructions for your specific appliance rather than combining products by default.
Earlier we wrote about Breaking a Lease Without Penalty in 2026: US Tenant Rights, Notices and Landlord Negotiation