

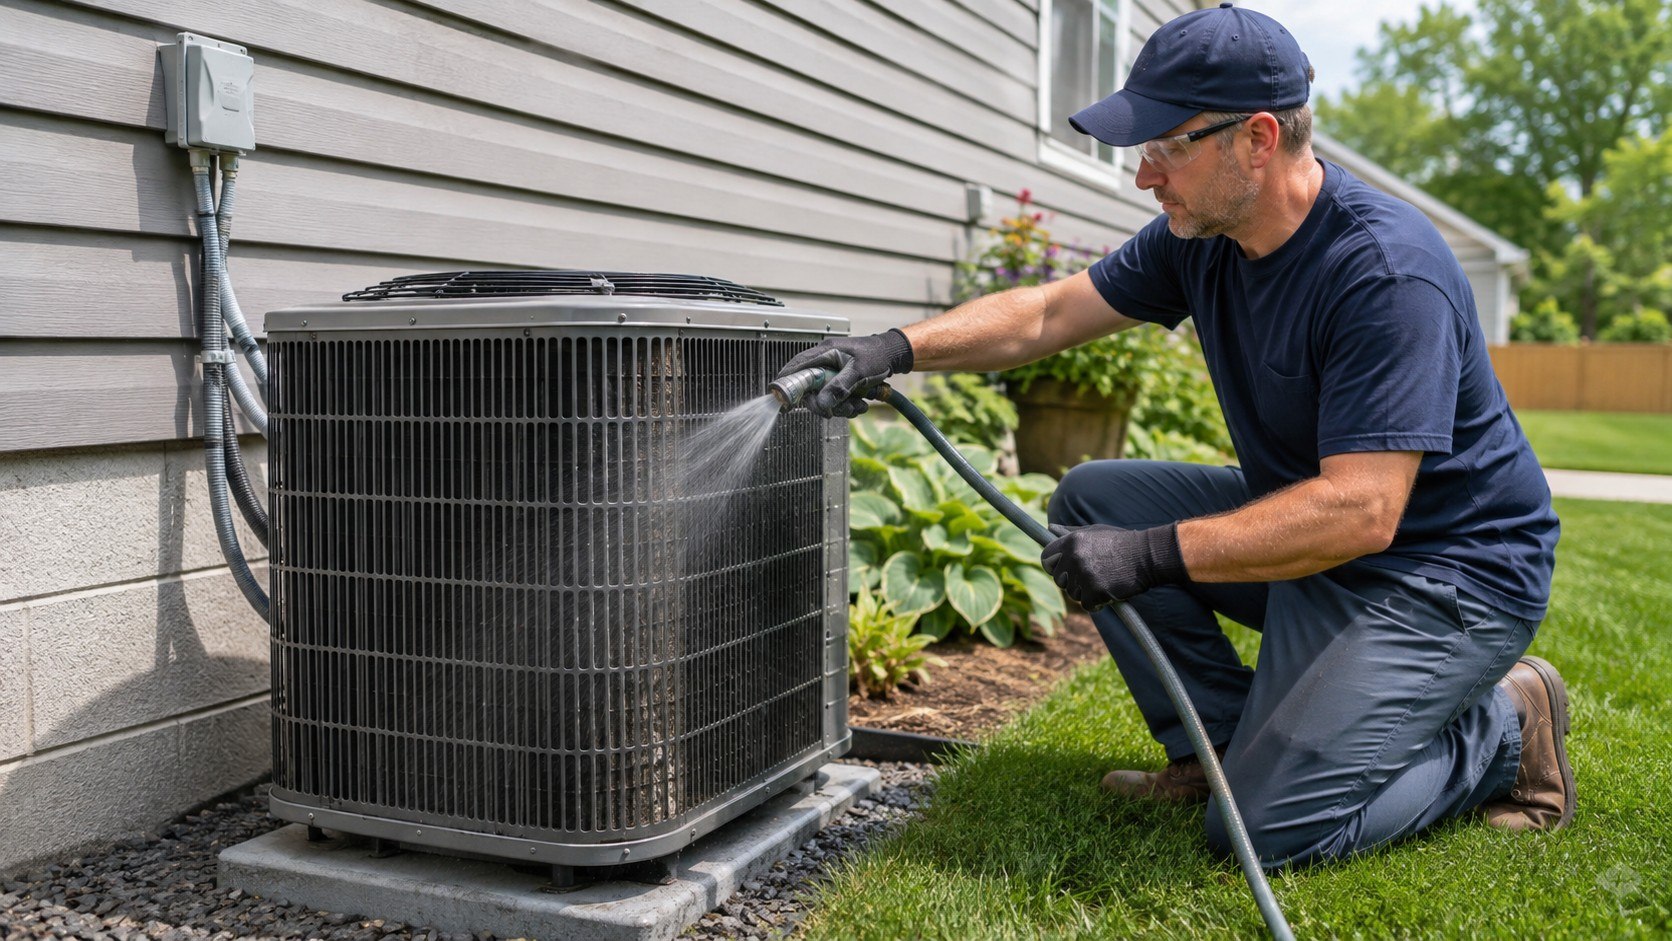
How to clean an AC condenser yourself starts with one non-negotiable step: shut off power before touching the outdoor unit. A typical homeowner can remove leaves, rinse dirty coils, inspect fins, and restore airflow in about 45–75 minutes, as noted by the Baltimore Chronicle editors.
The basic job requires a garden hose, soft brush, screwdriver, gloves, and patience. Do not use a pressure washer, open refrigerant lines, or soak electrical components. Those shortcuts can turn routine maintenance into an HVAC service call.
“Clean and trim around outdoor HVAC units so air can flow freely.”
U.S. Environmental Protection Agency, Extreme Heat guidance for homeowners, 2026.
Key takeaways
- Disconnect electrical power before removing panels, spraying water, brushing fins, or reaching inside the condenser cabinet.
- Use gentle water flow because thin aluminum fins bend easily and damaged fins can restrict airflow through the coil.
- Stop DIY work if you find refrigerant damage, burned wiring, severe corrosion, fan problems, or persistent cooling failure.
A dirty outdoor coil does not automatically mean the air conditioner needs replacement. Grass clippings, cottonwood fibers, dust, pet hair, and leaves often build a blanket across the coil surface. Removing that obstruction can restore the airflow the condenser needs to reject indoor heat.
Cleaning cannot correct a failed capacitor, refrigerant leak, compressor problem, or badly damaged motor. If an aging system needs more than maintenance, compare the likely repair with the cost of replacing an HVAC system in 2026. Replacement costs can reach thousands of dollars, making careful diagnosis important before spending money.
What you need before cleaning the condenser
Most supplies are already in a garage or utility closet. Specialized chemicals are optional because many moderately dirty residential coils can be cleaned with debris removal and gentle water.
- Work gloves and safety glasses
- Garden hose with a gentle spray nozzle
- Soft nylon brush or shop vacuum with a soft attachment
- Screwdriver or nut driver that fits the condenser panels
- Fin comb matched to the coil, if fins are bent
- Manufacturer-approved coil cleaner, only when necessary
- 60–90 minutes with the system turned off
In August 2026, common aerosol HVAC coil cleaners at major US home-improvement retailers were roughly $8–$11 per can. For example, Lowe’s listed Instant Power HVAC Foaming Coil Cleaner at $7.97 and a 19 oz Purafilter product at $10.98. Prices vary by ZIP code, inventory, and promotion.
A fin comb commonly adds only a modest amount to the project budget, but matching the fin spacing matters more than buying the cheapest tool. Carrier, Trane, Lennox, Rheem, Goodman, and American Standard systems can use different coil designs.
Check the model documentation before applying chemical cleaner. Some microchannel coils have restrictions that differ from conventional copper-tube and aluminum-fin coils.
A garden hose is usually safer than aggressive pressure. Cleaning should remove contamination without flattening the metal surface that carries airflow.
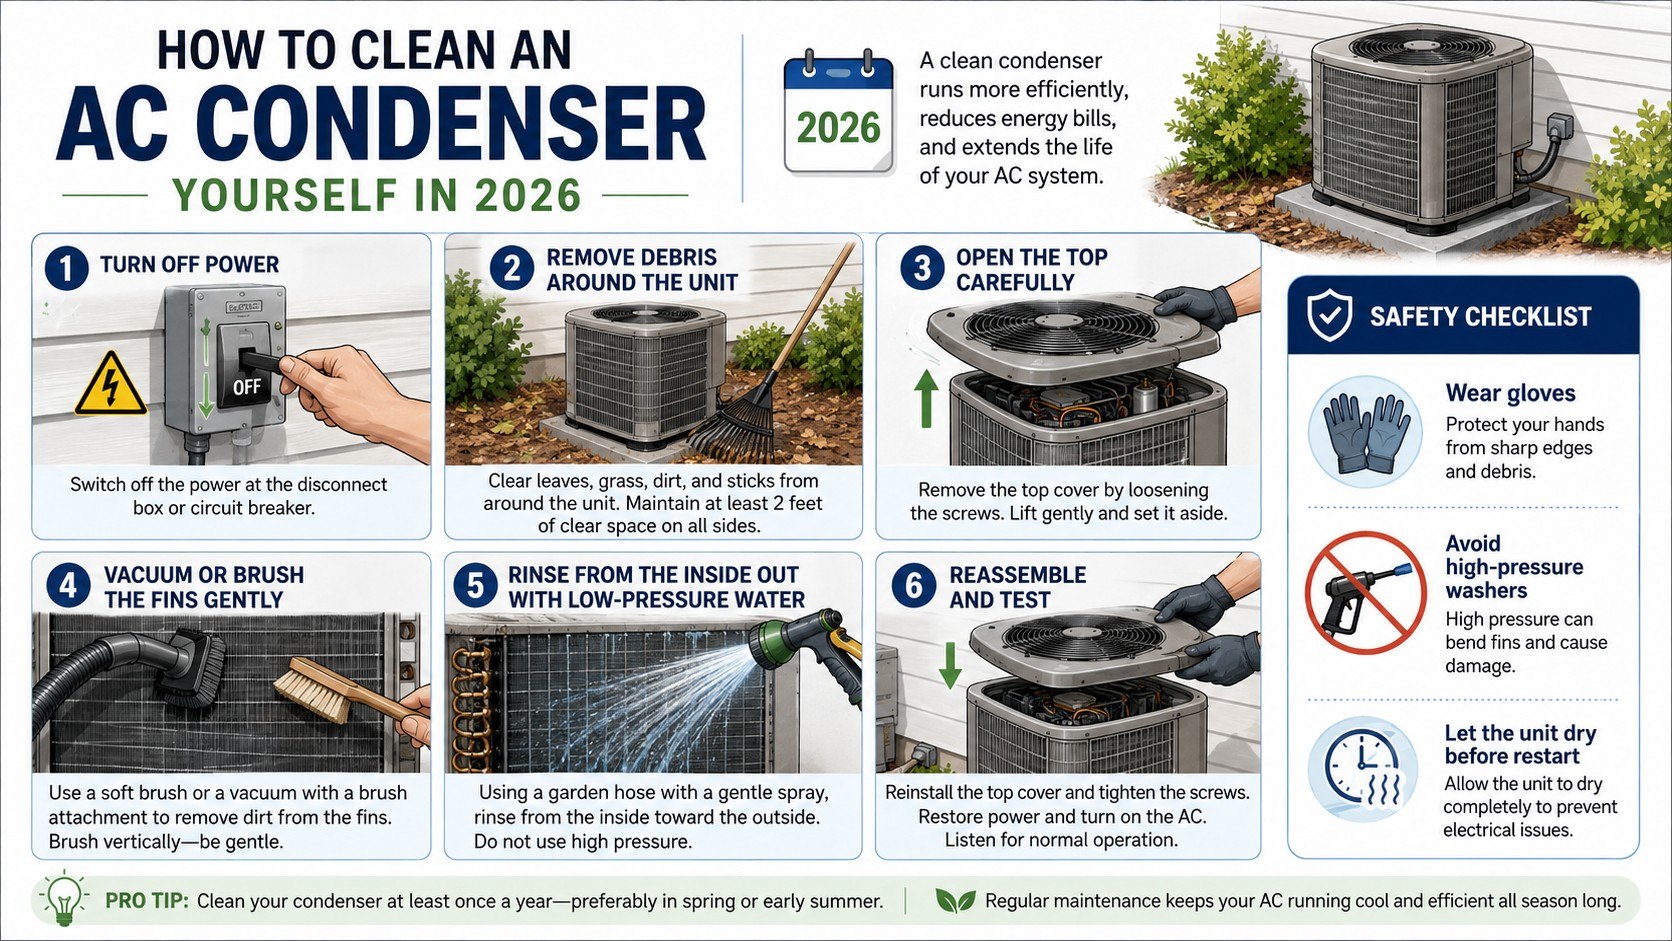
How to clean an AC condenser yourself step by step
Step 1: Shut off power at both controls
Set the thermostat to off, then switch off the outdoor condenser disconnect. If necessary, shut off the corresponding breaker in the home’s electrical panel.
This matters because the condenser contains high-voltage components and a fan that can start unexpectedly. The common mistake is assuming that turning the thermostat up is equivalent to electrically isolating the equipment.
Step 2: Clear the area around the cabinet
Pull leaves, weeds, mulch, grass clippings, and loose debris away from the sides of the condenser. Trim vegetation that obstructs the equipment while respecting the clearance in the manufacturer’s manual.
Air enters through the coil surface on many residential units, so blocked sides reduce heat transfer. Avoid stacking garden tools, fencing, covers, or bags against the cabinet after cleaning.
Step 3: Remove loose debris before using water
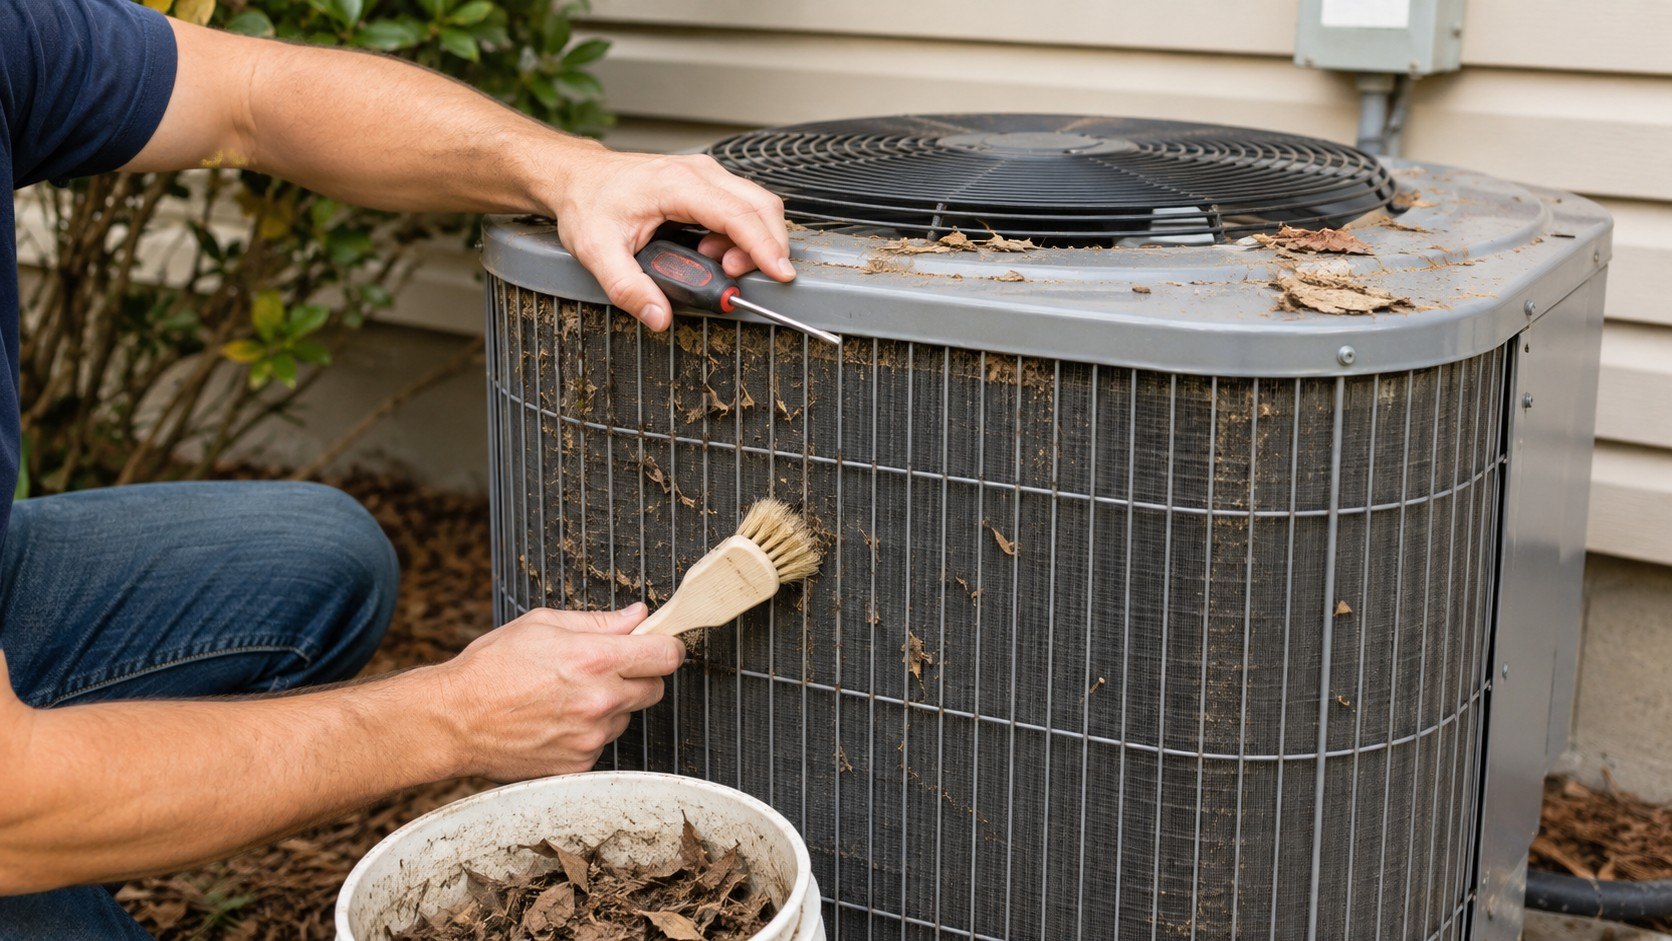
Take off the top or service panels only when your unit’s design permits safe homeowner access. Use a soft brush or vacuum to remove loose material without scraping the coil.
Dry cleaning first prevents wet dirt from becoming paste between the fins. Do not pull wiring, lean on refrigerant tubing, or let the fan assembly hang from its electrical leads.
Step 4: Inspect and straighten damaged fins carefully
The narrow aluminum surfaces surrounding the coil tubing are the AC condenser fins. Minor bends can sometimes be corrected with a properly sized fin comb moved gently along the fin direction.
Straighter fins allow air to pass through more evenly. A screwdriver, knife, or improvised metal pick can puncture tubing or crush adjacent fins, so those tools should stay out of the coil.
“Straighten any bent coil fins with a fin comb.”
Trane service guidance, coil-cleaning instructions.
Step 5: Rinse the condenser coil gently
Use a garden hose and low-pressure stream to perform basic outdoor AC coil cleaning. Work methodically across the coil rather than concentrating water on one spot.
The purpose is to move embedded dust outward instead of driving it deeper into the coil. Never use a narrow pressure-washer jet, which can fold fins and damage delicate coil construction.
Step 6: Use coil cleaner only when the coil needs it
Heavy oily residue may justify a cleaner approved for the specific condenser. Follow the product label and the HVAC manufacturer’s instructions for dilution, dwell time, rinsing, and compatible metals.
More chemical is not automatically better. A common error is using household degreasers, bleach, strong alkaline products, or acidic cleaners without confirming material compatibility.
Step 7: Reassemble and inspect before restoring power
Replace every panel, screw, protective grille, and fastener in its original position. Confirm that tools, rags, leaves, and hose fittings are outside the cabinet.
The panels help control airflow and protect electrical components. Operating a condenser with panels missing can change airflow and expose moving or energized parts.
Step 8: Restore power and check operation
Restore the disconnect and breaker, then return the thermostat to cooling mode. Listen for normal fan operation and confirm that air can move freely around the outdoor unit.
Cleaning may improve a dirty condenser, but it cannot repair mechanical faults. Repeated tripping, grinding sounds, a stalled fan, or poor cooling after cleaning calls for professional diagnosis.
Fins, coils, and safety limits that matter
The outdoor coil acts as a heat exchanger. Refrigerant carries heat from inside the home, while the condenser fan moves outdoor air across a large metal surface that releases that heat.
Dirt interferes with this transfer. The EPA’s homeowner guidance recommends washing dirt from cooling coils and keeping vegetation clear around outdoor HVAC equipment. The agency also advises homeowners to check cooling systems before extreme heat arrives.
| Condition | DIY action | Main risk |
|---|---|---|
| Leaves around cabinet | Remove by hand or soft brush | Restricted airflow |
| Dust on coil | Gentle hose rinse | Dirt pushed deeper by excess pressure |
| Lightly bent fins | Correct with matched fin comb | Further fin damage |
| Oily contamination | Use approved coil cleaner | Corrosion from incompatible chemicals |
| Refrigerant oil or damaged tubing | Stop and call a technician | Refrigerant leak or system damage |
| Burned electrical parts | Leave power off | Shock, fire, or equipment failure |
The distinction between dirt and damage is critical. Surface contamination can be routine maintenance, while oily residue near refrigerant tubing may indicate a leak requiring qualified service.
Homeowners should also resist the temptation to chase refrigerant problems themselves. Opening the sealed circuit is not part of DIY AC condenser maintenance. Refrigerant service requires specialized tools, technical knowledge, and compliance with federal requirements.
Regional conditions change how quickly coils become dirty. Cottonwood can coat units in parts of Minnesota and Ohio. Grass clippings are common in suburban Maryland and Virginia. Dust can accumulate faster around condensers in Arizona, Texas, and inland California.
Homebuyers should inspect the outdoor HVAC equipment before inheriting somebody else’s neglected system. Baltimore Chronicle’s guide to home inspections in the USA explains where HVAC condition fits into the broader property assessment.
How often should you clean outdoor AC coils?
There is no useful national calendar that fits every property. A condenser beside a dusty driveway can collect debris faster than one surrounded by clean landscaping.
Inspect the unit before cooling season and periodically during heavy use. Cleaning becomes reasonable when the coil surface has visible dust, plant fibers, leaves, or clippings that obstruct airflow.
Do not clean a condenser simply because the calendar says so. Inspect first, then clean when debris is actually restricting the coil surface.
The following conditions justify more frequent checks:
- Nearby cottonwood trees release heavy seasonal fibers.
- Lawn equipment regularly throws clippings toward the condenser.
- The property has construction dust or exposed soil nearby.
- Pets spend time beside the outdoor unit.
- Shrubs grow close enough to obstruct airflow.
- The condenser sits near a busy, dusty road.
Keep mowing discharge pointed away from the HVAC equipment. Do not pack decorative mulch directly against the cabinet. Leaves that accumulate beneath shrubs can be pulled toward the coil when the fan runs.
A decorative screen can also become an airflow problem. Follow the clearance stated in the specific manufacturer’s installation manual instead of relying on a universal distance.
Never wrap an operating heat pump for winter. Heat pumps use their outdoor coil during heating mode, unlike cooling-only condensers that remain idle through cold weather.
If water appears inside the house during heavy AC use, the problem may be separate from the outdoor condenser. A clogged condensate drain or indoor coil issue can create leaks, as explained in Baltimore Chronicle’s guide to finding household water leaks.
Troubleshooting after cleaning an AC condenser
Cleaning should leave the coil visibly clearer without creating new noise or electrical problems. If cooling remains poor, use the symptoms to decide whether maintenance has reached its limit.
- AC condenser still not cooling: check the thermostat and filter, then arrange service if the problem persists.
- Fan does not start: leave the unit off because the capacitor, motor, controls, or wiring may require testing.
- Breaker trips again: do not repeatedly reset it; an electrical or compressor fault may be present.
- Fins remain heavily blocked: professional coil cleaning may be safer than increasingly aggressive DIY methods.
- Oily residue appears on tubing: stop cleaning and arrange refrigerant-system inspection.
A weak air conditioner can have more than one problem. A clean outdoor coil cannot compensate for a clogged indoor filter, frozen evaporator, failing blower, low refrigerant charge, or defective compressor.
Temperature alone also tells little about refrigerant charge. Proper HVAC diagnosis uses pressures, temperatures, airflow data, equipment specifications, and other measurements.
Do not pierce tubing or attach improvised refrigerant gauges. The EPA regulates refrigerant handling, and opening a sealed system moves the job beyond ordinary homeowner maintenance.
When the condenser starts normally after cleaning, give it time to operate and compare indoor comfort with conditions before the work. Unusual buzzing, burning odors, or repeated shutdowns are reasons to turn it off.
What DIY cleaning can cost in 2026
A homeowner who already owns a hose and basic hand tools may spend almost nothing. Adding cleaner, gloves, a brush, or a fin comb still keeps routine condenser coil cleaning relatively inexpensive.
| Item | Typical 2026 DIY budget | When needed |
|---|---|---|
| Garden hose | $0 if already owned | Routine rinsing |
| Soft brush | About $5–$15 | Loose surface debris |
| Foaming coil cleaner | About $8–$11 per aerosol can | Heavier approved cleaning |
| Fin comb | About $8–$20 | Minor bent fins |
| Safety glasses and gloves | About $10–$30 | Basic personal protection |
These are practical retail ranges rather than fixed national prices. Location and availability matter, particularly across Alaska, Hawaii, and rural markets.
Buying chemical cleaner for every wash is unnecessary. Plain water and careful debris removal may be enough for a coil carrying ordinary dust.
The expensive mistake is damaging the condenser while trying to save on service. Bent coils, damaged wiring, punctured refrigerant lines, and flooded controls can exceed the cost of preventive maintenance.
For older systems, repeated repair spending deserves additional scrutiny. Compare compressor condition, coil corrosion, refrigerant type, efficiency, and overall age before approving a major repair.
FAQ
Can I clean my AC condenser with a garden hose?
Yes, gentle hose pressure is suitable for many residential condenser coils. Disconnect electrical power first and avoid directing water into exposed electrical areas. Do not substitute a concentrated pressure-washer jet.
Can I pressure wash AC condenser coils?
A household pressure washer is usually a poor choice for cleaning AC coils yourself. Its concentrated force can flatten fins and damage delicate coil construction. Manufacturer requirements should control any cleaning method.
Should I spray coil cleaner on my outside AC unit?
Only when the product is approved for that coil type and the manufacturer permits chemical cleaning. Read both instructions before application. Ordinary surface dust may require nothing stronger than water.
How do I know whether condenser fins are too damaged for DIY repair?
A few lightly bent fins can often be corrected with the right fin comb. Large crushed areas, torn metal, damaged tubing, or extensive corrosion deserve professional inspection rather than forceful straightening.
Why is my AC still not cooling after I cleaned the condenser?
The fault may be elsewhere in the system. A dirty filter, frozen indoor coil, failed capacitor, fan problem, compressor fault, low airflow, or refrigerant issue can produce poor cooling even with a clean condenser.
When should I stop cleaning and call an HVAC technician?
Stop when you see refrigerant-line damage, oily residue, burned wiring, severe corrosion, repeated breaker trips, a stalled fan, or persistent cooling failure. Routine cleaning ends where electrical diagnosis or sealed-refrigerant work begins.
Earlier we wrote about 10 Edgar Allan Poe Quotes About Love, Death, Dreams, and Grief Explained