

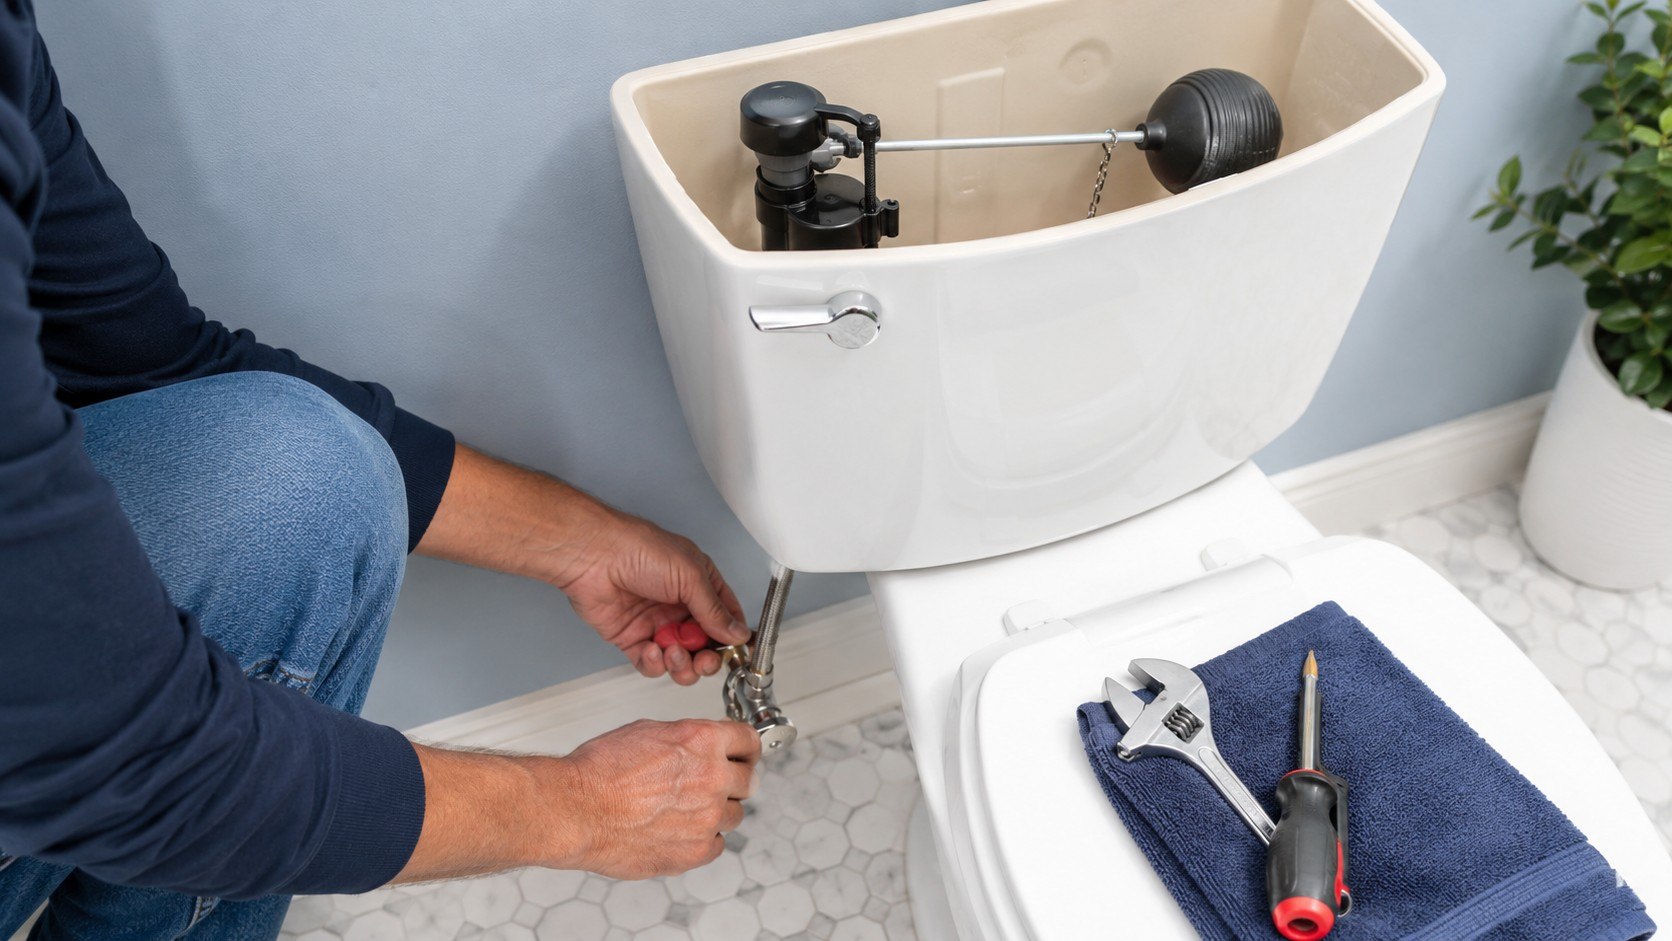
How to fix a running toilet usually comes down to checking 2 parts: the flapper and the fill valve. Most homeowners can diagnose the problem within 10 minutes, while a basic repair often takes another 15–30 minutes, as noted by Baltimore Chronicle.
Remove the tank lid and watch one complete flush. If water keeps entering the bowl, inspect the flapper and chain first. If the tank overfills or never stops refilling, adjust or replace the fill valve.
Key takeaways
- A leaking flapper causes water to move silently from the tank into the bowl.
- A faulty fill valve causes continuous refilling, hissing, or water entering the overflow tube.
- Most DIY repairs cost about $5–$35 in 2026 and require no specialist plumbing tools.
Turn the toilet’s shutoff valve clockwise before removing parts. If that valve leaks or will not close, stop and call a plumber.
What You Need
Gather the following items before opening the tank. You may not need every tool, but preparation prevents repeated trips to the hardware store.
- Adjustable wrench or channel-lock pliers
- Small sponge and bucket
- Disposable gloves
- Food coloring for leak testing
- Replacement flapper matching a 2-inch or 3-inch flush valve
- Universal fill valve, if adjustment does not solve the problem
- Towel for protecting the floor
- 20–45 minutes of working time
- About $5–$35 for standard replacement parts in 2026
Brands commonly stocked across the United States include Fluidmaster, Korky, Kohler, American Standard, and Danco. A basic flapper often costs $5–$15. Universal fill valves usually cost $12–$25, while combined repair kits often cost $20–$35.
Prices vary by retailer, toilet model, and location. Costs may differ between California, Texas, Maryland, Florida, and other states. Confirm the flush-valve size before buying anything.
A toilet leaking around the floor requires a different repair. Review this guide to fixing a toilet that leaks from the base before removing tank components.
Step 1: Identify Why the Toilet Keeps Running
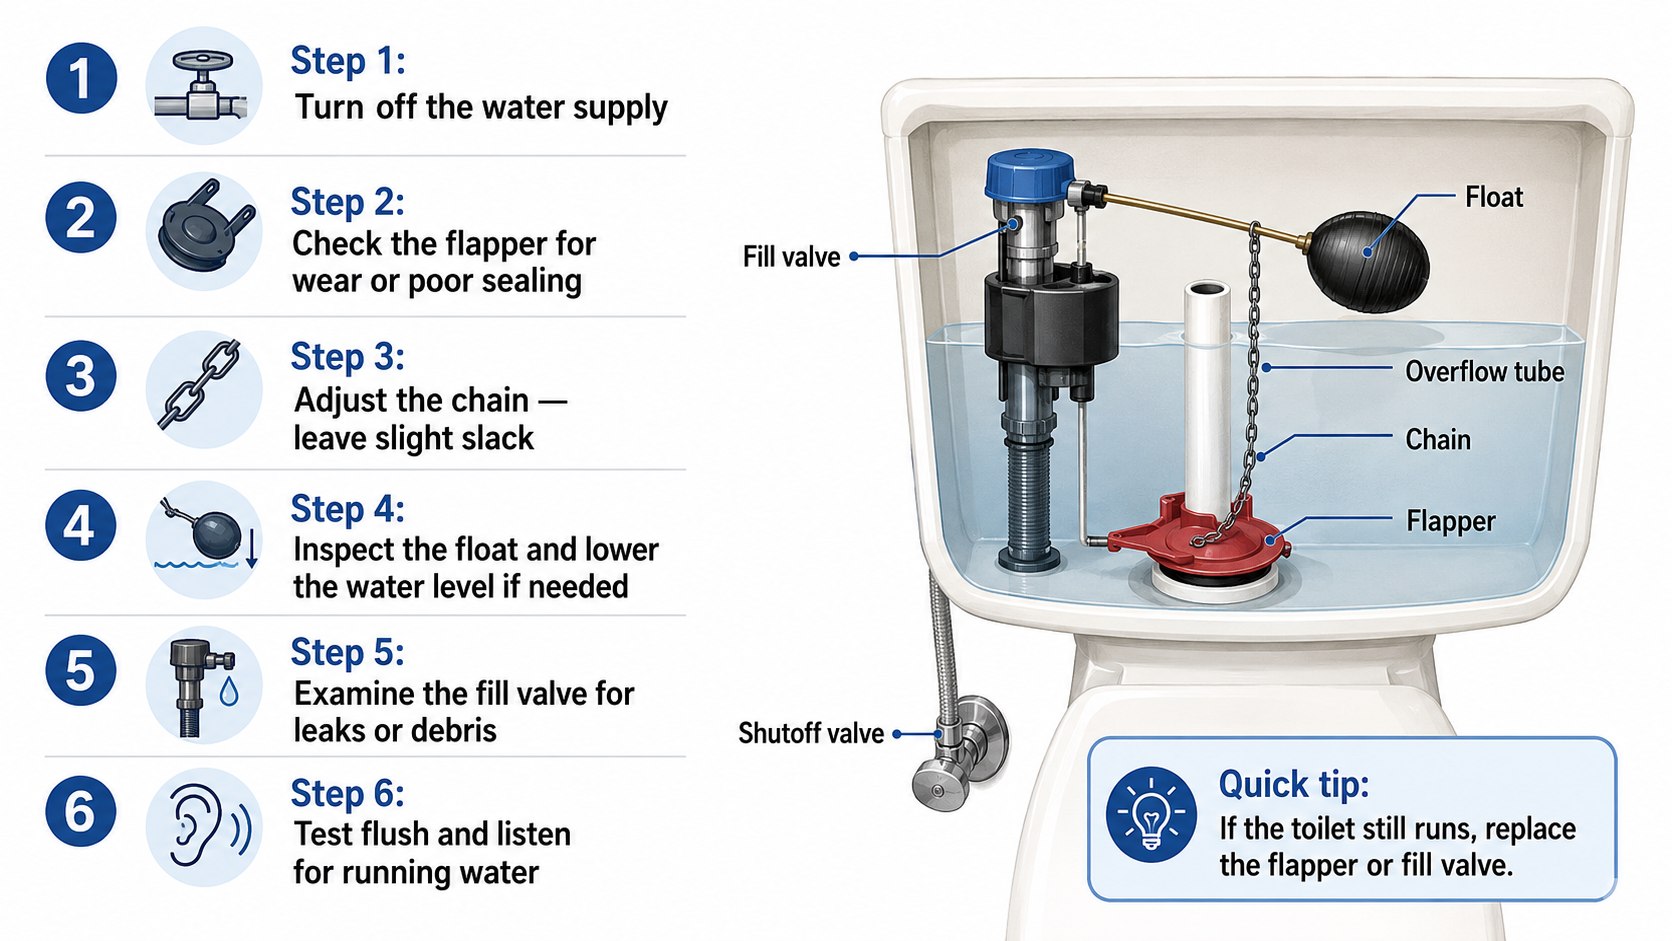
Remove the tank lid and flush once. Watch the flapper, chain, water level, fill valve, and overflow tube.
This matters because a running sound can come from several parts. Replacing the wrong component wastes time and may not stop the leak.
Do not assume every running toilet needs a new fill valve. A tangled chain may be the only problem.
Use this comparison to identify the most likely fault:
| Symptom | Likely cause | First action | Typical 2026 DIY cost |
|---|---|---|---|
| Water moves into bowl between flushes | Worn or dirty flapper | Clean or replace flapper | $5–$15 |
| Tank refills every few minutes | Slow flapper leak | Perform a dye test | $0–$15 |
| Water flows into overflow tube | Water level set too high | Lower the float | $0 |
| Valve hisses continuously | Dirty or failing fill valve | Flush or replace valve | $12–$25 |
| Handle sticks after flushing | Short or tangled chain | Adjust chain length | $0–$8 |
A toilet may have more than one worn component. Older tanks often contain a deteriorated flapper and an aging fill valve. Inspect both before returning the lid.
If the toilet is part of a larger renovation, compare repair costs with current bathroom remodeling costs in the USA. Replacing the toilet may make sense when the porcelain is cracked or inefficient.
Step 2: Test the Toilet Flapper for a Silent Leak
Add several drops of food coloring to the tank. Do not flush for 10–15 minutes.
If colored water appears in the bowl, the flapper is not sealing correctly. This confirms a leak between the tank and bowl.
The test matters because a damaged flapper can leak without producing a loud running sound. The fill valve then activates repeatedly to replace lost water.
Do not add coloring directly to the bowl. The dye must begin inside the tank.
“Most toilet leaks are due to old or worn-out toilet flappers.”
— U.S. Environmental Protection Agency, WaterSense residential toilet guidance
The EPA reports that household leaks can waste 180 gallons each week. Toilets are often responsible. Its WaterSense toilet guidance identifies worn flappers as a common cause.
Step 3: Adjust the Flapper Chain
Check the chain between the flush lever and flapper. Leave about 1/2 inch of slack when the flapper is closed.
A chain that is too short prevents the flapper from sealing. A long chain may become trapped underneath the rubber seal.
Proper slack lets the flapper open fully and close without interference. This adjustment costs nothing and takes several minutes.
Do not pull the chain completely tight. The flapper must rest flat against the flush-valve seat.
Move the chain clip one link at a time. Flush after each adjustment and watch the closing motion. The flapper should remain open long enough for a complete flush.
Step 4: Clean or Replace the Toilet Flapper
Close the shutoff valve and flush the toilet. Hold the handle down to drain most tank water.
Disconnect the chain and remove the flapper from its mounting ears. Wipe mineral deposits from the flapper and flush-valve rim.
Scale, chlorine exposure, and age can prevent a watertight seal. A warped or brittle flapper should be replaced.
Do not buy a replacement based only on color. Toilets commonly use 2-inch or 3-inch flush valves.
Measure the opening under the flapper. A hole near the size of a baseball is usually 3 inches. A tennis-ball-sized opening is usually 2 inches.
Choose a model listed for your toilet brand when possible. “Universal” does not guarantee correct timing, buoyancy, or water use.
Install the new flapper without stretching its mounting arms. Reconnect the chain, restore the water supply, and test several flushes.
Step 5: Adjust the Fill Valve and Tank Water Level
Find the marked waterline inside the tank. The water should stop near that mark.
If no mark exists, set the level about 1 inch below the overflow tube’s top. Use the adjustment screw or float clip.
Water entering the overflow tube creates a constant running sound. Lowering the float often stops it immediately.
Do not bend plastic float arms. Use the manufacturer’s adjustment mechanism.
Older toilets may have a ball float attached to a metal arm. Modern valves often use a sliding float cup. Turn the adjustment screw in small increments, then let the tank refill.
The refill tube should discharge into the overflow tube without extending below the tank’s waterline. A submerged tube can create siphoning and continuous water movement.
Step 6: Flush Debris From the Fill Valve
Shut off the water and remove the fill-valve cap according to its design. Cover the opening with a cup.
Briefly open the shutoff valve to flush sediment into the cup. Close the supply, reinstall the cap, and test the toilet.
Sand, rust, and mineral particles can block the valve seal. This may cause hissing or slow refilling.
Do not force the cap with pliers. Plastic locking tabs can crack under excessive pressure.
Fluidmaster and Korky use different cap-release systems. Check the model number before disassembly. Manufacturer instructions are safer than guessing.
Step 7: Replace a Faulty Toilet Fill Valve
Shut off the supply, flush the tank, and absorb remaining water. Disconnect the supply line beneath the tank.
Remove the mounting nut and lift out the old valve. Adjust the replacement valve’s height before installing it.
A worn fill valve may continue leaking after cleaning and adjustment. Replacement restores controlled refilling.
Do not overtighten the plastic mounting nut. Hand-tighten it, then add a small turn if necessary.
- Place the rubber washer on the new valve’s threaded shank.
- Insert the valve through the tank opening.
- Position the valve so moving parts do not touch the tank wall.
- Tighten the mounting nut beneath the tank.
- Reconnect the supply line without cross-threading it.
- Attach the refill tube above the overflow opening.
- Open the shutoff valve slowly and inspect every connection.
- Adjust the final water level after the tank fills.
Dry the tank and floor before checking for leaks. Even a few drops become easier to see on a dry surface. Inspect the mounting nut, supply connector, and shutoff valve.
Flush at least 3 times. The valve should stop cleanly after every refill. The waterline should remain stable and below the overflow opening.
For larger projects, homeowners should separate fixture costs from labor and allowances. This guide explains how to read a construction estimate before approving plumbing work.
Troubleshooting a Running Toilet
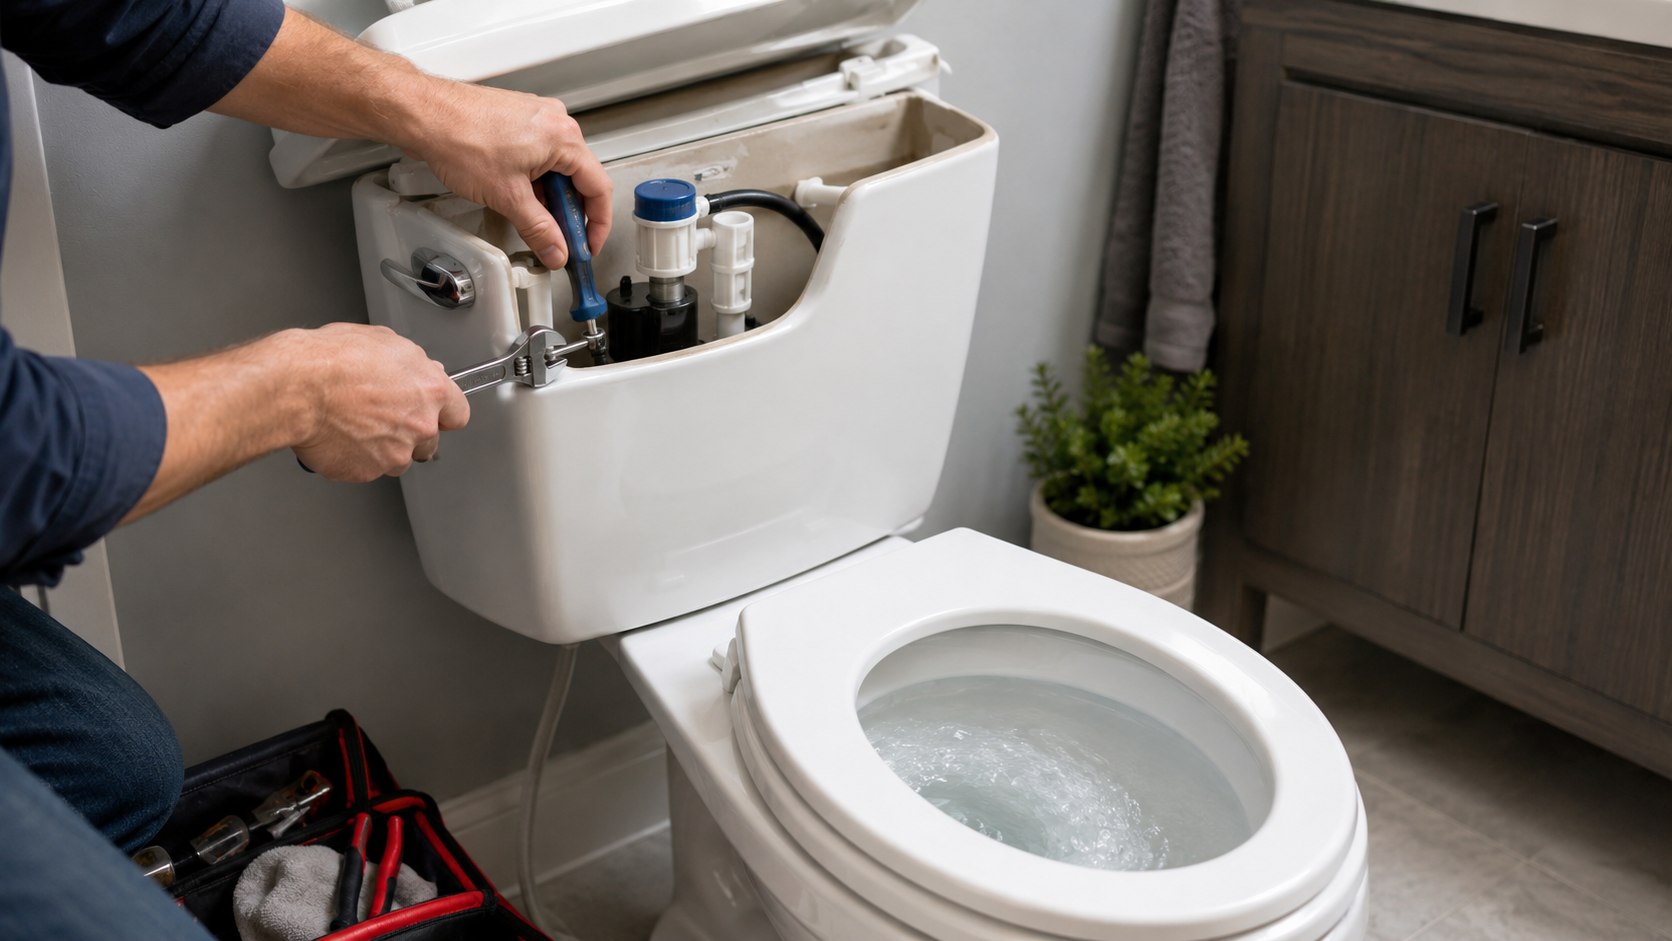
Some toilets continue running after a basic adjustment. Match the remaining symptom to the following scenarios.
- The new flapper still leaks: Clean the flush-valve seat and confirm the correct 2-inch or 3-inch size.
- The tank refills randomly: Repeat the dye test and check for a slow flapper leak.
- Water enters the overflow tube: Lower the float or replace a valve that will not shut off.
- The toilet needs 2 flushes: Raise the tank level slightly and check the flapper’s closing speed.
- The supply connection drips: Reseat the connector and inspect its washer before tightening further.
Do not continue using a toilet with cracked porcelain. A crack can spread without warning and release significant water. Replacement is safer than sealing structural damage.
Call a licensed plumber when the shutoff valve fails, the tank hardware is heavily corroded, or water reaches the floor. Professional service commonly starts with a diagnostic or service-call charge. Rates vary significantly by city and urgency in 2026.
Renters should report defective valves to the landlord or property manager. Local lease rules and repair duties vary by state. Avoid permanent alterations without written approval.
How to Prevent the Toilet From Running Again
Inspect the tank every 6–12 months. Look for warped rubber, corrosion, mineral buildup, and water entering the overflow tube.
- Do not use drop-in bleach tablets inside the tank.
- Keep the flapper chain free from the refill tube.
- Test for silent leaks with food coloring twice each year.
- Replace hardened rubber parts before they split.
- Open and close the shutoff valve periodically to prevent seizing.
- Check the tank waterline after installing new components.
Tank tablets containing strong chlorine may shorten the life of rubber seals. Use bowl-applied cleaners instead. Follow the toilet manufacturer’s care instructions.
A repaired toilet should refill once and become silent. Listen again several minutes after flushing. Unexpected refilling usually means water is still escaping into the bowl.
FAQ
What is the most common cause of a running toilet?
A worn, dirty, or incorrectly fitted flapper is the most common cause. It lets tank water leak into the bowl.
How do I know whether the flapper or fill valve is bad?
Use food coloring to test the flapper. If water enters the overflow tube, inspect the fill valve and float setting.
Can I fix a running toilet without replacing parts?
Yes. Adjusting the chain, lowering the float, or cleaning debris may solve the problem without new parts.
How much does it cost to fix a running toilet in 2026?
A DIY repair usually costs about $5–$35. Plumber charges vary by location, visit type, labor, and required components.
Why does my toilet run for several seconds every few minutes?
This pattern usually indicates a slow flapper leak. Escaping water lowers the tank level and activates the fill valve.
When should I replace the entire toilet?
Consider replacement when porcelain is cracked, repairs repeat frequently, or compatible internal parts are unavailable.
Earlier we wrote about Budget Home Staging in 2026: Rooms, Decluttering and Listing Photos