

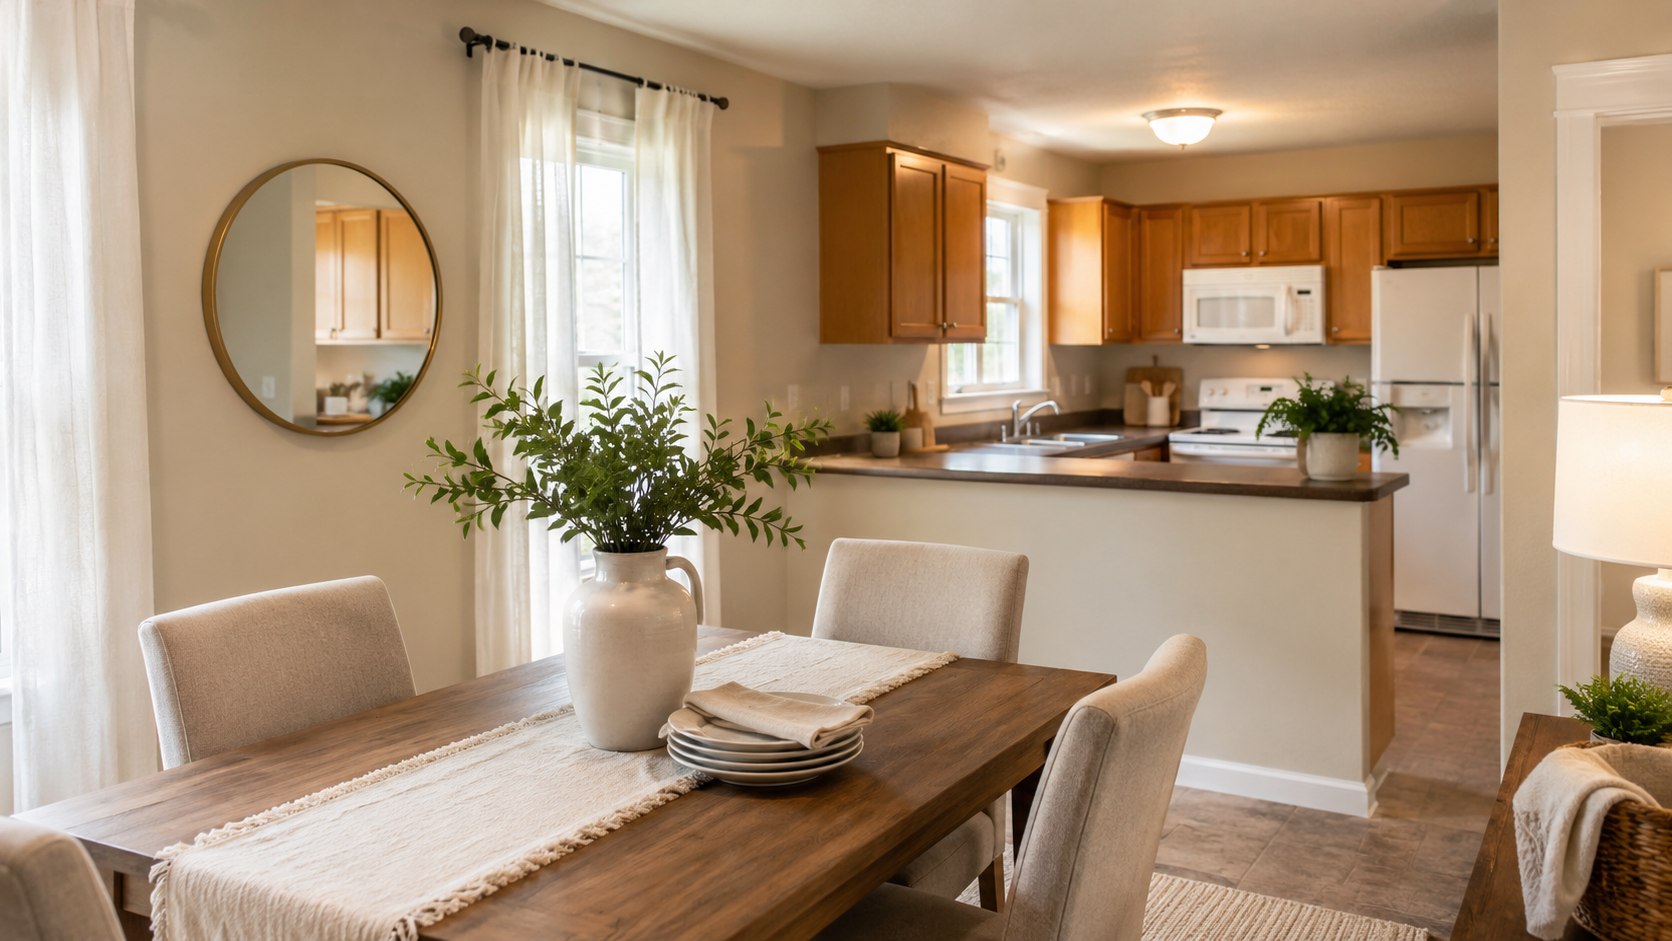
How to stage a house for sale on a budget starts with subtraction, not shopping. In 1 weekend, you can declutter key rooms, improve lighting, and prepare cleaner listing photos. The goal is to make every room appear spacious, useful, and easy to maintain, as noted by Baltimore Chronicle.
Begin with the living room, primary bedroom, kitchen, bathrooms, and entryway. Remove excess possessions, repair visible defects, and photograph each room from the doorway. Most occupied homes can receive a meaningful refresh for $100 to $600 in 2026.
Key takeaways
- Remove 30% to 50% of visible belongings before buying furniture, décor, or storage products.
- Prioritize the living room, primary bedroom, kitchen, entryway, and bathrooms before improving secondary spaces.
- Review every room through a phone camera because listing photographs expose clutter, shadows, and awkward layouts.
The National Association of Realtors’ 2025 staging research identified the living room as the highest-priority room. The primary bedroom and kitchen followed. The report also found that 17% of buyers’ agents associated staging with offers 1% to 5% higher.
Those findings do not guarantee a higher sale price. They show why presentation can influence buyer perception. Sellers should still base repairs and spending on local conditions, property value, and agent advice.
What you need
A budget staging project requires basic cleaning supplies, temporary storage, simple repair materials, and several uninterrupted hours. Most homeowners already own many of the necessary items.
- Trash bags, donation boxes, and clearly labeled moving cartons
- Microfiber cloths, glass cleaner, degreaser, vacuum, mop, and scrub brushes
- Spackle, sandpaper, painter’s tape, touch-up paint, and a small roller
- Matching LED bulbs with a consistent color temperature
- Neutral bedding, clean towels, simple pillows, and one or two plants
- Smartphone camera, tripod, level tool, and editing controls
- Floor plan, room dimensions, listing schedule, and agent recommendations
- A working budget of about $100 to $600 for an occupied home
Do not buy decorative items before completing the decluttering process. Empty surfaces often produce a stronger result than newly purchased accessories. Borrow neutral pieces from another room before visiting IKEA, Target, Walmart, Lowe’s, or The Home Depot.
Separate the budget into cleaning, repairs, lighting, textiles, and storage. Keep at least 15% available for problems discovered during cleaning. Common surprises include stained grout, damaged caulk, burned-out bulbs, and scratched trim.
A seller preparing a major renovation should examine the costs before committing. This 2026 bathroom remodeling cost guide explains why cosmetic improvements often make more financial sense before listing.
Your home should not look empty or anonymous. It should present enough structure for buyers to understand each room immediately.
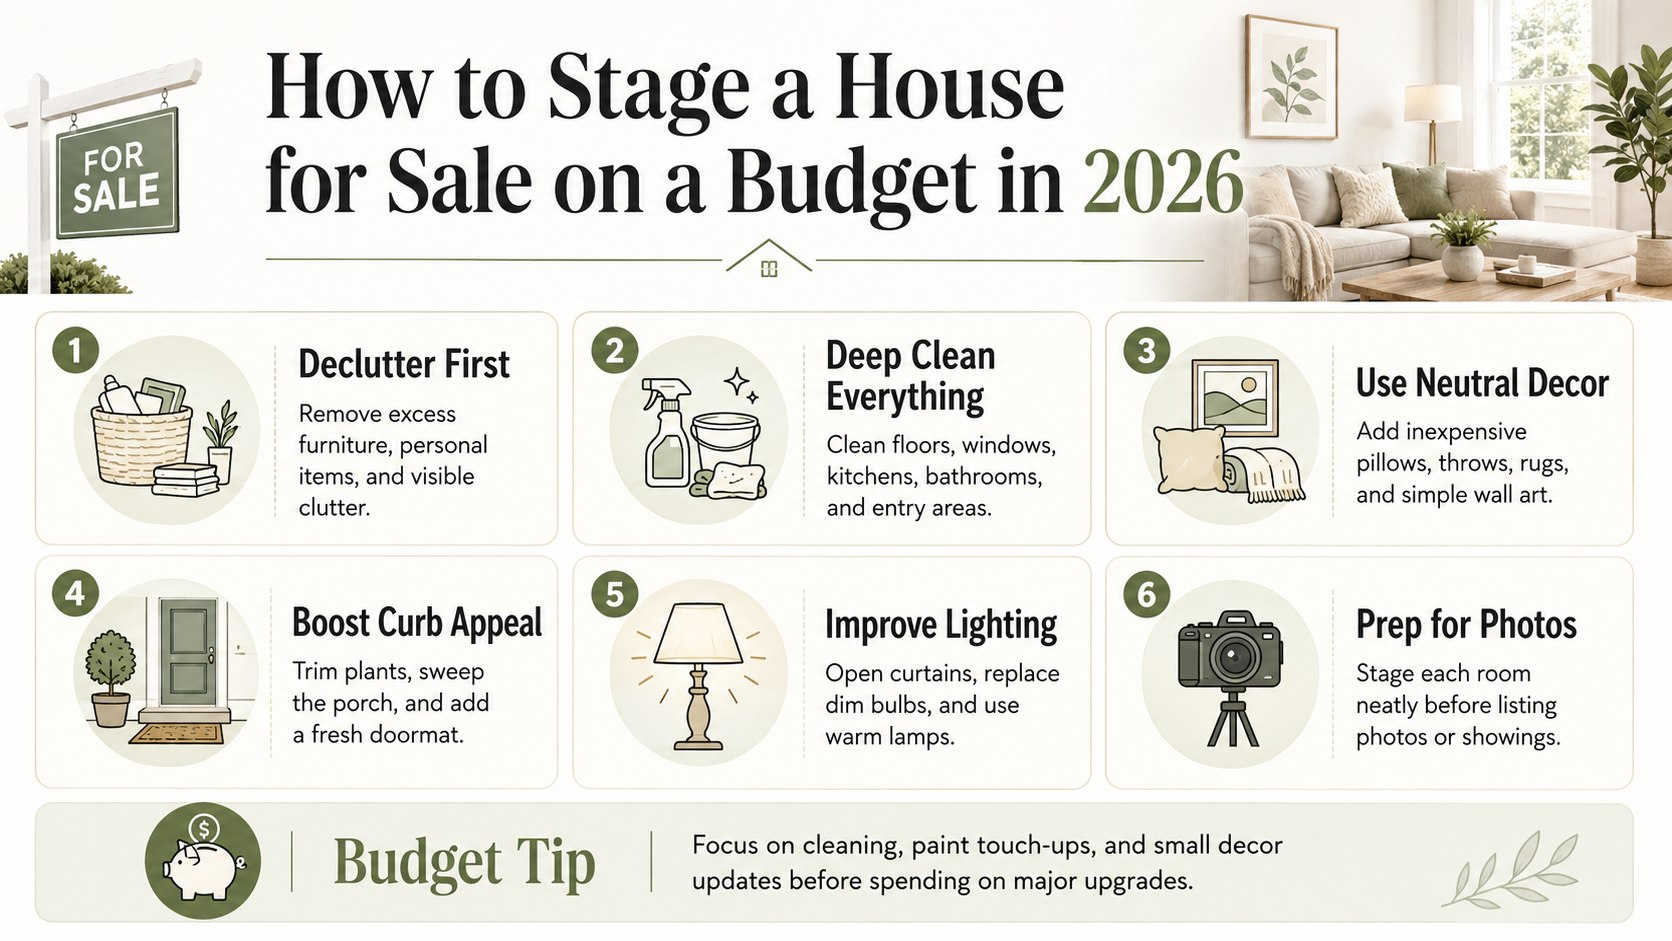
How to stage a house for sale on a budget: 8 practical steps
Step 1: Set a room-by-room budget
Choose a maximum amount before moving furniture or ordering supplies. Allocate more money to rooms that dominate online listings and in-person tours.
This prevents small purchases from consuming the entire budget. A common mistake is buying décor before identifying visible repairs.
| Category | Practical 2026 range | Best use |
|---|---|---|
| Cleaning supplies | $25–$75 | Kitchen grease, windows, floors, grout, and bathrooms |
| Paint and repairs | $40–$180 | Scuffs, nail holes, trim damage, and one accent wall |
| Lighting | $20–$90 | Matching LED bulbs and replacing damaged shades |
| Textiles | $30–$150 | Bedding, towels, pillow covers, and shower curtains |
| Storage | $20–$120 | Boxes, bins, labels, or short-term off-site storage |
| Plants and accents | $15–$75 | Entryway, dining table, kitchen, and living room |
These ranges reflect a modest refresh, not professional furniture rental. Prices vary by retailer, region, home size, and product quality. Verify current local prices before purchasing supplies.
Homeowners in California or New York may encounter higher labor and storage costs. Sellers in Ohio, Texas, or Georgia may find lower service prices. National retailers still adjust inventory and pricing by location.
Spend first on cleanliness, repairs, and light. Decorative purchases should come last. Buyers notice damaged caulk and dirty windows before noticing a new pillow.
Use the budget as a spending ceiling rather than a target. A well-edited room may require no new purchases. Rearranging existing furniture can deliver the largest visual improvement.
Step 2: Declutter every visible surface
Clear kitchen counters, bathroom vanities, nightstands, desks, and open shelving. Leave only items that explain the room’s function or support a balanced composition.
Decluttering enlarges the apparent floor area and reduces visual noise. The common mistake is hiding everything inside closets that buyers will open.
- Remove trash, expired products, and broken household items.
- Create separate boxes for donations, storage, moving, and daily use.
- Reduce books, dishes, clothing, toys, and décor by at least one-third.
- Leave closet floors visible and avoid tightly packed clothing rails.
- Move pet supplies, medications, valuables, and personal documents off-site.
- Label every box by room and destination.
Decluttering should continue inside cabinets, closets, garages, and laundry areas. Buyers often inspect storage because capacity affects daily life. A packed closet suggests insufficient space, even when the closet is large.
Do not create a crowded basement or garage while clearing the main rooms. Use matching cartons and stack them neatly against one wall. Keep electrical panels, water heaters, and major systems accessible.
Renting storage may be useful for large furniture or extensive collections. Compare the monthly charge with the expected listing period. Ask about insurance, access fees, administrative charges, and rate increases.
The aim is controlled occupancy, not total emptiness. Keep enough furniture to show scale and movement paths. Remove pieces that block windows, doors, vents, or natural walking routes.
Step 3: Define the purpose of each room
Assign one clear function to every room. A bedroom should not simultaneously appear as an office, gym, storage area, and playroom.
Clear functions help buyers understand usable square footage. A common mistake is preserving the seller’s personal arrangement when it obscures the floor plan.
Place the largest furniture piece first. Then preserve at least 30 inches of movement space where possible. Angle furniture only when it improves circulation or highlights an architectural feature.
Small rooms usually benefit from fewer pieces. Remove oversized recliners, extra dining chairs, bulky exercise machines, and unused side tables. Never push every item against a wall automatically.
Owners considering larger improvements should review contractor scope carefully. This guide to reading a construction estimate explains allowances, exclusions, change orders, and uncertain costs.
Step 4: Clean before making cosmetic upgrades
Deep-clean floors, baseboards, windows, appliances, mirrors, cabinets, fixtures, and door hardware. Address odors before using fragrances or scented candles.
Clean surfaces reflect more light and communicate regular maintenance. The common mistake is masking dirt or odors with temporary products.
Pay special attention to refrigerator handles, oven doors, cabinet pulls, faucets, light switches, and interior doors. These surfaces collect fingerprints and grease. Buyers encounter them at close range.
Wash windows on both sides when safely accessible. Remove damaged screens and clean window tracks. Open blinds evenly before showings and photographs.
Pet odors require laundering fabrics, cleaning floors, replacing damaged pads, and emptying litter boxes. Strong air fresheners can create suspicion. Mild ventilation usually performs better than heavy fragrance.
Step 5: Complete small repairs and neutral touch-ups
Fill nail holes, repair loose handles, replace damaged caulk, and touch up obvious wall marks. Use leftover matching paint when the finish remains consistent.
Minor defects can suggest broader neglect. The common mistake is starting an expensive renovation that cannot be completed before photography.
Neutral colors can help when a wall is heavily marked or visually dominant. However, repainting every room may not be necessary. Ask your listing agent which colors affect buyer response in your local market.
Replace cracked switch plates, missing outlet covers, broken blinds, and visibly damaged hardware. Tighten loose toilet seats and cabinet hinges. Confirm that every interior door opens without scraping.
Spend money on defects that appear in photographs or interrupt a showing. Do not chase perfection that buyers cannot see.
Step 6: Improve lighting without expensive fixtures
Replace burned-out bulbs and match color temperatures within each room. Clean shades, globes, fixtures, and exposed bulbs before evaluating brightness.
Consistent lighting helps rooms appear coherent in photographs. The common mistake is mixing warm, cool, and daylight bulbs within one visible space.
- Use warm white bulbs around 2700K for bedrooms and relaxed living spaces.
- Consider 3000K bulbs for kitchens, bathrooms, and multipurpose rooms.
- Open curtains and raise blinds before every showing.
- Place a floor lamp in dark corners without overhead lighting.
- Remove heavy window treatments that reduce natural light.
- Confirm that exterior, basement, garage, and closet lights work.
Lighting should reveal the room without making it feel clinical. Very cool bulbs can exaggerate blue tones and create harsh shadows. Very warm bulbs may make white walls appear yellow.
Use the same bulb family in fixtures visible within one photograph. Major brands include Philips, GE, EcoSmart, Feit Electric, and SYLVANIA. Compare brightness in lumens rather than relying only on wattage equivalents.
Do not install higher-output bulbs than a fixture permits. Check the fixture label and manufacturer instructions. Electrical problems, flickering fixtures, or damaged wiring require a qualified professional.
Photograph the room after sunset and during daylight. The comparison will expose dark corners and color inconsistencies. Adjust lamps before purchasing additional fixtures.
Step 7: Stage priority rooms with restrained details
Focus spending on the living room, primary bedroom, kitchen, bathrooms, and entry. Secondary bedrooms need clear functions but fewer decorative details.
These spaces shape the buyer’s first impression and listing gallery. The common mistake is distributing small accessories across every surface.
Living room
Remove excess seating and create a clear conversation area. Add one neutral throw, two coordinated pillows, and a simple coffee-table arrangement.
Primary bedroom
Use clean bedding, balanced lamps, and uncluttered nightstands. Center the bed when the room allows, and conceal visible cords.
Kitchen
Clear most countertop appliances and remove items from the refrigerator door. Leave one practical arrangement, such as a bowl or cutting board.
Bathrooms
Display clean towels, close toilet lids, and remove personal products. Replace stained shower curtains, damaged caulk, and empty dispensers.
Entryway
Remove extra shoes, coats, packages, and keys. Add a clean mat, working light, and one simple focal point.
The NAR report found the living room remained the most influential staging priority among surveyed buyers’ agents. That supports concentrated spending rather than equal spending across every room.
Step 8: Test the staging through listing photos
Take test photographs from each doorway and corner before the professional photographer arrives. Keep the phone level and avoid excessive wide-angle distortion.
Photography compresses rooms and highlights clutter that people overlook in person. The common mistake is judging staging only while standing inside the room.
Review each image at thumbnail size. Buyers often first encounter a listing on a small mobile screen. A strong room should remain understandable without zooming.
Remove objects that appear to grow from furniture, lamps, or people within the frame. Hide trash cans, toilet brushes, charging cables, remotes, and cleaning products. Straighten chairs, rugs, curtains, and lampshades.
Do not digitally add furniture without disclosure and professional guidance. Virtual staging should not conceal defects or misrepresent permanent features. Follow local multiple listing service rules and your brokerage’s policies.
Rooms that deserve the largest share of the budget
Not every space requires equal effort. Your listing agent can adjust priorities for local buyers, property type, and price range.
| Room | Main objective | Low-cost action | Common distraction |
|---|---|---|---|
| Living room | Show scale and circulation | Remove one large furniture piece | Too many chairs or personal collections |
| Primary bedroom | Create calm and symmetry | Use neutral bedding and balanced lamps | Visible laundry, cords, or exercise equipment |
| Kitchen | Emphasize counter space | Store appliances and clean cabinet fronts | Magnets, paperwork, dishes, and food packages |
| Bathroom | Signal cleanliness and maintenance | Replace caulk and display clean towels | Personal products, odors, and stained grout |
| Entryway | Create an orderly first impression | Improve light and remove extra shoes | Packages, coats, pet gear, and damaged mats |
The living room often deserves the most attention because it explains the home’s shared living space. A clear layout can make the room appear easier to furnish. It also helps photographs communicate scale.
The primary bedroom should appear restful rather than luxurious. Matching lamps and clean bedding create visual order without major spending. Remove televisions or desks when they dominate the room.
Kitchen staging should expose usable counter area. Avoid filling surfaces with decorative food, signs, or multiple appliances. Buyers need to see work space, outlets, cabinets, and condition.
Bathroom presentation depends heavily on cleanliness. New towels cannot compensate for mildew, stained grout, or broken fixtures. Correct maintenance problems before adding decorative pieces.
The entryway begins the showing before buyers reach the main rooms. Clean the door, hardware, porch light, and nearby flooring. Store deliveries and seasonal equipment out of sight.
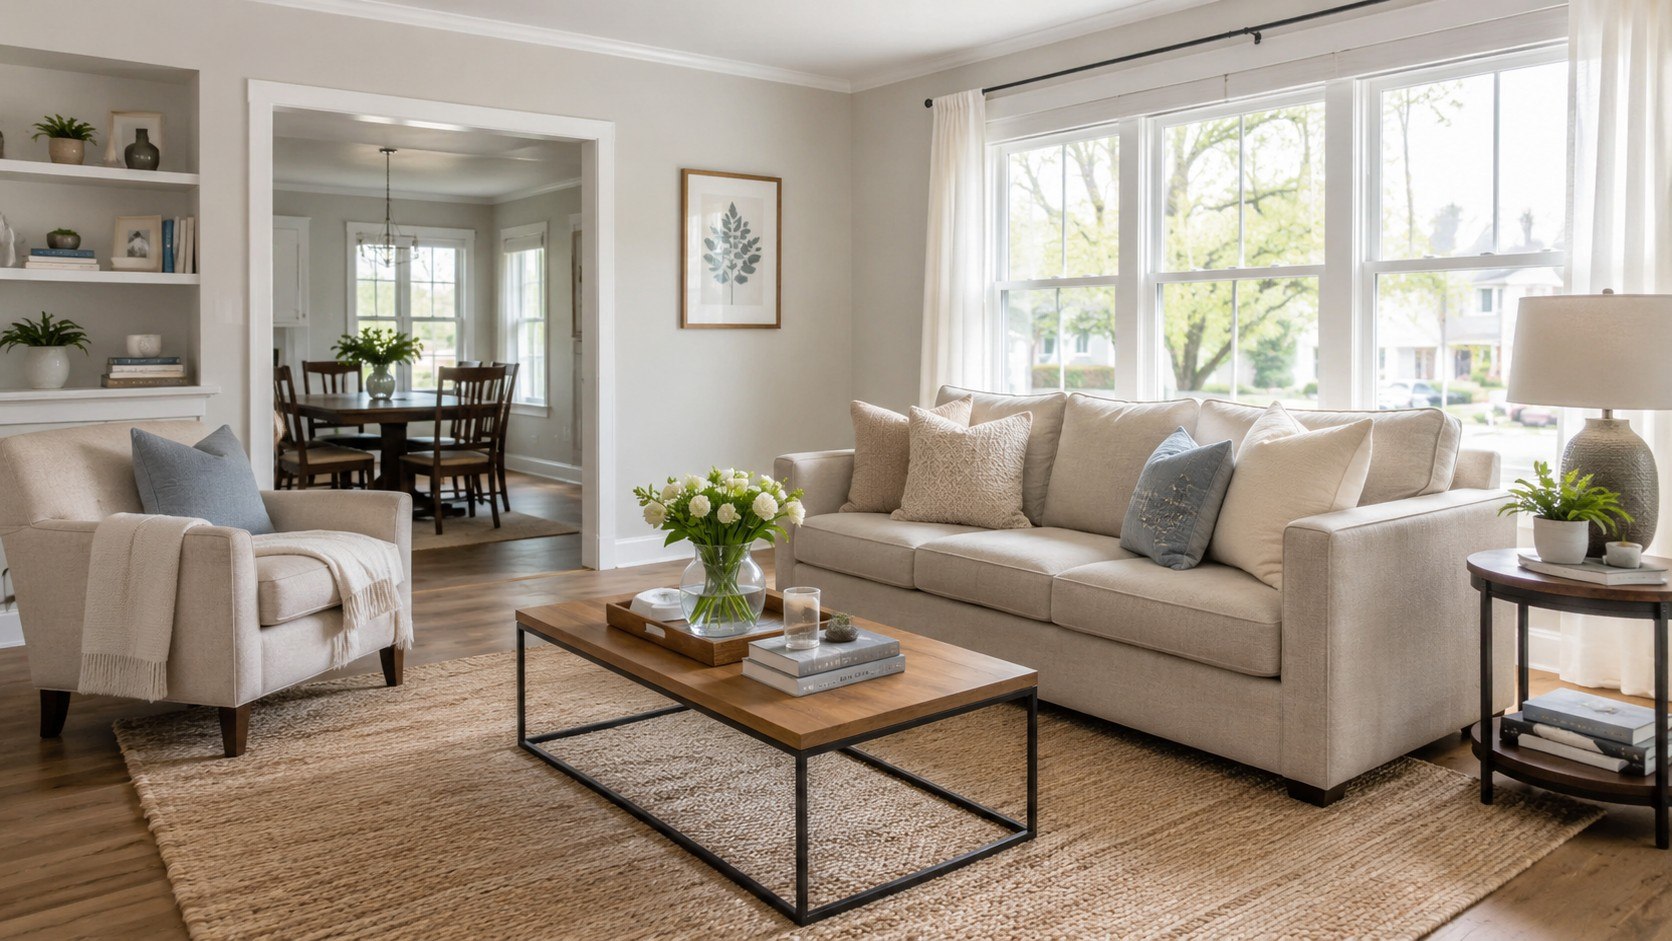
What not to buy for budget home staging
A limited budget should not fund items that lack a clear photographic or functional purpose. Many staging purchases become moving expenses after the sale.
- Large furniture that fits only the current room
- Trendy wall art with words, slogans, or political messages
- Numerous artificial plants or decorative containers
- Strong air fresheners, plug-ins, diffusers, or scented candles
- Expensive bedding hidden beneath pillows and throws
- Seasonal décor that quickly dates listing photographs
- Temporary repairs that conceal defects or safety problems
Large purchases can create new scale problems. A new sofa may narrow movement paths or make a modest room appear smaller. Borrowing or removing furniture is usually safer.
Text-based décor attracts attention to the seller’s taste instead of the room. The same issue applies to political objects, religious collections, family photographs, and personalized signs. Pack them securely before listing.
Artificial plants can work in small quantities. Too many create visual repetition and collect dust. One healthy real plant may produce a stronger editorial photograph.
Fragrance does not solve moisture, smoke, cooking, or pet odors. Identify the source and clean it. Persistent odors may require professional assessment.
Never conceal water damage, structural defects, electrical hazards, or mold. Disclosure duties differ by state. Ask a licensed real estate professional or attorney about applicable requirements.
Troubleshooting common staging problems
Budget staging rarely proceeds exactly as planned. These responses address common problems discovered shortly before photography or an open house.
- The room still looks small: remove one large item, expose more floor, and photograph from a natural doorway position.
- The home looks sterile: restore one plant, one textile, and one restrained focal point per main room.
- Closets remain crowded: pack off-season clothing and use matching boxes on upper shelves.
- Photos look dark: clean windows, match bulbs, open treatments, and reschedule photography for stronger daylight.
- The budget is exhausted: stop purchasing décor and focus on cleaning, repairs, layout, and visible storage.
A small room should not be photographed with extreme lens distortion. That tactic can create disappointment during an in-person showing. Accurate presentation builds trust and reduces mismatched viewing requests.
An overly empty home may need only a few familiar objects. Add seating that establishes scale, a lamp that brightens a corner, or bedding that defines a bedroom. Avoid filling every wall.
When closets cannot be cleared completely, use consistent containers and leave visible space between categories. Buyers should understand shelf depth and hanging capacity. Do not block access with loose bags.
Dark photographs may result from poor timing rather than insufficient fixtures. Ask the photographer when each side of the home receives useful daylight. Exterior direction and window placement affect the schedule.
Once the spending limit is reached, stop shopping. Cleaning and arrangement remain available without major purchases. Those actions often produce more value than additional accessories.
FAQ
How much should I spend to stage an occupied house in 2026?
A practical do-it-yourself budget is often $100 to $600. Larger repairs, storage, professional cleaning, or furniture rental can raise the total considerably.
Which room should I stage first?
Start with the living room, followed by the primary bedroom and kitchen. These rooms often receive the greatest attention in listing photographs and tours.
Can I stage a house without buying new furniture?
Yes. Remove excess pieces, rearrange existing furniture, borrow neutral items, and improve lighting. Better spacing usually matters more than new furniture.
Should family photographs be removed?
Reduce them substantially, especially from walls and major surfaces. A few discreet photographs are less distracting than large galleries or personalized displays.
Is virtual staging acceptable?
It may be acceptable when clearly disclosed and permitted by local listing rules. It must not conceal defects or misrepresent permanent property features.
Should I repaint before selling?
Repaint heavily marked, damaged, or intensely colored walls first. Do not repaint every room automatically. Ask your agent which improvements support the local sale strategy.
Earlier we wrote about Bosch vs Miele vs KitchenAid Dishwasher 2026: Quietest, Best Cleaning and Repair Costs