

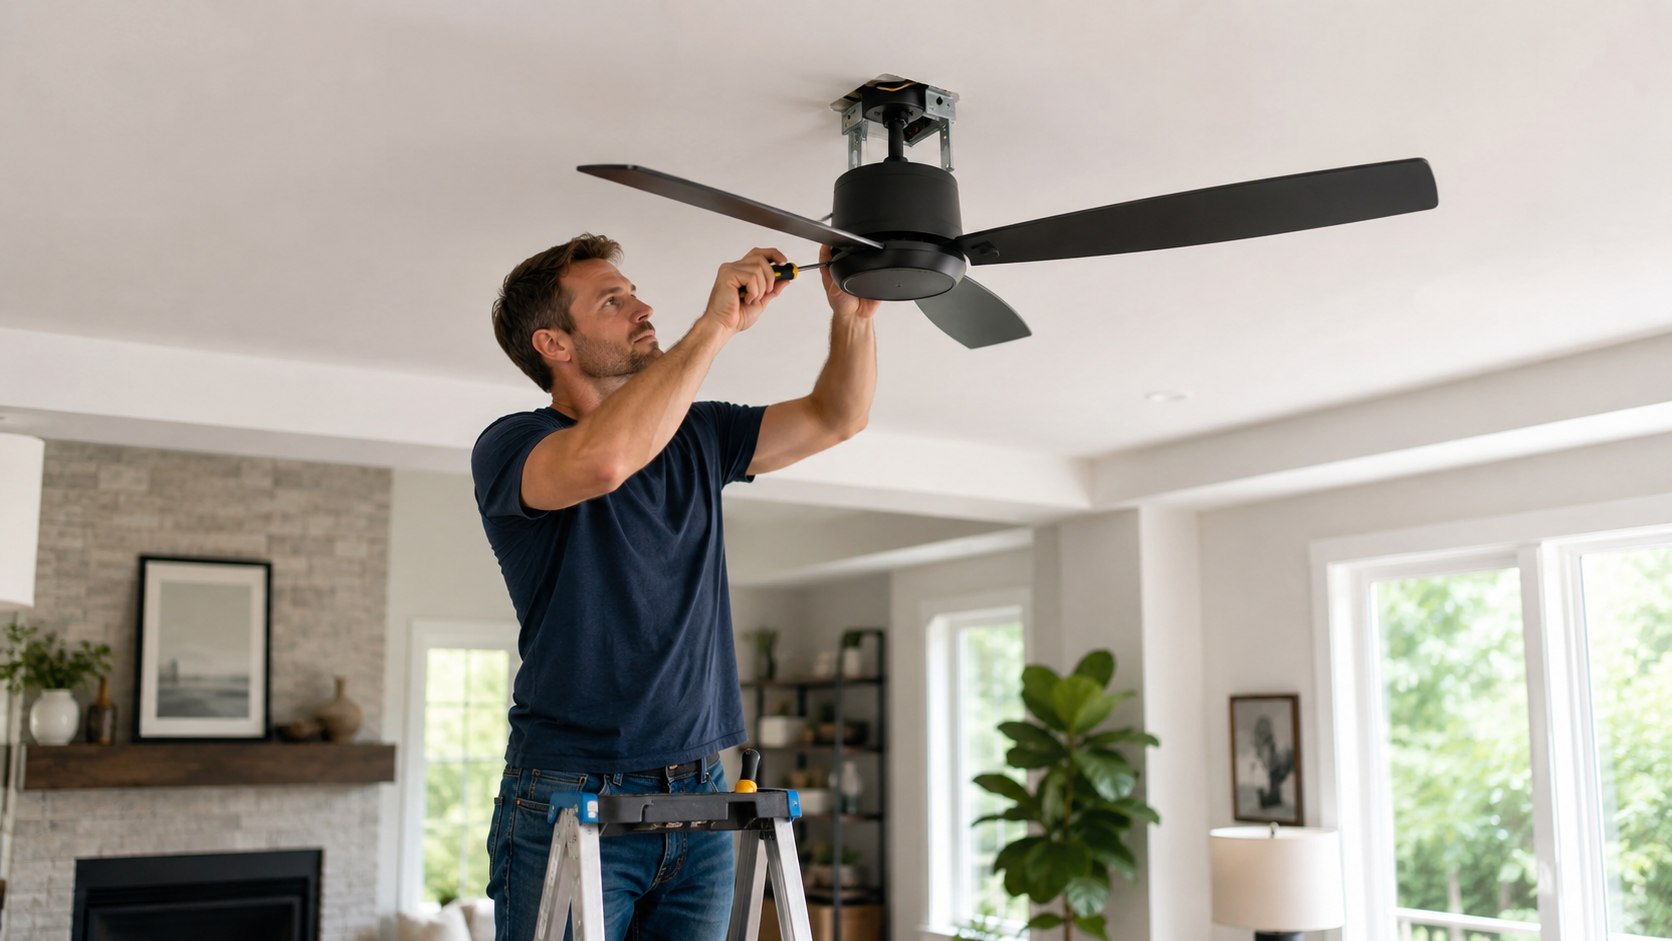
How to install a ceiling fan yourself starts with 2 checks: confirm the electrical box is fan-rated and verify the circuit is de-energized. A standard replacement usually takes 2–4 hours, while new wiring or structural work requires a licensed electrician, as noted by the Baltimore Chronicle.
You can handle the job when an existing ceiling fixture has compatible wiring, solid structural support, and an accessible breaker. Stop when you find aluminum wiring, damaged insulation, an ungrounded circuit, uncertain conductors, or a box attached only to drywall.
Key takeaways
- Never hang a rotating fan from a standard light-fixture box unless its label specifically confirms fan support.
- Turn off the breaker, verify every conductor with a voltage tester, and keep the wall switch off.
- Call an electrician when the installation needs new wiring, panel work, permits, or structural reconstruction.
Homeowners preparing for electrical work should also know how to reset a tripped breaker safely. That knowledge helps distinguish a routine interruption from a circuit fault that should stop the project.
What You Need Before Installing a Ceiling Fan
Most replacement installations require ordinary hand tools, one electrical tester, and the hardware supplied by the manufacturer. Read the entire manual before opening the box because mounting systems vary among Hunter, Hampton Bay, Harbor Breeze, Minka-Aire, and Modern Forms models.
- Non-contact voltage tester and, preferably, a multimeter
- Phillips and flat-head screwdrivers
- Wire stripper and approved wire connectors
- Adjustable wrench or nut driver set
- Stepladder rated for your weight and working height
- Fan-rated electrical box or retrofit brace, when required
- Protective glasses and stable, dry footwear
- Manufacturer’s mounting bracket, screws, canopy, and safety cable
- About 2–4 hours for a compatible replacement
- A 2026 materials budget of roughly $90–$450 for most standard DIY projects
The voltage tester is not optional. A wall switch can interrupt only one conductor while another wire remains energized inside the box.
Use the screws supplied with the fan-rated box or mounting system. Ordinary drywall screws are brittle and are not designed to carry a moving overhead load.
Check whether the fan includes a remote receiver. That component must fit inside the canopy without crushing wires or interfering with the mounting ball.
Renters should obtain written landlord approval before replacing a permanent fixture. The lease may require professional installation, restoration of the original light, or proof of insurance.
Homes with unfamiliar electrical modifications deserve extra caution. Review the Baltimore Chronicle’s guide to steel framing versus wood framing when the mounting point involves metal framing or unusual structural members.
Typical Ceiling Fan Costs in the USA in 2026
The fan itself is only part of the budget. Mounting hardware, controls, ceiling height, wiring condition, and local labor rates can change the final cost substantially.
| Item or service | Typical 2026 range | When it is needed |
|---|---|---|
| Basic indoor ceiling fan | $60–$180 | Bedrooms, offices, and standard living areas |
| Midrange fan with light or remote | $150–$400 | Larger rooms or upgraded controls |
| Fan-rated retrofit brace and box | $25–$70 | Existing box lacks approved fan support |
| Long downrod | $20–$100 | High, sloped, or vaulted ceilings |
| Basic professional replacement labor | $100–$300 | Compatible wiring and support already exist |
| New wiring, switch, or structural work | $300–$1,000+ | No existing fan circuit or usable mounting point |
These figures are planning ranges, not guaranteed national prices. Labor is often higher in California, New York, Maryland, Massachusetts, and major metropolitan areas.
Prices may be lower in parts of Texas, Ohio, Georgia, and Tennessee. Travel distance, licensing rules, ceiling access, and permit requirements still influence local quotes.
Home Depot states that labor for many standard fan installations typically falls between $100 and $300. New wiring creates a more complex project and usually requires a licensed electrician.
A low fan price does not make the mounting work less demanding. A $70 fan creates similar dynamic forces to a more expensive model of comparable weight and diameter.
The safest economy is avoiding damaged drywall, failed connections, repeated service calls, and an unsupported fan above an occupied room.
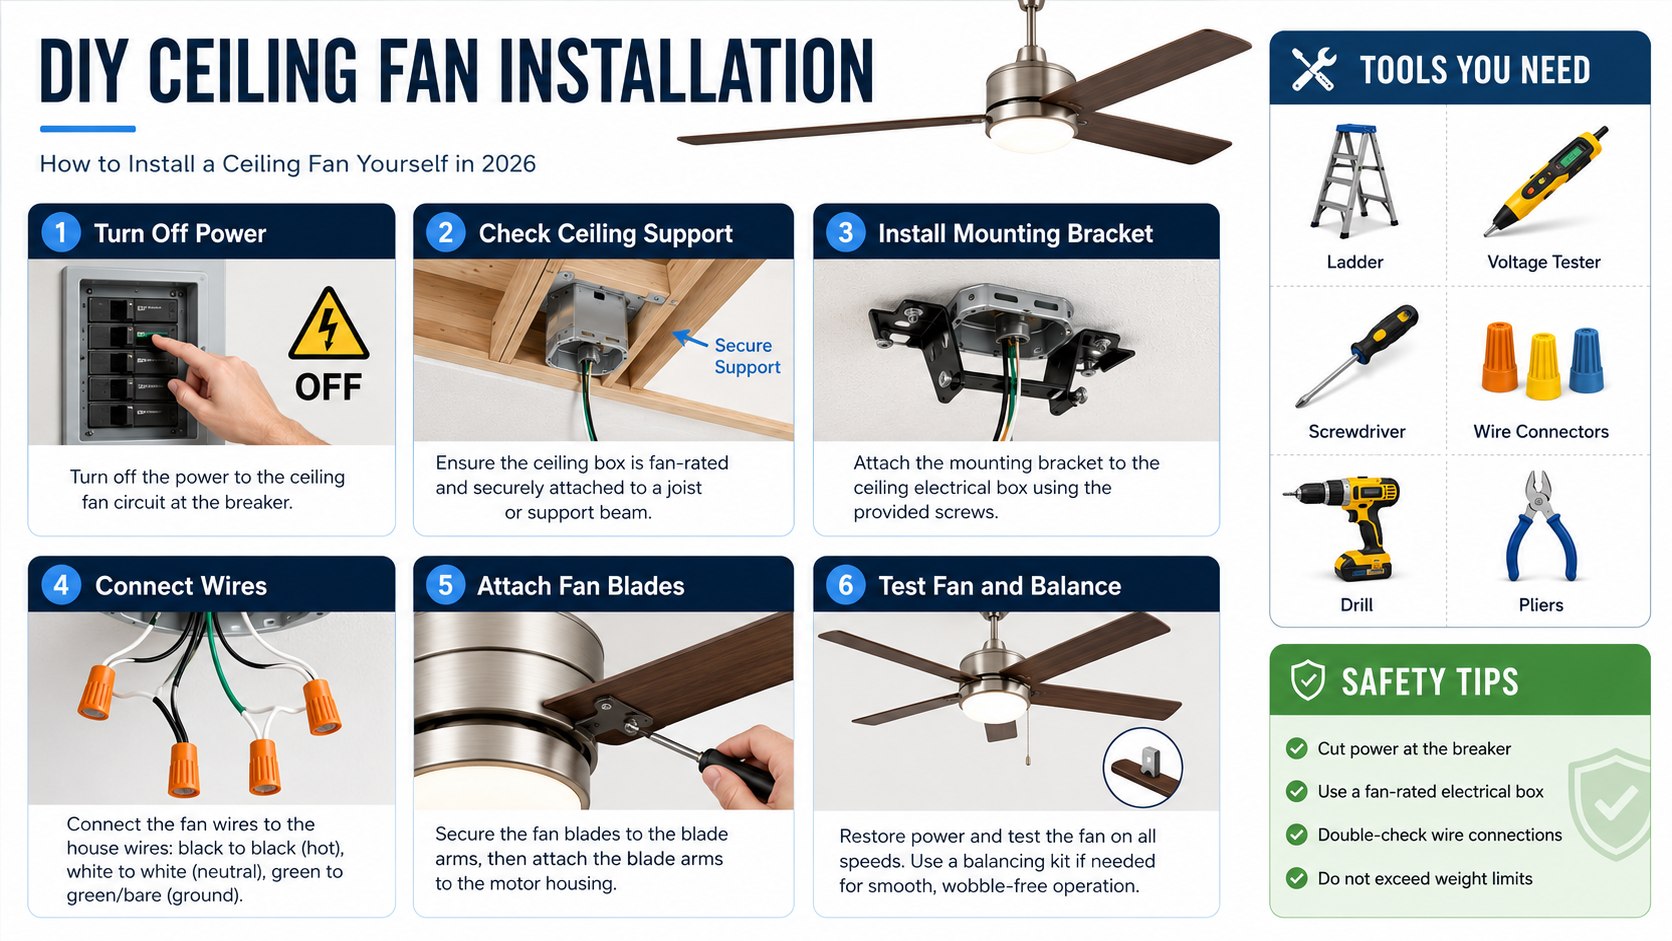
Step 1: Turn Off and Verify the Electrical Circuit
Switch the fan circuit breaker fully to OFF, then place tape over the handle or add a warning note. Tell every person in the home that electrical work is underway.
Remove the fixture cover only after checking the wires with a non-contact voltage tester. Test the instrument on a known live receptacle before and after checking the ceiling conductors.
This verification matters because circuit directories are frequently incomplete or outdated. The common mistake is trusting the breaker label or wall switch without testing the wires directly.
Stop immediately when the tester detects voltage after the expected breaker is off. Do not open the panel cover, replace breakers, or experiment with unidentified circuits.
Step 2: Remove the Existing Fixture and Inspect the Box
Support the old light while removing its canopy and mounting screws. Photograph the original wiring before disconnecting anything, especially when separate wall switches control light and fan functions.
Look inside the box for a marking such as “acceptable for fan support” or an equivalent listing. Also inspect how the box connects to a joist, brace, or other structural member.
A fan places vibration and twisting force on its support. The common mistake is assuming that every metal ceiling box can hold a fan because it previously held a light fixture.
Reject a loose, cracked, shallow, or unsupported box. Replace it with a listed fan box and brace that matches the fan’s weight and the ceiling construction.
Step 3: Install the Fan-Rated Box and Mounting Bracket
When the existing box is unsuitable, install a retrofit fan brace between the ceiling joists. Rotate the brace until its feet grip the framing, following its manufacturer’s instructions.
Attach the fan-rated box to the brace, pull the existing cable into the box, and secure the cable with an approved clamp. Leave enough conductor length for safe connections without excessive crowding.
Fasten the fan’s mounting bracket directly to the fan box with the supplied machine screws. This transfers the fan’s weight and movement into the structural support.
The common mistake is fastening the bracket to drywall, an ornamental ceiling medallion, or the box’s surrounding plaster. None of those materials replaces structural support.
Homes with inaccessible joists, concrete ceilings, suspended ceilings, or damaged framing need a project-specific solution. Do not improvise with anchors intended for pictures, shelves, or stationary light fixtures.
Step 4: Assemble and Hang the Ceiling Fan
Assemble the motor housing, downrod, canopy, and mounting ball on the floor. Feed the fan wires through the downrod before tightening its set screws and locking pin.
Lift the motor assembly onto the mounting bracket’s hook or seat the mounting ball in its cradle. Attach the safety cable where the manufacturer provides one.
This staged approach keeps the motor supported while you make the electrical connections. The common mistake is installing blades before lifting the motor, which adds weight and creates an awkward working radius.
Confirm the downrod length before proceeding. ENERGY STAR guidance recommends at least 7 feet between the floor and fan blades, with 8–9 feet preferred for effective airflow when ceiling height permits.
“Ceiling fans cool people, not rooms.”
— U.S. Environmental Protection Agency, ENERGY STAR ceiling fan guidance.
Step 5: Connect the Ceiling Fan Wiring
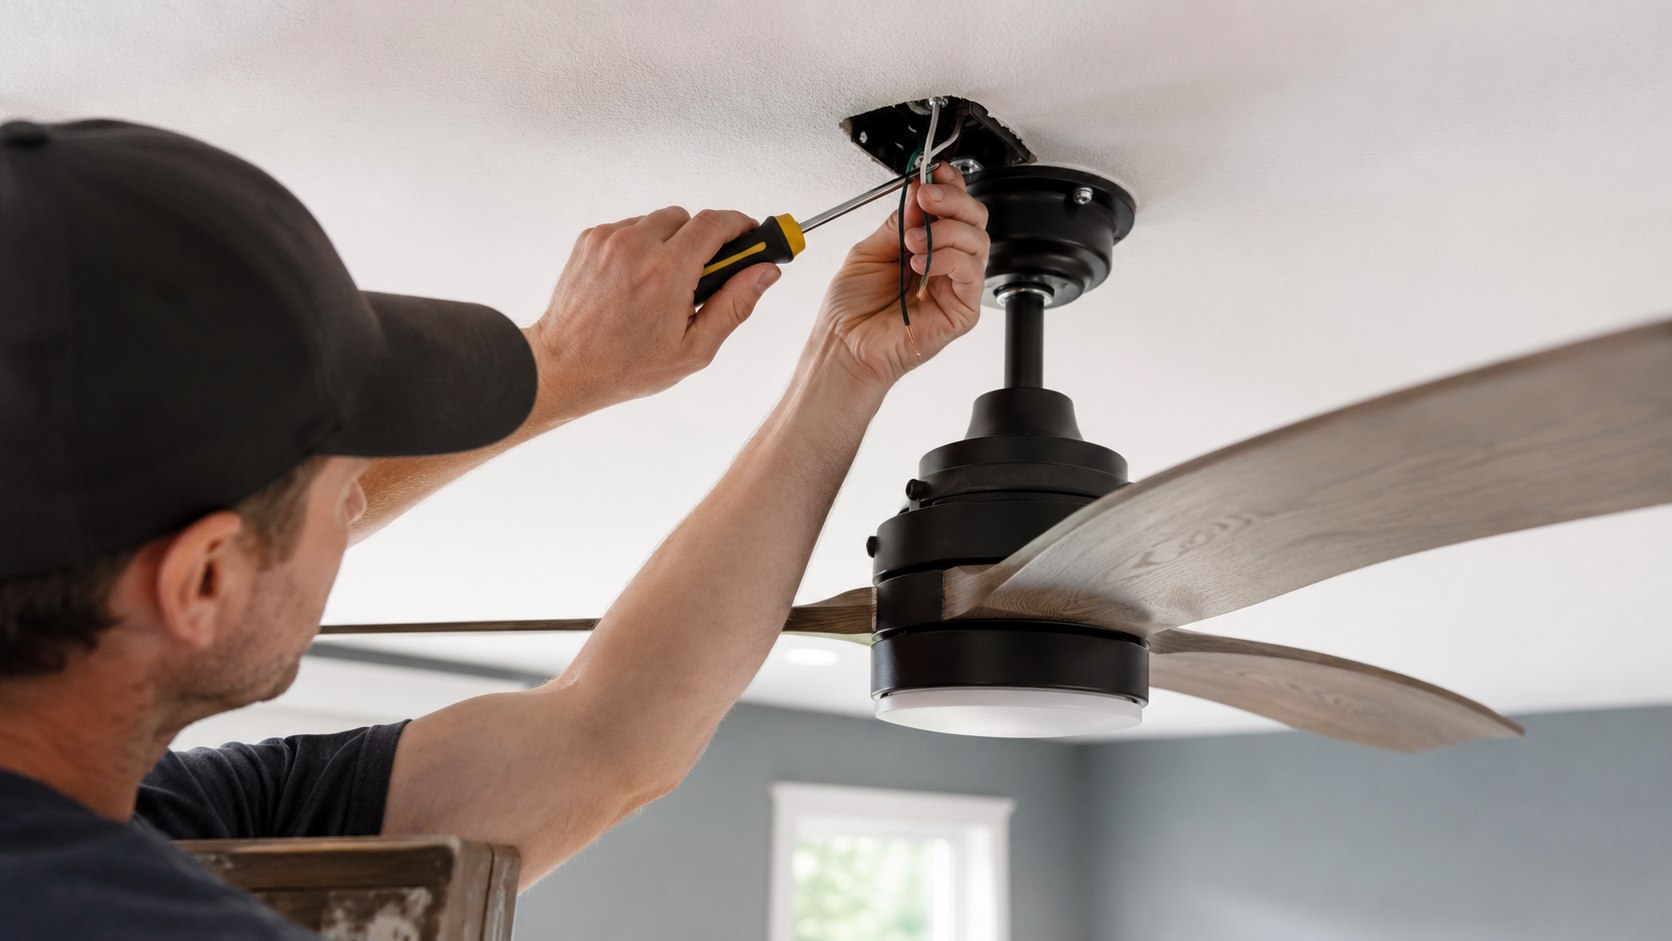
Identify the conductors using the fan manual, your photographs, and verified circuit information. In a common US installation, black supplies the fan motor, blue supplies the light, white is neutral, and green or bare copper is grounding.
Connect grounding conductors first, followed by neutral and switched hot conductors. Use listed connectors sized for the conductor material, gauge, and number of wires.
Typical configurations include:
- One wall switch: black and blue fan leads usually connect to the switched hot conductor.
- Two wall switches: separate switched conductors may control the motor and light independently.
- Remote-control fan: supply wires connect to the receiver, then the receiver connects to the fan.
- No neutral present: stop and check the manufacturer’s requirements before proceeding.
- Aluminum branch wiring: stop and use a qualified electrician familiar with approved connection methods.
After tightening each connector, pull gently on every conductor. No bare copper should remain exposed outside the connector, except the grounding conductor where permitted.
Fold the wires into the box carefully. Place grounding and neutral conductors first, leaving switched connections where they are not pinched by the canopy.
Do not force a large remote receiver into an undersized canopy. Crushed insulation can create a short circuit or intermittent failure.
Never rely on wire colors alone in altered or older homes. Previous owners may have repurposed conductors without updating their identification.
The common mistake is connecting wires by visual guesswork. Uncertain wiring is a reason to pause, document the conductors, and hire a licensed electrician.
A correct splice must be electrically sound, mechanically secure, enclosed inside the approved box, and accessible for future inspection.
Step 6: Install the Blades, Test the Fan, and Correct Wobble
Secure the canopy, then attach every blade arm using the specified screws and washers. Tighten the fasteners evenly without stripping the threads or distorting the blade brackets.
Restore power and test the fan at low speed first. Check the light, remote, wall controls, direction setting, unusual sounds, and clearance from walls or fixtures.
This gradual test limits movement while you verify the installation. The common mistake is immediately selecting maximum speed before confirming that the bracket, canopy, and blades are secure.
If the fan wobbles, turn it off and measure each blade tip’s distance from the ceiling. Recheck blade orientation, bracket seating, screw torque, and warped components.
- Confirm that the mounting bracket does not move.
- Check that the mounting ball sits correctly inside its cradle.
- Tighten every blade-arm screw evenly.
- Verify that identical blades occupy the correct brackets.
- Use the manufacturer’s balancing kit only after checking assembly errors.
- Run the fan at each speed while watching from a safe distance.
A slight movement can occur with some long-downrod fans. Strong shaking, clicking, scraping, or canopy movement is not normal.
Do not bend blade irons by hand unless the manufacturer provides that procedure. Small changes can create inconsistent blade pitch and worsen the problem.
Turn off the breaker when correcting anything above the canopy. The wall switch does not provide adequate isolation for wiring work.
Record the fan’s model and serial number after testing. Keep the manual, remote pairing instructions, receipt, and spare balancing weights together.
Finally, reverse the motor direction seasonally only when the manufacturer permits it. Stop the blades completely before moving a manual reversing switch.
Troubleshooting Common Ceiling Fan Problems
Most problems after installation involve a loose connection, incorrect control configuration, receiver pairing, or mounting alignment. Use these checks only after turning off the circuit when access to wiring or hardware is required.
- The fan does not start: Check the breaker, wall switch, pull chain, remote batteries, receiver code, and canopy connections.
- The light works, but the motor does not: Inspect the motor’s switched conductor and remote-receiver output.
- The breaker trips immediately: Leave it off and inspect for pinched wires, reversed connections, or exposed copper.
- The fan hums: Verify control compatibility because many motors cannot use a standard light dimmer.
- The fan shakes: Recheck the mounting bracket, blade screws, downrod pin, blade alignment, and balancing weights.
Do not reset a breaker repeatedly. An immediate second trip indicates an unresolved fault, not a breaker that needs more force.
A fan controlled by an incompatible dimmer may hum, overheat, or operate unpredictably. Use only controls approved by the fan manufacturer.
Remote-controlled models may require a pairing sequence after power restoration. Follow the manual because procedures differ among Hunter, Hampton Bay, Harbor Breeze, and smart-fan systems.
Stop using a fan that produces burning odors, sparks, heat at the canopy, or visible movement at the ceiling box. Switch off the circuit and request professional inspection.
When seeking a quote, describe the ceiling height, wiring, box type, fan model, switch arrangement, and attic access. Clear information helps an electrician price the actual scope.
FAQ About Installing a Ceiling Fan Yourself
Can I install a ceiling fan where a light fixture was?
Yes, when the wiring is compatible and the electrical box is specifically listed for fan support. A standard light-fixture box may not withstand the fan’s weight and rotational force.
Can a ceiling fan be mounted directly to drywall?
No. The mounting system must transfer the load to framing, a listed brace, or another approved structural support.
Do I need an electrician to install a ceiling fan?
A competent homeowner may replace a compatible fixture where local rules permit DIY work. Hire an electrician for new circuits, uncertain wiring, aluminum conductors, panel work, or required permits.
How long does it take to install a ceiling fan?
A straightforward replacement often takes 2–4 hours for a careful DIY installer. Structural reinforcement, high ceilings, or new wiring can extend the project substantially.
What wire connects to the ceiling fan’s blue wire?
The blue lead commonly powers the light kit. It may connect to a separate switched hot conductor or join the motor’s black lead on a single-switch circuit.
Why does my new ceiling fan wobble?
Common causes include loose blade screws, uneven blade height, an incorrectly seated mounting ball, warped blades, or an unstable mounting bracket. Correct assembly problems before adding balancing weights.
Earlier we wrote about Uber Pet vs Regular Ride 2026: Rules, Charges, and the Better Choice