


How to unclog a kitchen sink depends on where the blockage sits. Start with a sink plunger, clean the P-trap if plunging fails, then use a hand-crank drain snake. Most ordinary food and grease clogs take 20–60 minutes to clear, as noted by the Baltimore Chronicle.
Stop running the faucet before the basin overflows. Remove most standing water, disconnect power to the garbage disposal, and place a bucket beneath the drain. These precautions protect the cabinet, flooring, electrical connections, and your hands.
Key takeaways
- Use a flat-bottom sink plunger first because pressure can dislodge a shallow food or grease clog within minutes.
- Remove and clean the P-trap when plunging fails, since debris often collects inside its curved section.
- Use a 15- or 25-foot drain snake for deeper blockages, but call a plumber when several fixtures back up.
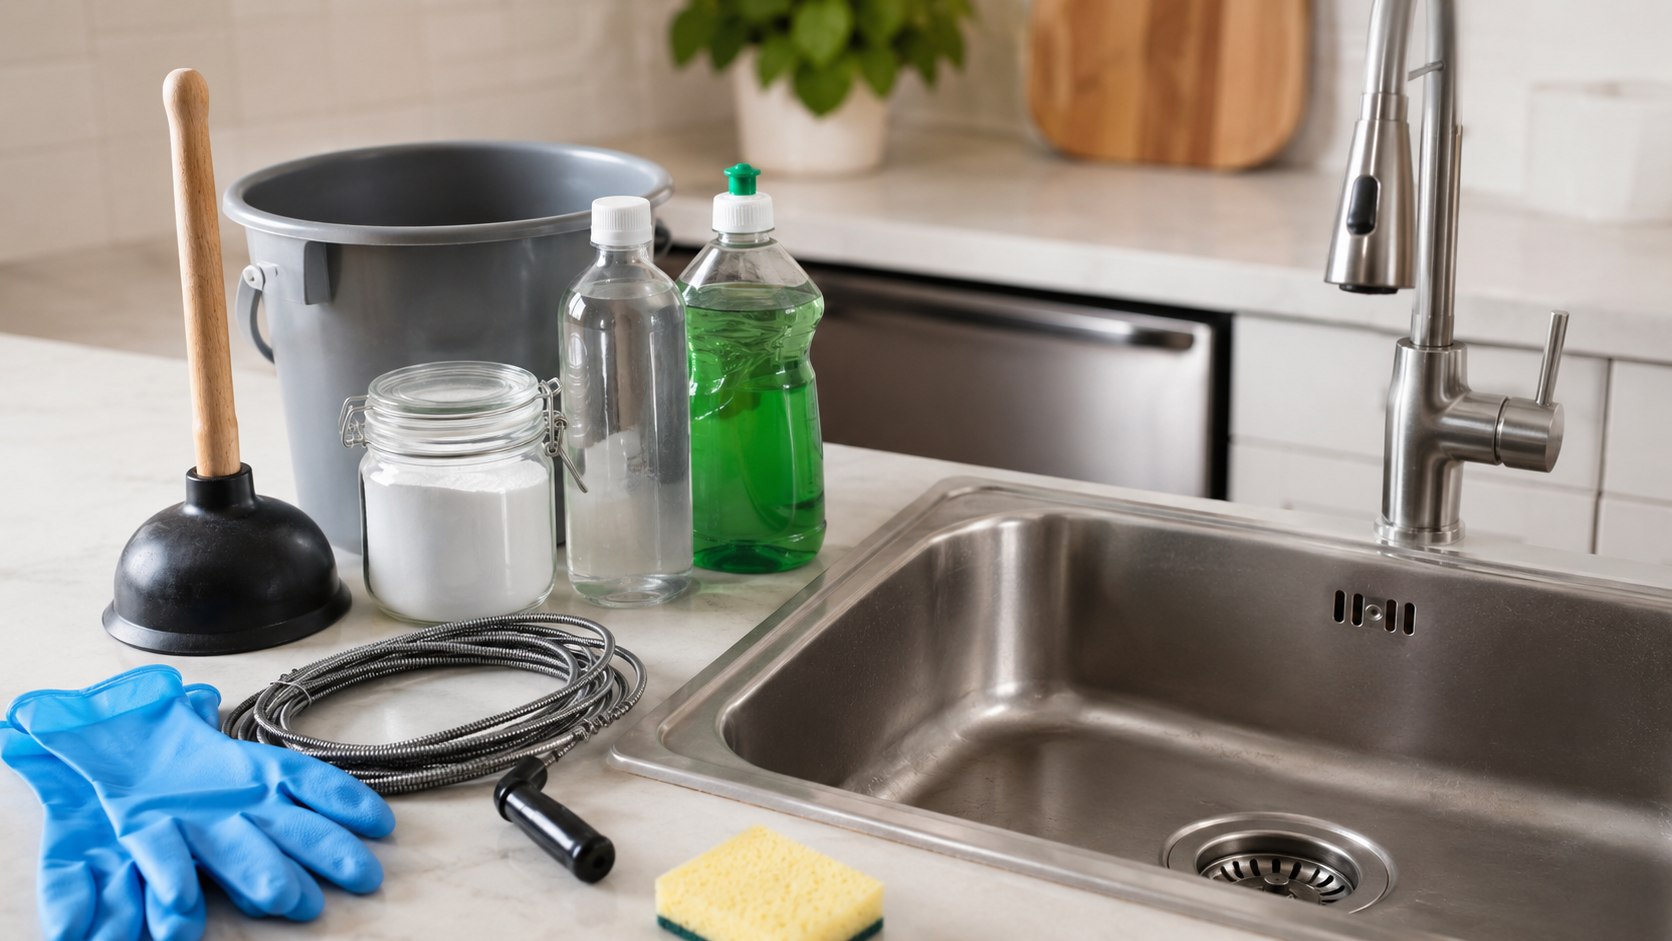
What You Need to Unclog a Kitchen Sink
You may already own most of the required equipment. In 2026, a basic DIY setup generally costs about $10–$60, depending on the snake length, tool quality, and local retailer.
- Flat-bottom cup plunger made for sinks
- Bucket holding at least 2 gallons
- Rubber gloves and safety glasses
- Old towels or absorbent shop rags
- Channel-lock pliers or an adjustable wrench
- Small wire brush or bottle brush
- 15- or 25-foot hand-crank drain snake
- Flashlight
- Replacement slip-joint washers
- 30–60 minutes for a typical repair
A basic sink plunger may cost about $5–$16 in 2026. Hand-operated drain augers from brands such as Kobalt, Husky, RIDGID, and Cobra often cost $15–$45. Professional drum machines cost much more and are unnecessary for most household sink clogs.
Prices vary between California, Texas, Maryland, New York, and other states. The most important distinction is tool type. A sink plunger needs a flat cup, while a drain snake needs enough cable to reach beyond the wall connection.
Keep replacement washers nearby before opening the P-trap. An old washer may split when disturbed, turning a successful clog repair into a cabinet leak.
Step 1: Identify Where the Kitchen Sink Clog Is Located
Run a small amount of water into each basin and watch how it drains. If only one side of a double sink is blocked, the obstruction may sit near that drain or garbage disposal. If both sides fill together, the clog is probably beyond their shared connection.
Check nearby fixtures without running large volumes of water. A kitchen-only problem usually points to the sink branch line. Water rising in a bathroom fixture, laundry standpipe, or floor drain suggests a deeper plumbing obstruction.
This diagnosis matters because a plunger cannot fix every blockage. A clog inside the trap needs direct cleaning, while an obstruction several feet inside the wall usually requires a snake.
Common mistake: repeatedly filling the sink to test it. Each test adds more dirty water and increases the risk of an overflow.
Step 2: Make the Sink and Garbage Disposal Safe
Scoop standing water into a bucket until only 2–4 inches remain. That depth gives the plunger enough water to seal without spraying the countertop.
If the sink has a garbage disposal, turn off its wall switch. Unplug the unit beneath the sink or switch off its circuit breaker before placing hands or tools near the opening.
Never place your fingers inside a disposal, even after disconnecting the power. Broken glass, metal fragments, bones, and sharp food debris may remain around the grinding chamber.
A disposal that hums without turning may be jammed. A disposal that runs normally while water remains in the basin probably has a blocked outlet or drain pipe.
Common mistake: trusting the wall switch alone. Unplugging the appliance or opening the breaker provides stronger protection against accidental startup.
Step 3: Unclog the Kitchen Sink With a Plunger
Place a flat-bottom cup plunger directly over the drain. On a double-bowl sink, seal the second drain with a stopper or wet cloth. Air escaping through the second basin weakens the pressure reaching the clog.
Press downward slowly to expel trapped air. Then make 10–15 firm strokes while keeping the cup sealed. Finish with a sharp upward pull, which may lift the obstruction rather than pushing it deeper.
Repeat the cycle up to 3 times. Pressure changes can loosen food scraps, soft grease, soap residue, and other debris lodged near the drain or trap.
The plunger should remain submerged throughout the process. Add a small amount of water when the cup is not covered, but avoid filling the basin completely.
Common mistake: using a toilet flange plunger. Its projecting rubber flange may prevent the cup from sitting flat against the sink.
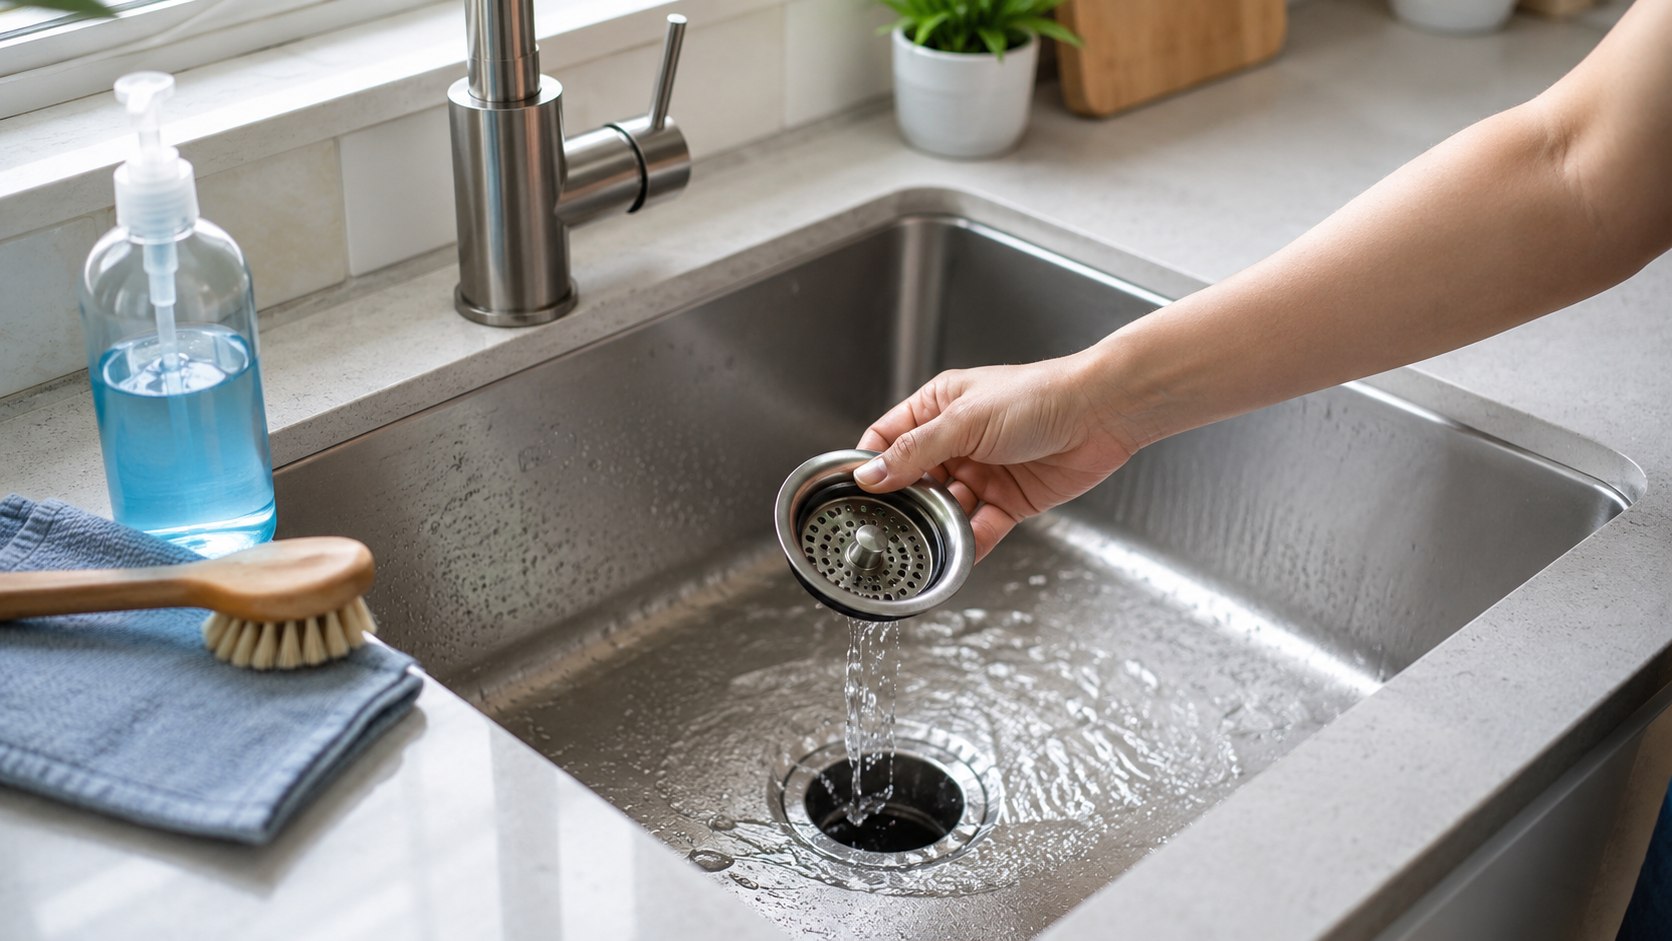
Step 4: Remove and Clean the P-Trap
Place the bucket beneath the curved pipe under the sink. Take a photograph of the pipe layout before loosening anything, especially when a dishwasher hose or garbage disposal shares the assembly.
Unscrew the 2 slip nuts holding the trap. Plastic nuts often turn by hand, while metal fittings may require channel-lock pliers. Support the trap as the final nut loosens because it will contain dirty water.
Empty the trap into the bucket and inspect it with a flashlight. Push out food, grease, coffee grounds, produce labels, and other debris with a flexible brush. Wash the removed pipe outdoors or in a utility sink, not in the disconnected kitchen basin.
The trap’s curved shape holds water to block sewer gases. That same curve also catches dense waste before it travels farther into the branch drain.
Before reinstalling the pipe, inspect each washer. A beveled washer must face the fitting correctly and sit evenly. Hand-tighten the nuts, then add only a slight turn with pliers when necessary.
Common mistake: overtightening plastic slip nuts. Excessive force can distort washers, crack fittings, and create a slow leak.
If water has already swollen or stained the cabinet base, inspect the structure before closing the doors. Homeowners planning a wider repair can use the Baltimore Chronicle guide on how to install kitchen cabinets yourself to understand plumbing clearances, cabinet alignment, and mounting requirements.
| Likely clog location | Typical signs | Best first tool | Typical 2026 DIY cost |
|---|---|---|---|
| Drain opening | Water drains slowly but never fully stops | Stopper removal and cleaning | $0–$10 |
| Near the trap | Both basins drain slowly or develop odors | Sink plunger | $5–$16 |
| Inside the P-trap | Plunger fails and debris appears in the trap | Bucket, pliers, and brush | $10–$30 |
| Branch drain line | Trap is clear but the sink remains blocked | 15- or 25-foot drain snake | $15–$45 |
| Shared or main drain | Several fixtures gurgle or back up | Licensed plumber | Verify local rates |
The comparison shows why buying the largest drain machine first is rarely sensible. Most kitchen sink clogs begin near the drain, disposal outlet, or P-trap.
A hand tool also provides better control inside a standard 1½-inch kitchen drain. Large powered cables can damage fittings when used without experience.
After reinstalling the trap, run a thin stream of water and inspect every joint. Wipe each connection with a dry paper towel. A small wet mark can reveal a leak before it reaches the cabinet floor.
Do not close the cabinet immediately. Watch the fittings during a full-flow test and inspect them again after 10 minutes.
A recurring leak should not be treated as a cosmetic problem. Water can damage the cabinet box, drywall, flooring, and subfloor. Baltimore Chronicle’s article on kitchen remodeling costs in 2026 explains how plumbing changes and hidden damage can increase a renovation budget.
Step 5: Use a Drain Snake Beyond the P-Trap
Leave the P-trap removed and insert the snake directly into the drain pipe entering the wall. Feed the cable slowly while turning the drum clockwise.
When resistance appears, tighten the cable lock and rotate the handle. Move the cable forward and backward in short strokes. The goal is to break through or retrieve the clog without forcing the cable.
Continue until several feet of cable pass freely. Then withdraw it slowly, cleaning the cable with disposable rags as it returns. Expect grease, dark sludge, and food residue.
A 15-foot snake handles many local branch-line clogs. A 25-foot model offers more reach in larger homes or kitchens located farther from the main plumbing stack.
This method matters because a clean trap does not prove the line behind the wall is open. Hardened grease may coat the pipe several feet beyond the cabinet.
Common mistake: pushing harder when the cable stops. It may be meeting an elbow rather than the clog. Retract several inches, rotate the drum, and try again.
Step 6: Reassemble, Flush, and Test the Kitchen Drain
Reinstall the P-trap and confirm that each washer sits squarely. Run cold water at a low flow while checking the joints. Increase the flow only after the fittings remain dry.
Fill the basin halfway, then release the stopper. Water should form a strong vortex and disappear without rising in the second bowl.
If the sink has a garbage disposal, reconnect the power after removing every tool from the cabinet. Run cold water, start the disposal, and let it operate briefly. Continue the cold water for several seconds after switching it off.
Cold water helps move ground food through the drain while keeping fats more solid. Never pour cooking oil, bacon grease, or melted butter into the sink.
Leave a dry paper towel beneath the trap overnight. Moisture on the towel the next morning indicates a loose connection, cracked fitting, or damaged washer.
Common mistake: testing with a full basin before checking the joints at low flow. A loose fitting can release several gallons within seconds.
Step 7: Know When to Call a Licensed Plumber
Stop DIY work when several fixtures back up together, sewage appears, or water rises from a floor drain. Those symptoms often point to a shared branch or main sewer obstruction.
You should also call a plumber when the snake repeatedly stops at the same point. A collapsed pipe, severe grease restriction, misplaced fitting, or tree-root intrusion may require a camera inspection.
Ask for a written estimate before approving expensive work. The document should separate labor, equipment, materials, cleanup, access charges, and after-hours fees.
Baltimore Chronicle explains how to read a construction estimate, compare contractor bids, identify vague allowances, and understand charges that may increase after work begins.
Common mistake: accepting a verbal price without asking what it includes. Drain cleaning, camera inspection, pipe repair, and wall access may appear as separate charges.
Troubleshooting a Kitchen Sink That Still Will Not Drain
Stop repeating the same method when the symptoms change. These common scenarios can separate a stubborn local clog from a wider plumbing failure.
- The plunger has no resistance: seal the second basin and confirm the cup fully covers the drain opening.
- The P-trap is clear: snake the wall pipe because the blockage probably sits farther along the branch line.
- The disposal hums but does not turn: disconnect power and follow the manufacturer’s jam-clearing instructions.
- Water returns after several minutes: grease may restrict a longer section of pipe beyond the snake’s reach.
- Other fixtures back up: stop running water and call a plumber for a shared or main-line obstruction.
A recurring clog is more serious than a one-time food blockage. It may indicate poor pipe slope, inadequate venting, internal corrosion, or a damaged drain line.
Renters should report repeated drainage problems to the landlord or property manager. Save photographs, dates, repair requests, and written responses when water damages flooring or cabinets.
Homeowners should ask whether a quoted service includes cable cleaning, hydro jetting, camera inspection, cleanup, and after-hours charges. Rates vary sharply between cities and service windows.
Avoid combining different chemical drain products. Residue may remain inside the trap and expose anyone opening the pipe to corrosive liquid or fumes.
Tell the plumber about any cleaner already used. That information helps the technician select appropriate protective equipment and safer working methods.
How to Prevent Another Kitchen Sink Clog
The most effective prevention method is keeping grease and dense food waste out of the drain. Scrape plates into the trash or compost before rinsing them.
Pour cooled cooking grease into a sealed container. Do not depend on hot water or dish soap to carry it through the plumbing. Grease can cool and harden farther down the pipe.
Use a removable sink strainer to catch rice, pasta, eggshells, coffee grounds, fruit stickers, and fibrous vegetable scraps. Empty it after each meal.
Run cold water while using the garbage disposal. Feed small portions gradually and allow the water to continue for several seconds after the grinding sound stops.
Do not treat a garbage disposal as a trash can. Celery, corn husks, onion skins, bones, large quantities of potato peels, and expanding foods can obstruct the disposal or drain.
FAQ
Can baking soda and vinegar unclog a kitchen sink?
Baking soda and vinegar may loosen light residue or reduce odors. They are less dependable against solid food, dense grease, or a foreign object. A plunger, trap cleaning, or kitchen sink drain snake provides direct mechanical action.
Can I pour boiling water into a clogged kitchen sink?
Boiling water may soften grease, but it can stress some plastic pipes and seals. Use hot tap water after restoring flow. Never pour boiling water into a sink containing chemical cleaner.
Why is my double kitchen sink clogged on both sides?
Both basins usually share a drain connection. A blockage after that junction causes water to rise in both bowls. Seal one drain before plunging the other, then inspect the shared trap.
How do I unclog a kitchen sink with a garbage disposal?
Disconnect electrical power first. Determine whether the disposal is jammed or the drain line is clogged. For a drain clog, seal the second basin and use a sink plunger over the disposal opening.
When should I stop trying to unclog the sink myself?
Stop when multiple fixtures back up, sewage appears, the cable cannot advance, or leaks develop inside a wall. These signs may indicate a deeper obstruction or damaged piping.
How often should I clean a kitchen sink drain?
Clean the strainer and visible drain opening weekly. The P-trap does not need routine dismantling unless drainage slows, odors persist, or an object falls into the sink.
Earlier we wrote about Conventional vs FHA Loan 2026: Which Mortgage Costs Less With 3% or 3.5% Down?